Free Range American celebrates self-reliance and self-sufficiency, and a survival garden is one essential part of that lifestyle. This growing season, we’re rolling out step-by-step directions taking you through the planting process while removing all the unnecessary b.s. that gobbles up most gardening writing, and your time.
Get a Notebook
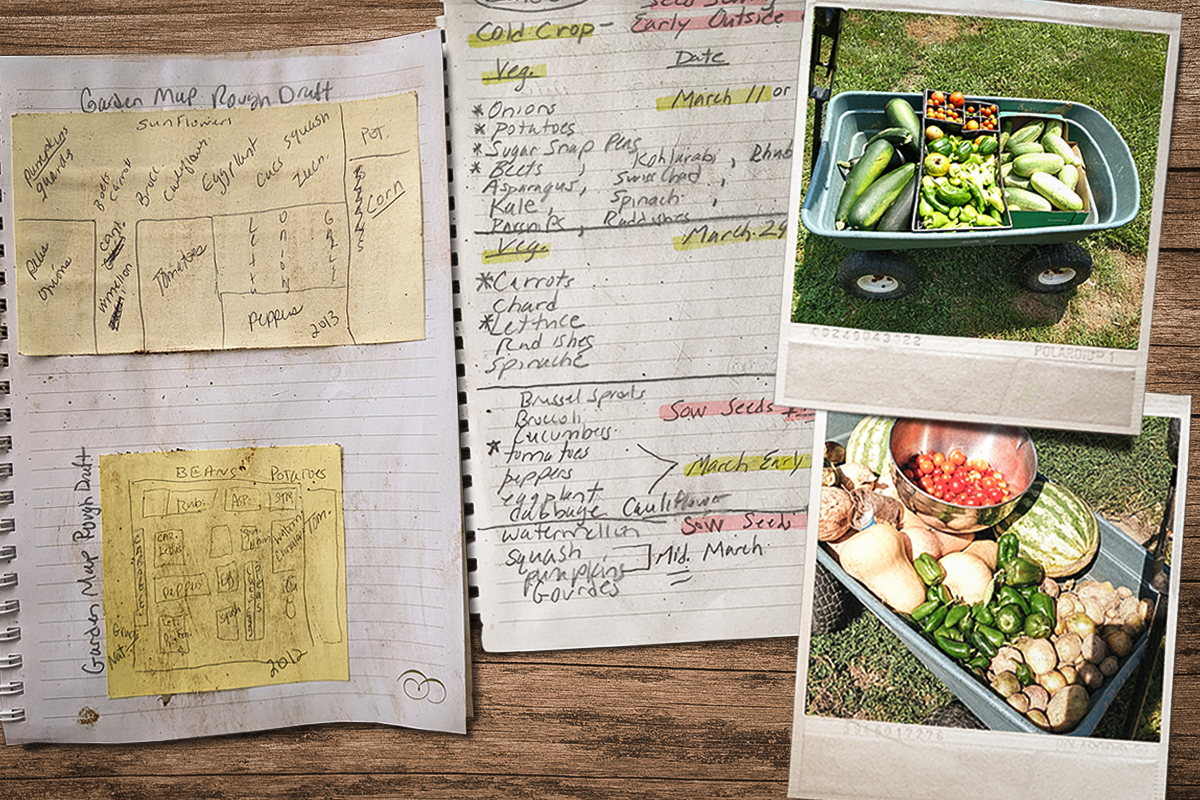
Planning is everything with planting, so grab a notebook and get ready to write. Going old school, by way of using pencil and paper, is necessary as your notes will inevitably meet dirt over and over again. Your gardening notebook will help you keep track of important details from each growing season, paying off by simplifying the process year to year. The first step begins right now with knowing your zone, planting dates, garden location, garden maps, and plant compatibility.
Know Your Zone
Understanding when and what to plant depends upon the area in which one lives. The easiest way to figure it out is by using a USDA Plant Hardiness Zone Map. The map divides the United States into 13 zones and subzones based on their average annual winter conditions and temps. Zone identification breaks down the best time to plant specific crops based upon average weather patterns. These two sites are easy to navigate and only require a zip code to locate zones: garden.org/apps/calendar or gilmour.com/planting-calendar. Write your zone in the notebook.
Learn Planting Dates (Ahead of Time)
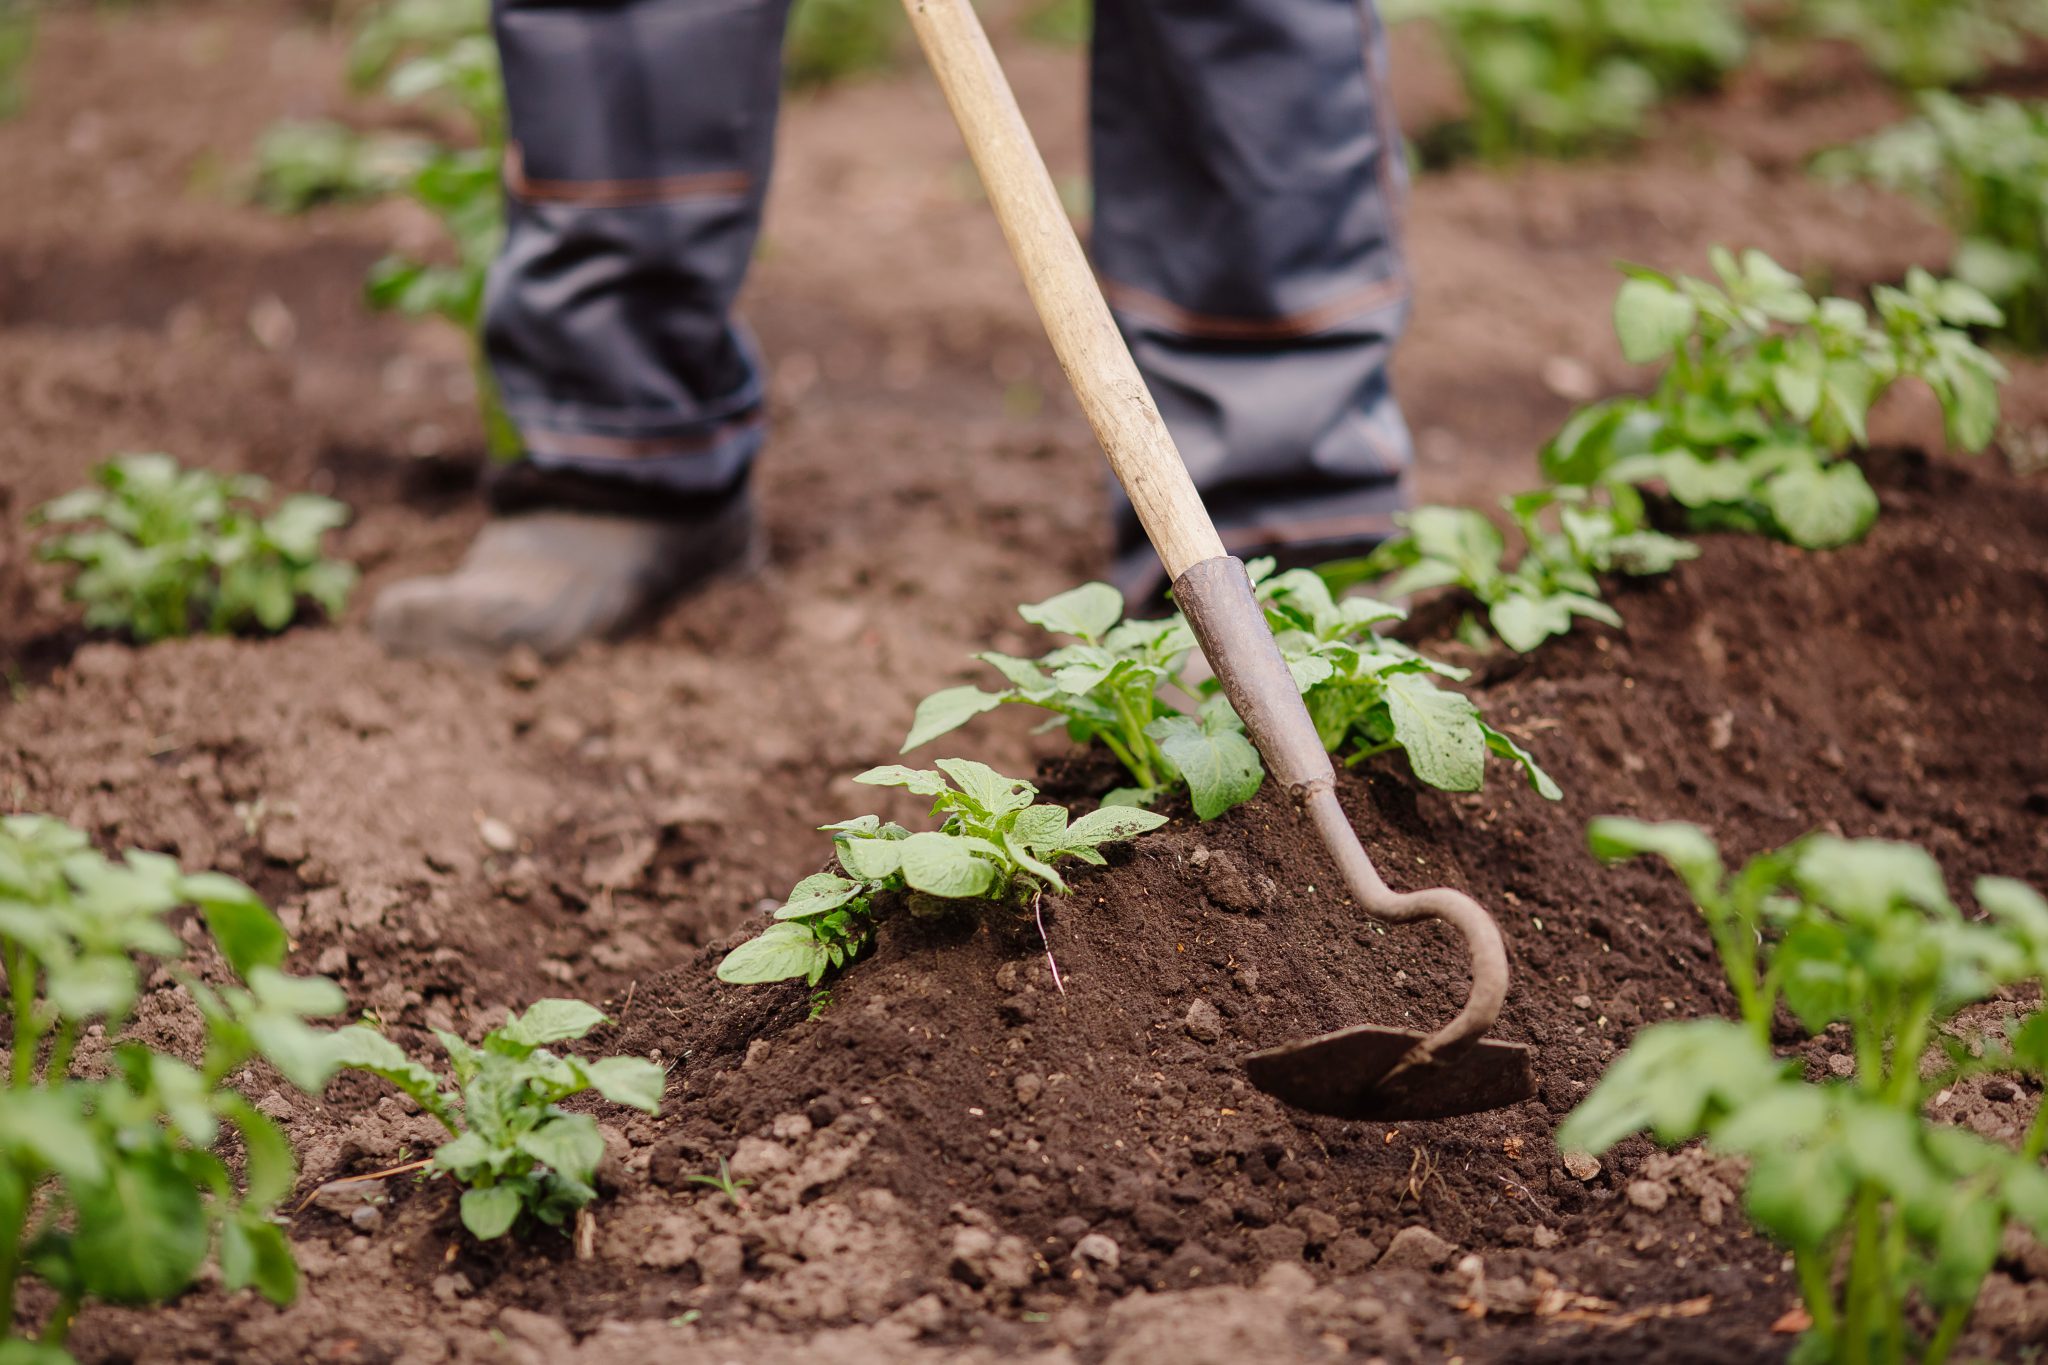
Take it from a veteran gardener, missing planting dates is a common mistake. Most folks are not aware that in many zones, cold crop veggies like onions, potatoes, and peas can be planted in the soil near mid-March, or if you’re seed planting, cabbage, broccoli, and cauliflower can hit the outdoors near the end of March. The goal is to have the most bountiful garden possible by using every planting moment available.
Search online or use one of the links above for a list of vegetable planting dates according to your zone. The information should include dates to sow seeds indoors, dates to transplant seeds into the garden, and dates for starting seeds outdoors. Make it simple by printing and gluing the chart into your notebook. Having a chart like this, in hand, will be a timesaver for years to come.
Pick the Best Garden Location
Having a general idea of where you plan to put your garden will help with the early stages of planning. Staking out the actual site will come later, especially since the ground is mostly unworkable right now. Consider that most vegetables require six to eight hours of direct sunlight per day in soil that drains well. To determine the best light source, identify where the sunlight floods through your windows in the morning. Pick a spot on that side of your house. If you are not able to plant there, select an area outside with the least amount of shade cast upon the ground in the morning. Morning sun is better than afternoon sun. Based on this location, determine the shape of your garden.
Design Your Garden Map (Rough Draft)
Garden maps take the guessing out of gardening. They are simple diagrams of what vegetables get planted where and are valuable for two reasons. First, “what goes where” is absolutely needed since some veggies do not grow well next to each other, resulting in one of the plant’s getting the life sucked out of it. Next, maps provide a reminder as to where plants were located the previous year. The most productive gardeners rotate their crops yearly, ensuring the soil has not been depleted from the same kind of vegetable the year before.
A garden map should always be drawn in pencil, as things may change when the actual planting time arrives. Consider the following:
- The shape of the garden: When you actually break ground, stick to the shape you pick because changing plant positions would mean having to recheck compatibility.
- While the actual square footage is relevant, this step focuses on strategically placing the crops. Once the garden is staked out, how many of each plant will fit is dictated by how much area it needs to grow. Sketch plants on the map knowing you’ll determine the exact number of each later.
- Consider placing plants that spread out or crawl along the ground as they grow in outer areas. These plants include cucumbers, pumpkins, squash, watermelon, cantaloupe, melons, and so on. Refer to the Compatibility Guide (below) or do your own research when deciding what crops to plant where.
Vegetable and Fruit Compatibility Guide
Why waste your time planting if the crops are going to squeeze one another out?
Spending time on what should be planted and where ensures the success rate of your plants.
This list is based upon vegetables and fruits, not herbs. If adding herbs to your garden, research their compatibility as well.
- Beans: Avoid onions and garlic. Plant next to beets, carrots, cucumbers, potatoes.
- Cabbage: Avoid beans and tomatoes. Plant next to beets, celery, corn, onions.
- Cantaloupe: Avoid potatoes. Plant next to corn.
- Carrots: Plant next to leaf lettuce, tomatoes.
- Corn: Plant next to beans, cucumbers, peas, potatoes, pumpkin, squash.
- Cucumbers: Avoid potatoes. Plant next to beans, cabbage, corn, peas, radishes.
- Eggplant: Avoid potatoes. Plant next to beans.
- Lettuce: Plant next to carrots, cucumbers, onions, and radishes.
- Onions: Plant next to beans, cabbage, lettuce, and tomatoes.
- Peas: Avoid garlic and onion. Plant next to beans, corn, cucumbers, carrots, potatoes, radishes, turnips.
- Potatoes: Plant next to beans, cabbage, corn, and peas.
- Pumpkins: Avoid potatoes. Plant next to corn.
- Radishes: Plant next to beets, carrots, spinach.
- Rutabagas/Turnips: Plant next to peas.
- Squash: Plant next to radishes.
- Tomatoes: Avoid potatoes and cabbage. Plant next to asparagus, garlic.
Over the next few weeks, we’ll dive into how to start plants from seeds indoors, how to prep soil for planting, and more detailed gardening mapping. Stay tuned. By midsummer, your survival garden will yield the best salads and grilled veggies on the block — or maybe the only salads and grilled veggies in the event of the apocalypse.
Read Next:




Comments