What good is a survival garden if you have to eat everything right away?
Come July, it’s all about the harvest — picking, eating, and stockpiling for a rainy day. That means preserving your harvest by finding the best method to keep you in veggies all year long. Freezing, dehydrating, dry storage, and canning all have their pros and cons. Understanding these methods of preservation will allow you to decide what will work best for you and your family, and it will help you prep for a bountiful July.
Freezing
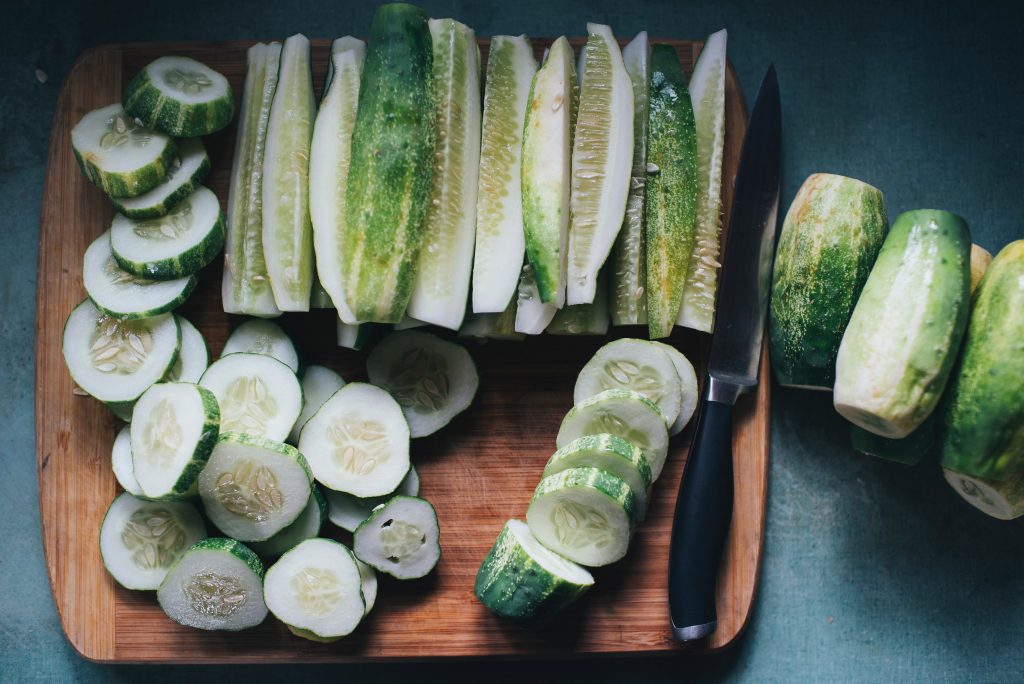
If life has you running, freezing your harvest might be your best option. It takes far less time and initial energy than any of the other methods. Frozen food tends to last longer, taste better, maintain texture, and retain color and nutritional value. Fruits and veggies can last eight to 12 months if frozen and stored properly. There are two main ways to freeze a garden harvest.
Raw freezing works well with peppers, onions, and fruit, but it tends to make other veggies rubberlike and discolored. To raw freeze: Wash the fruit or vegetable, let it air-dry or pat it dry, chop it as desired, spread the pieces out on a cookie sheet — not allowing them to touch each other — and freeze them.
Blanching, the other main freezing method, requires the same chopping of fresh fruit or vegetables. Drop the pieces into boiling water, then immerse them in ice-cold water. Recommended blanching time varies from vegetable to vegetable. Too long in hot or cold water makes limp, soggy, or drably colored veggies. After the cold bath, air-dry the pieces or gently pat them dry, spread them on a cookie sheet — not allowing them to touch each other — and freeze them. This preservation method works well with nearly all fruits and vegetables.
Whichever method you choose, once the produce is frozen solid, move the pieces off the cookie sheet to freezer containers, freezer bags, freezer paper, or vacuum seals. Freezing them on a sheet and then moving them to a container makes for better veggies months down the road.
Dehydrating
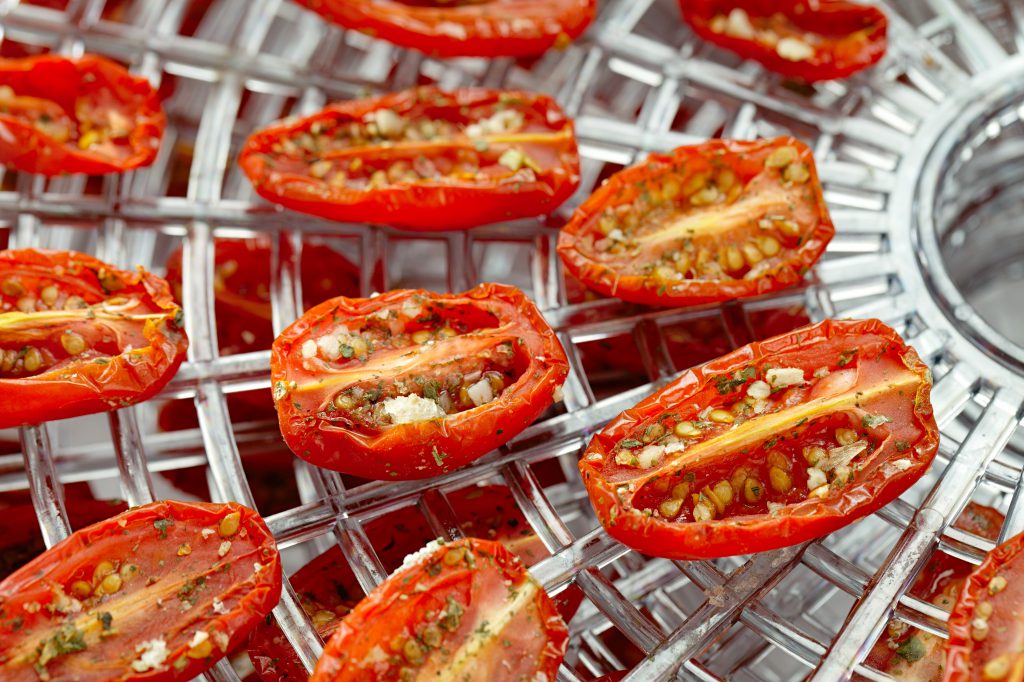
One of the oldest forms of preserving your harvest, dehydrating extracts moisture from food, preventing bad bacteria from growing on it, thus extending its shelf life. Dehydration times vary based on the water content of each fruit or veggie. Nearly all garden goodies can be dehydrated without preservatives for long shelf lives. They provide healthy and fast food options, are budget-friendly, and are loaded with nutrients and antioxidants. The three main methods of dehydration are sun-drying, oven-drying, and using a food dehydrator.
Sun-drying is the best option if you’re facing an Armageddon-like situation, but this method can be tricky in the real, modern world. A prerequisite to success is a dry, breezy, hot day with clear skies. Applying salt to veggies and lemon juice to fruit before placing them on wooden, plastic, or metal racks outside is key. Ventilation is important to preventing insect infestation and rotting.
Oven-drying requires low temps of around 130 to 140 degrees for long periods of time, and the oven door needs to remain cracked open to allow moisture to escape. A pencil or stick of wood works well to wedge the oven door open. This method requires homebound attention but prevents insects from using your food as incubators.
Using a food dehydrator is the simplest and most effective dehydration method. There are many types and sizes to select from, depending on what you intend to dehydrate. The machines are low-maintenance, easy to operate, cost-efficient, and much faster than the other two methods. Instructions for food prep, temps, and times take the guesswork out, too, making the process nearly impossible to screw up.
Dry Storage
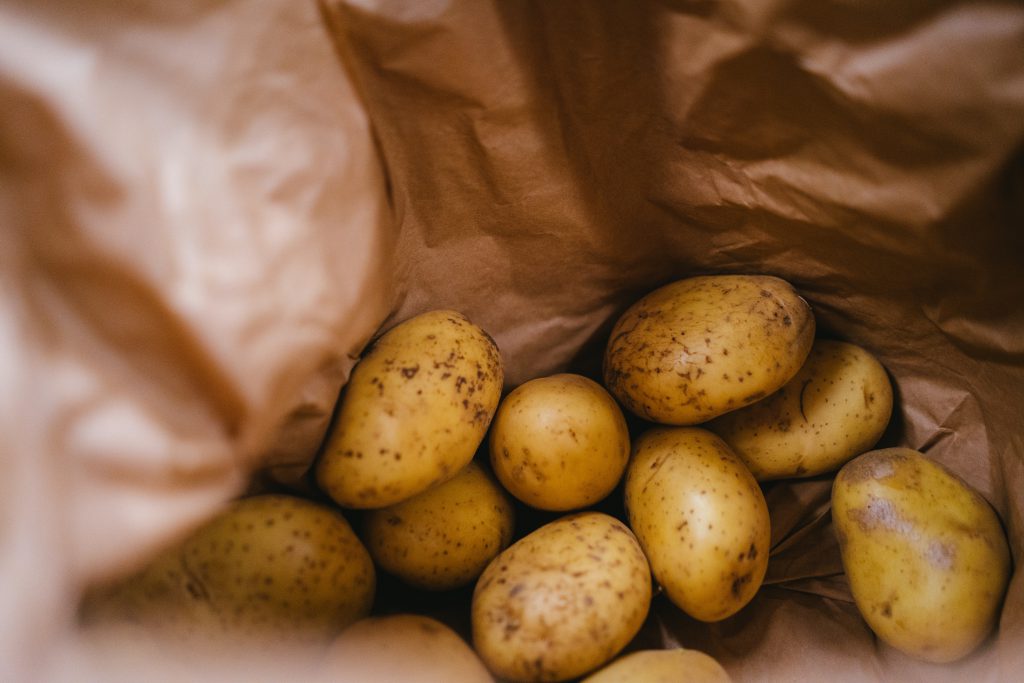
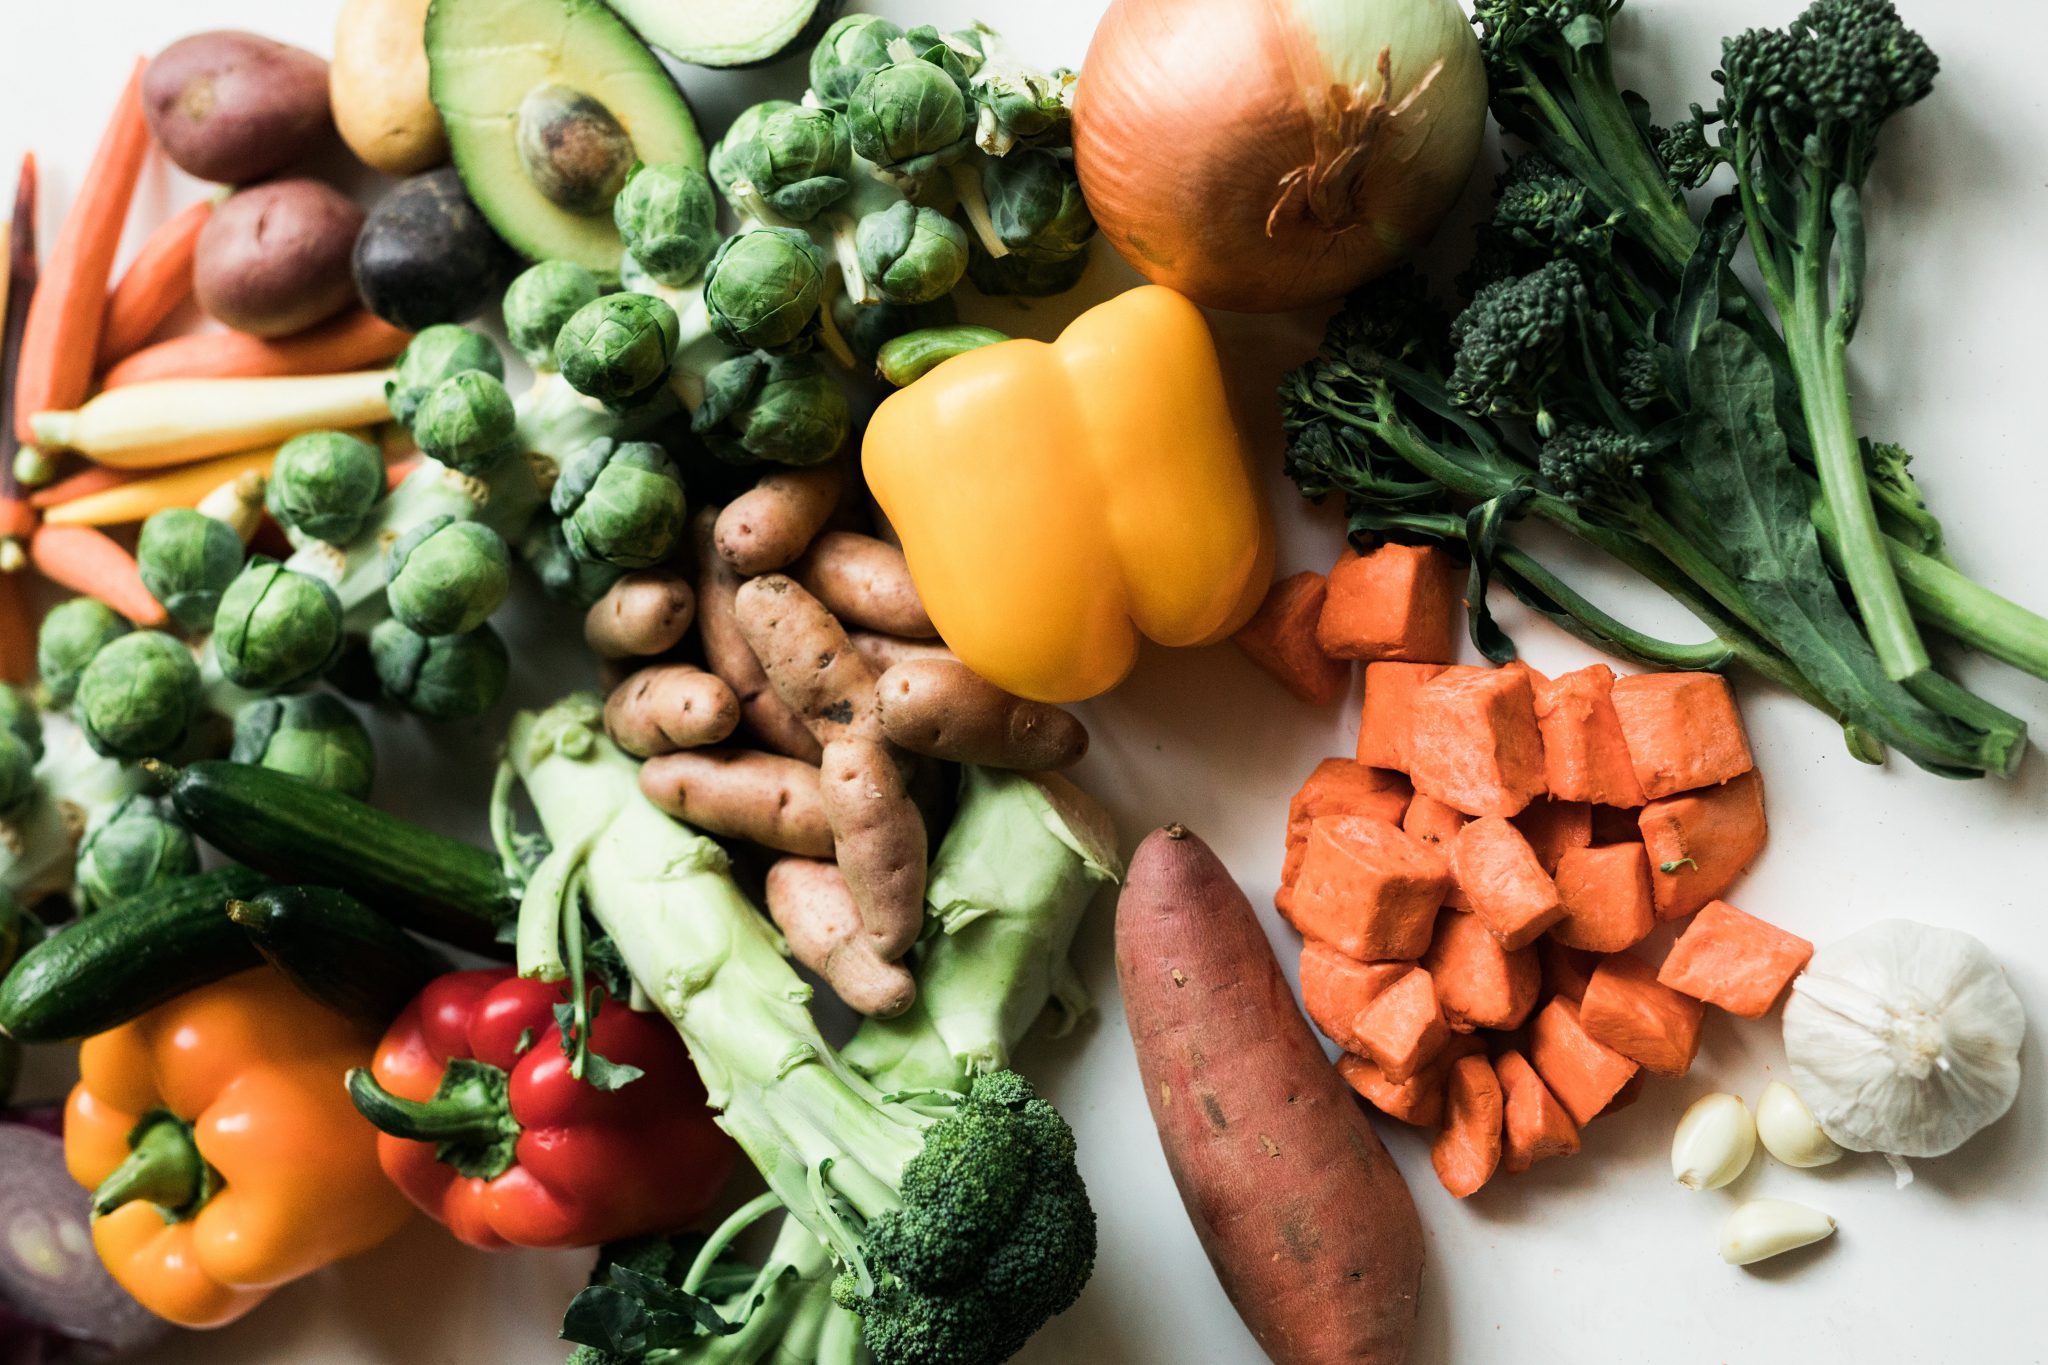
This process involves storing produce such as apples, beets, cabbage, carrots, garlic, onions, potatoes, and squash in a fully or partially underground structure that is dark nearly all of the time. These cellars — think root cellar, earth cellar, or fruit cellar — work by keeping produce at an average temp of 32 to 45 degrees Fahrenheit and in humidity levels between 80% and 90%. The humidity keeps moisture inside the produce, preventing it from becoming rubbery. Some basements or garages in certain climates may meet the above temperature and humidity-level requirements, as well. The perfect environment for preserving your harvest for three to six months.
Canning
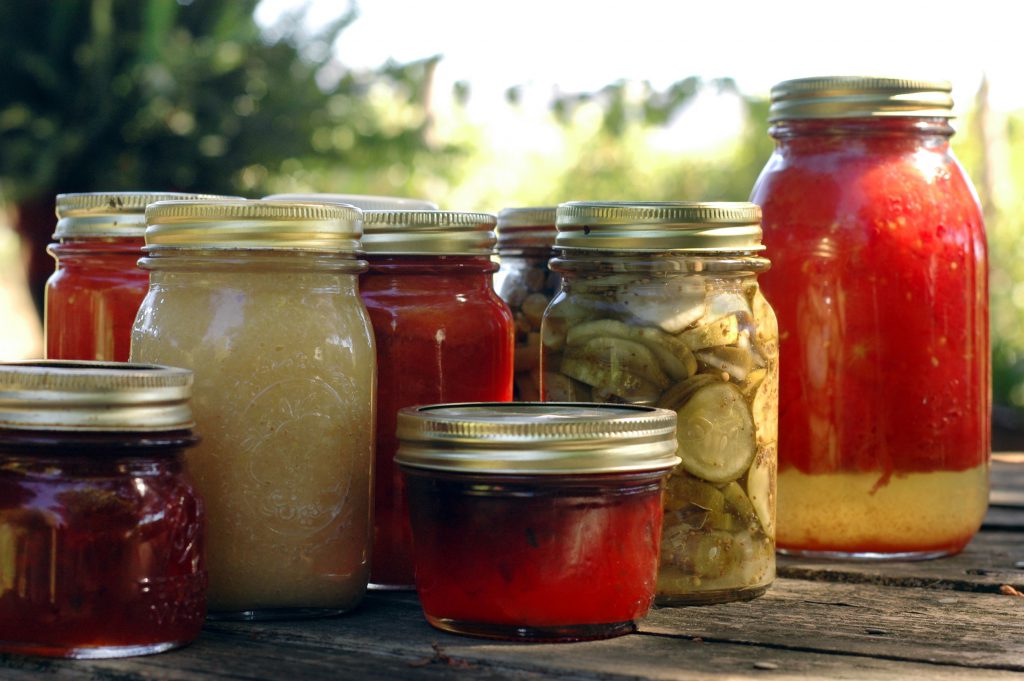
This used to be the sacred art of preserving food used by all of our ancestors. It has emerged from the dark ages with easier means and more reliable methods. In this process, the produce is placed into clean, hot jars topped with a hot lid and ring. The jars and their contents are heated up for a period of time and then removed from the water or other heat source. This seals the contents in the jar, preventing bacteria from getting into the jar or forming on the food.
Shelf lives vary, with an average of two to five years. If you plan to can, act early because supplies get scarfed up quickly. Starting out can be a bit pricey, but it’s well worth it when you crack open a fresh jar of tomato sauce or dripping strawberry jam. When it comes to preserving your harvest, it’s a time-intensive process, too, but once canned, fruits and veggies don’t need fridges, freezers, or root cellars to stay edible.
Read Next: How To Make Kombucha at Home





Comments