It’s time to plant a garden. Survivalist gardening is all about simplifying the planting process while not compromising crop production. It’s about growing kick-ass veggies while removing all the time-consuming, obsessive crap from gardening. It’s a green light and mashing of the gas pedal the minute your region crosses the last published frost date. Getting things done before that date allows for a longer growing season, resulting in a bigger, better harvest. Complete the following steps before the last frost date to produce one hell of a bountiful garden this year.
- Refresh Your Rototill — Refresh the garden soil by rototilling or turning it once more. This is an important step. If you have not done so yet, rototill your heart out right NOW.
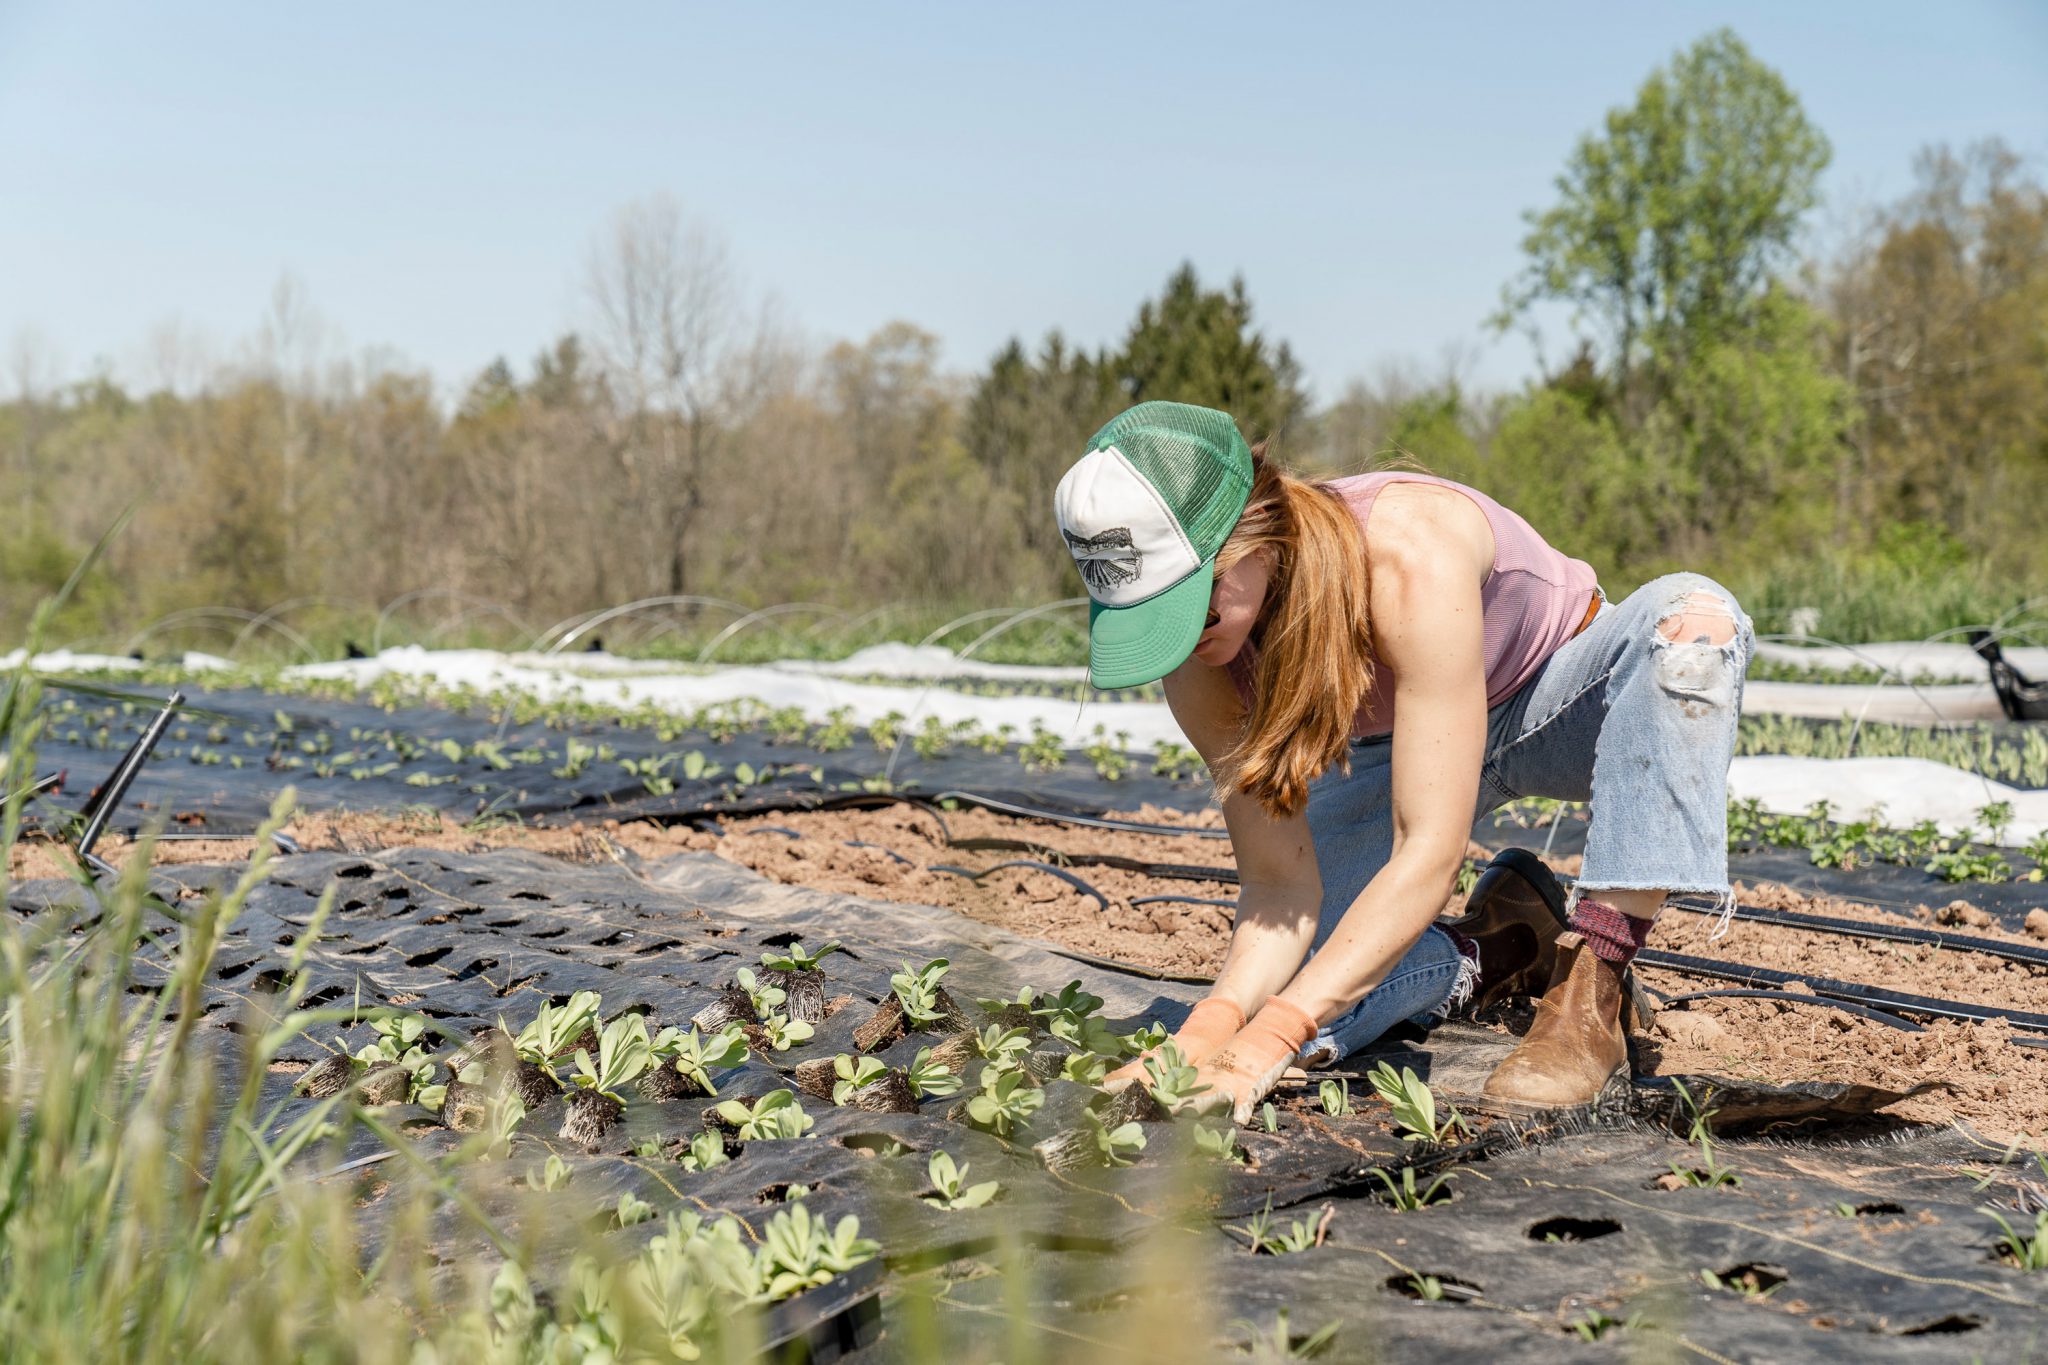
- Ground Cover — Weeds suck. Use a ground cover to save your back and knees. See “Survival Garden 104: Planting Cold Crops” for advice on the kinds of ground covering you should use. If you use ground covering such as black plastic, fabric, woven cloth, or rolls of paper, make sure you cover the entire rototilled area. Secure the edges of the ground cover well — if the wind catches it, your crops may be damaged or destroyed.
- Garden Map — “What goes where” is vital since some veggies do not grow well next to others, and one plant could end up killing another. Have your garden map handy.
- Spacing — If obsessive-compulsive tendencies define you, this step may prove to be the most challenging. Keep in mind: Survival mode means achieving optimal veggie production without killing your time. Wild greens find a way to survive regardless of space or care. Greens growing in your garden are already receiving special treatment, enhancing their production. While researching how far apart and how to plant each and every veggie will work, it will also turn the survival garden into a major time suck, only to yield nearly the same amount of product. Make a plan, but don’t lose sleep if you go off script.
Spacing Tips
Ground Creepers include cantaloupes, cucumbers, gourds, melons, pumpkins, squash, watermelons, and zucchini. These plants should be planted on the outside edges of the garden or in areas that allow for more growing space. They will crawl and stretch out all over the place.
Measure 2 to 3 feet down from the top of the ground cover and 2 to 3 feet from the side of the plot. Cut a circle 18 inches in diameter in your ground cloth. From that circle, measure 36 inches down to another circle, attempting to keep the circles aligned. There should be 36 inches between circles. Repeat this process until you reach the bottom of the ground cover. If you need two or more rows for ground creepers, maintain 36 inches between the rows from the edges of the circles. Use popsicle sticks or garden markers to identify what gets planted in each circle.
Climbing Plants include varieties of tomatoes, peas, and beans. These three veggies easily grow upward on trellises, cages, stakes, and arbors. Other plants that may grow upward include varieties of squash, cucumbers, melons, pumpkins, cantaloupes, and gourds. These other plants take up less space but require a lot of extra time and care for guiding their growth. They also need super sturdy trellises, cages, stakes, or arbors.
For tomatoes or plants that use cages or stakes, measure 18 to 24 inches between plants. Each circle cut in your ground cover should be 18 inches in diameter and labeled.
For peas, beans, and other plants that use trellises or arbors, plant in rows. Plant along the outer edges of ground cover or cut out rectangular sections measuring 3 feet by 1 foot. If you’re cutting sections longer than 3 feet, secure the edges of the ground cover with rocks. Maintain 18 to 24 inches between these plants and the other plants. Label, label, label.
All other plants follow simple guidelines: Maintain 18 to 24 inches between each plant and between every row. Make sure your circle cutouts in the ground cover are each 18 inches in diameter. This way, if the wind catches the cover, it won’t — we hope — knock over, cut, or bury the young plants.
Time To Plant
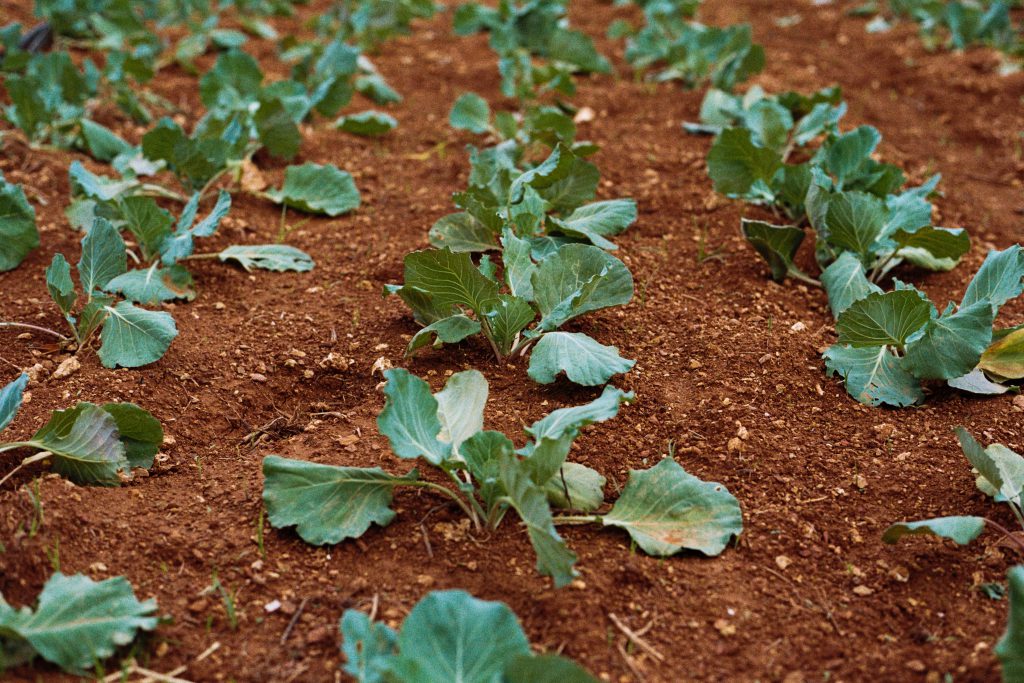
This is the best part of gardening. All the pre-steps above should be complete, and the last frost date should have passed. Planting after the last frost date for your area is key. Many veteran gardeners have attempted to jump the date only to reap the deaths of their beloved seedlings. It is not worth it.
A week before the last frost date, seedlings grown inside must be introduced to the outdoors. Place them outside for a few hours every day. Begin with two to three hours, and add two to three more hours each day. Pay attention to how they react to the sunlight and wind. Plants grown in greenhouses have adjusted to weather changes as they’ve grown and do not require this step.
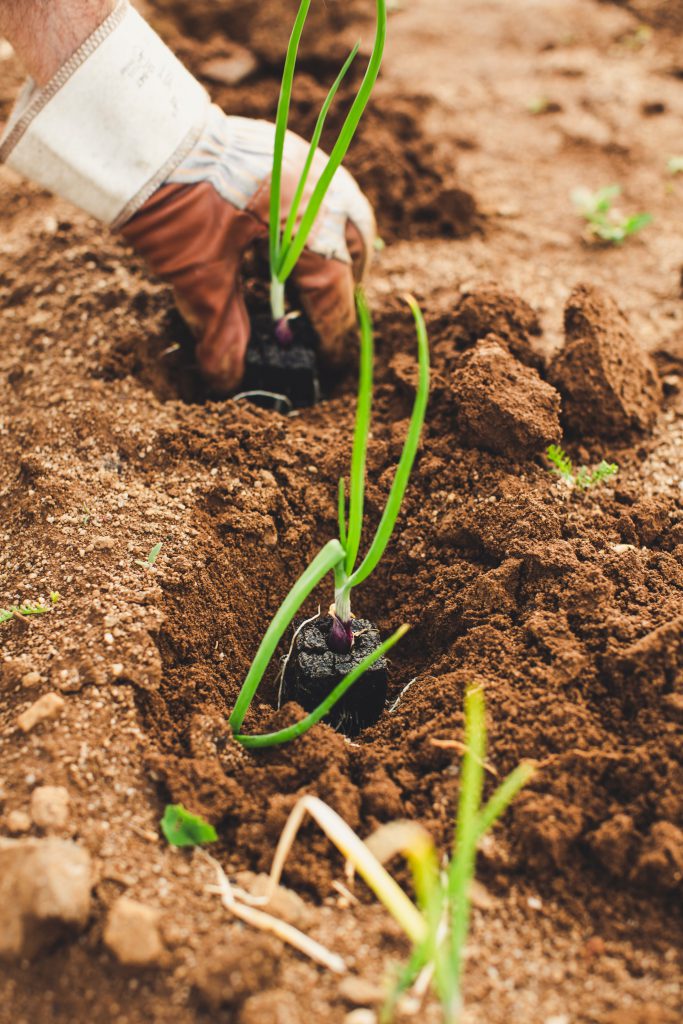
All seedlings should be planted in holes deep enough to cover the lump of soil they have grown in and with a thin layer of soil spread over the top. All seeds planted in circular areas should have three to four seeds spread out and dropped into soil 1 to 2 inches deep. As the seeds grow into 4- to 8-inch seedlings, pull out the weakest ones. All seeds being planted in a row should be placed 1 to 2 inches apart from each other for the entire length of the row. As those seeds grow into 4- to 8-inch seedlings, pull out plants to leave spaces of 1 to 4 inches between the remaining seedlings.
Water the garden in the evening or early morning. If you’re employing a garden hose, make sure not to use a high-pressure stream directly on the plants. If you’re using a fertilizer mixture such as Miracle-Gro, follow the recommended water-fertilizer mixture ratio and never pour the fertilizer directly on the plants.
Read Next: How to Make Kombucha at Home





Comments