Kombucha, a fermented tea enjoyed by pharaohs, emperors, and kings, is a popular homeopathic cure for sour stomachs, bloating, cultivating a healthy gut biome, and sluggish energy levels. It’s become a go-to drink for adventure athletes like climbers, ultrarunners, and wilderness adventurers — and it’s easy to make at home.
Back when medicinal methods relied mostly upon elements from nature, Camellia sinensis, a native plant from China and Southeast Asia, gained recognition for its digestive and energy-enhancing properties. The same plant is still used to make black, green, white, and oolong tea, all of which can be major components of kombucha. Oxidation, or the way the leaves are dried, influences the resulting type of tea and flavor.
Turning tea into kombucha starts with three things: tea, sweetener, and water. The right mixture of these ingredients in a clean, sterile ecosystem produces a biological fermentation process where a symbiotic colony of bacteria and yeast forms into a gel-like substance. This is called a SCOBY, which is an acronym for “symbiotic culture of bacteria and yeast.”
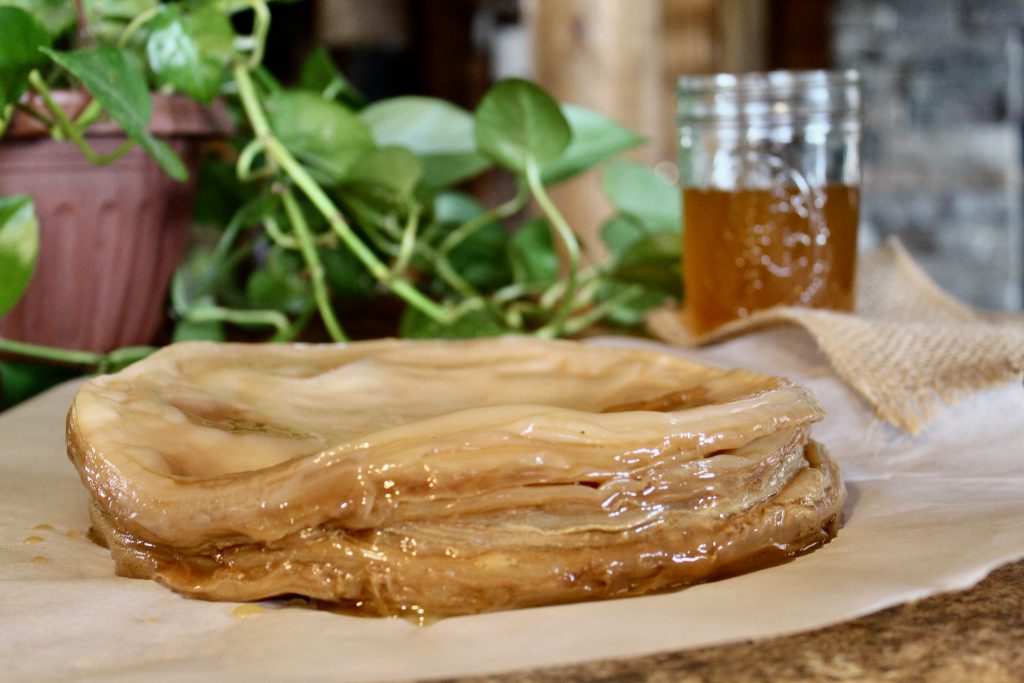
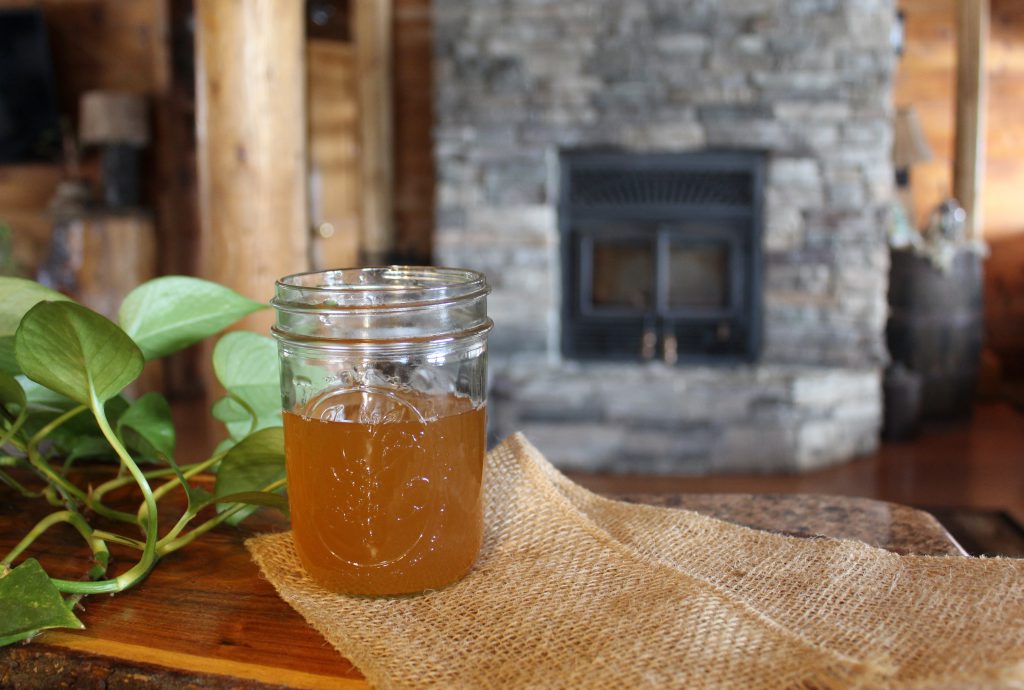
The SCOBY is alive and lives off the sweetened tea, which it ferments into the magic golden brew: kombucha.
Kombucha has a reputation for settling upset stomachs, relieving belly bloat, deleting sluggish energy levels, and easing hangovers. Other long-term health benefits may include reducing inflammation, promoting “gut” health, speeding up metabolism, lowering cholesterol levels, improving mental health, enhancing antimicrobial elements, and even boosting immune systems.
Overall, kombucha is recognized as a probiotic noted for restoring gut bacteria to its natural balance. This means drinking refreshing, bubbly kombucha on a regular basis may help your digestive system to function better by giving it a “good bacteria” boost.
DIY Kombucha
Anything homemade is generally healthier, contains fewer preservatives, and signifies self-reliance. The ability to ditch the yuppie $5 store-bought kombucha for a never-ending replenishing batch of your own is not only economical but cool. The keys to successfully pulling it off: following directions and patience. Here’s how to do it:
- Bring 8 quarts of clean water to a rolling boil.
- Turn off the stove, and drop six organic black tea bags into the water. Use only organic black tea when growing a SCOBY; switching to organic green, white, or oolong tea is best after the SCOBY has formed. Make sure it’s organic.
- Pour 1 cup of pure cane sugar into the hot water while mixing it with a nonmetal utensil. Never use metal when working with kombucha, except for when boiling the water — metal contacting the SCOBY or an active batch of kombucha will kill the working bacteria. Use pure cane sugar with your first batch, as it is most successful when starting without a SCOBY. (After the SCOBY is formed and healthy, switching to 1 cup of agave or non-raw honey is generally safe to do. However, since agave is mainly fructose, not glucose, the kombucha may not develop the helpful detoxifying elements to the same extent.)
- Cool to room temperature, remove the tea bags, and pour the mixture into a sterile glass container with a wide top. Glass containers with spouts work well, so long as the spout parts contain no metal. Sterile means the container was washed with soap, rinsed thoroughly and, as an extra precaution, rinsed with distilled white vinegar. Do not dry it as tiny fibers from the towel may remain inside and can cause problems.
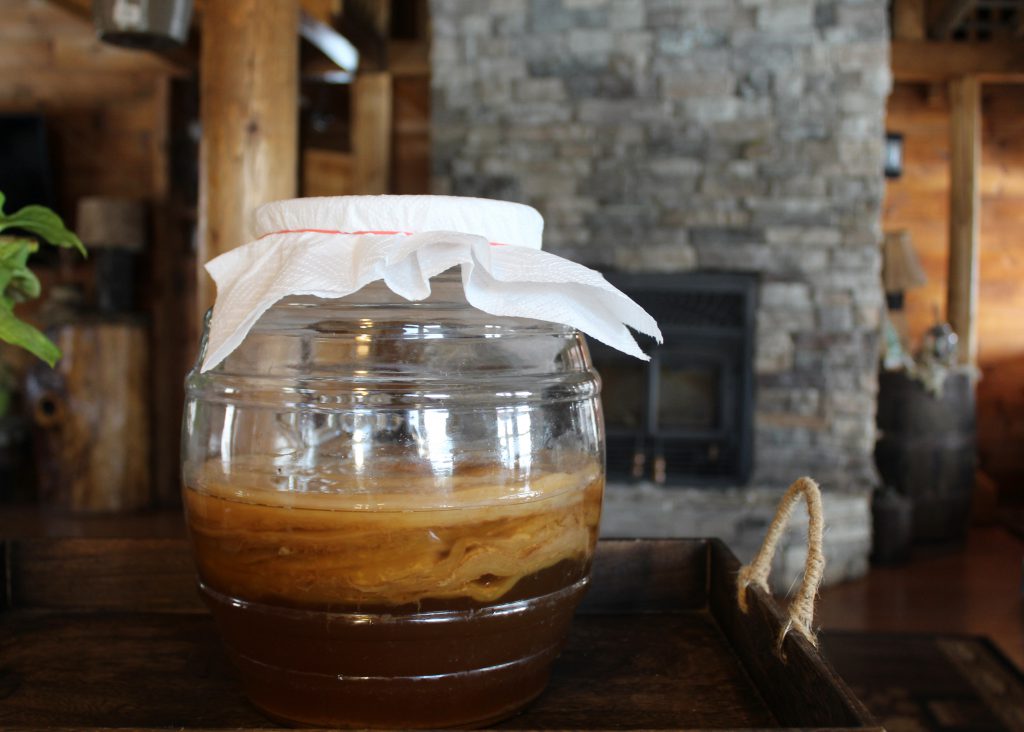
- Place a paper towel over the top and secure it with a rubber band. You must completely cover the top, but NOT with a lid, as air needs to escape. Paper-towel lids work best.
- Place the jar in a dark corner, and do not disturb it for two to three weeks. Do not remove the paper towel during this time, as your SCOBY is forming.
- After two weeks, test it by removing the paper towel and pouring some into a glass. A thin, slimy clear or whitish disk should be floating on top of the liquid in the jar. Do not disturb it, as the SCOBY will be used in future batches. Personal taste preference plays into determining when your batch is done. If it is still sweet, it needs more time to ferment. The longer the batch ferments, the tangier and bubblier it will become.
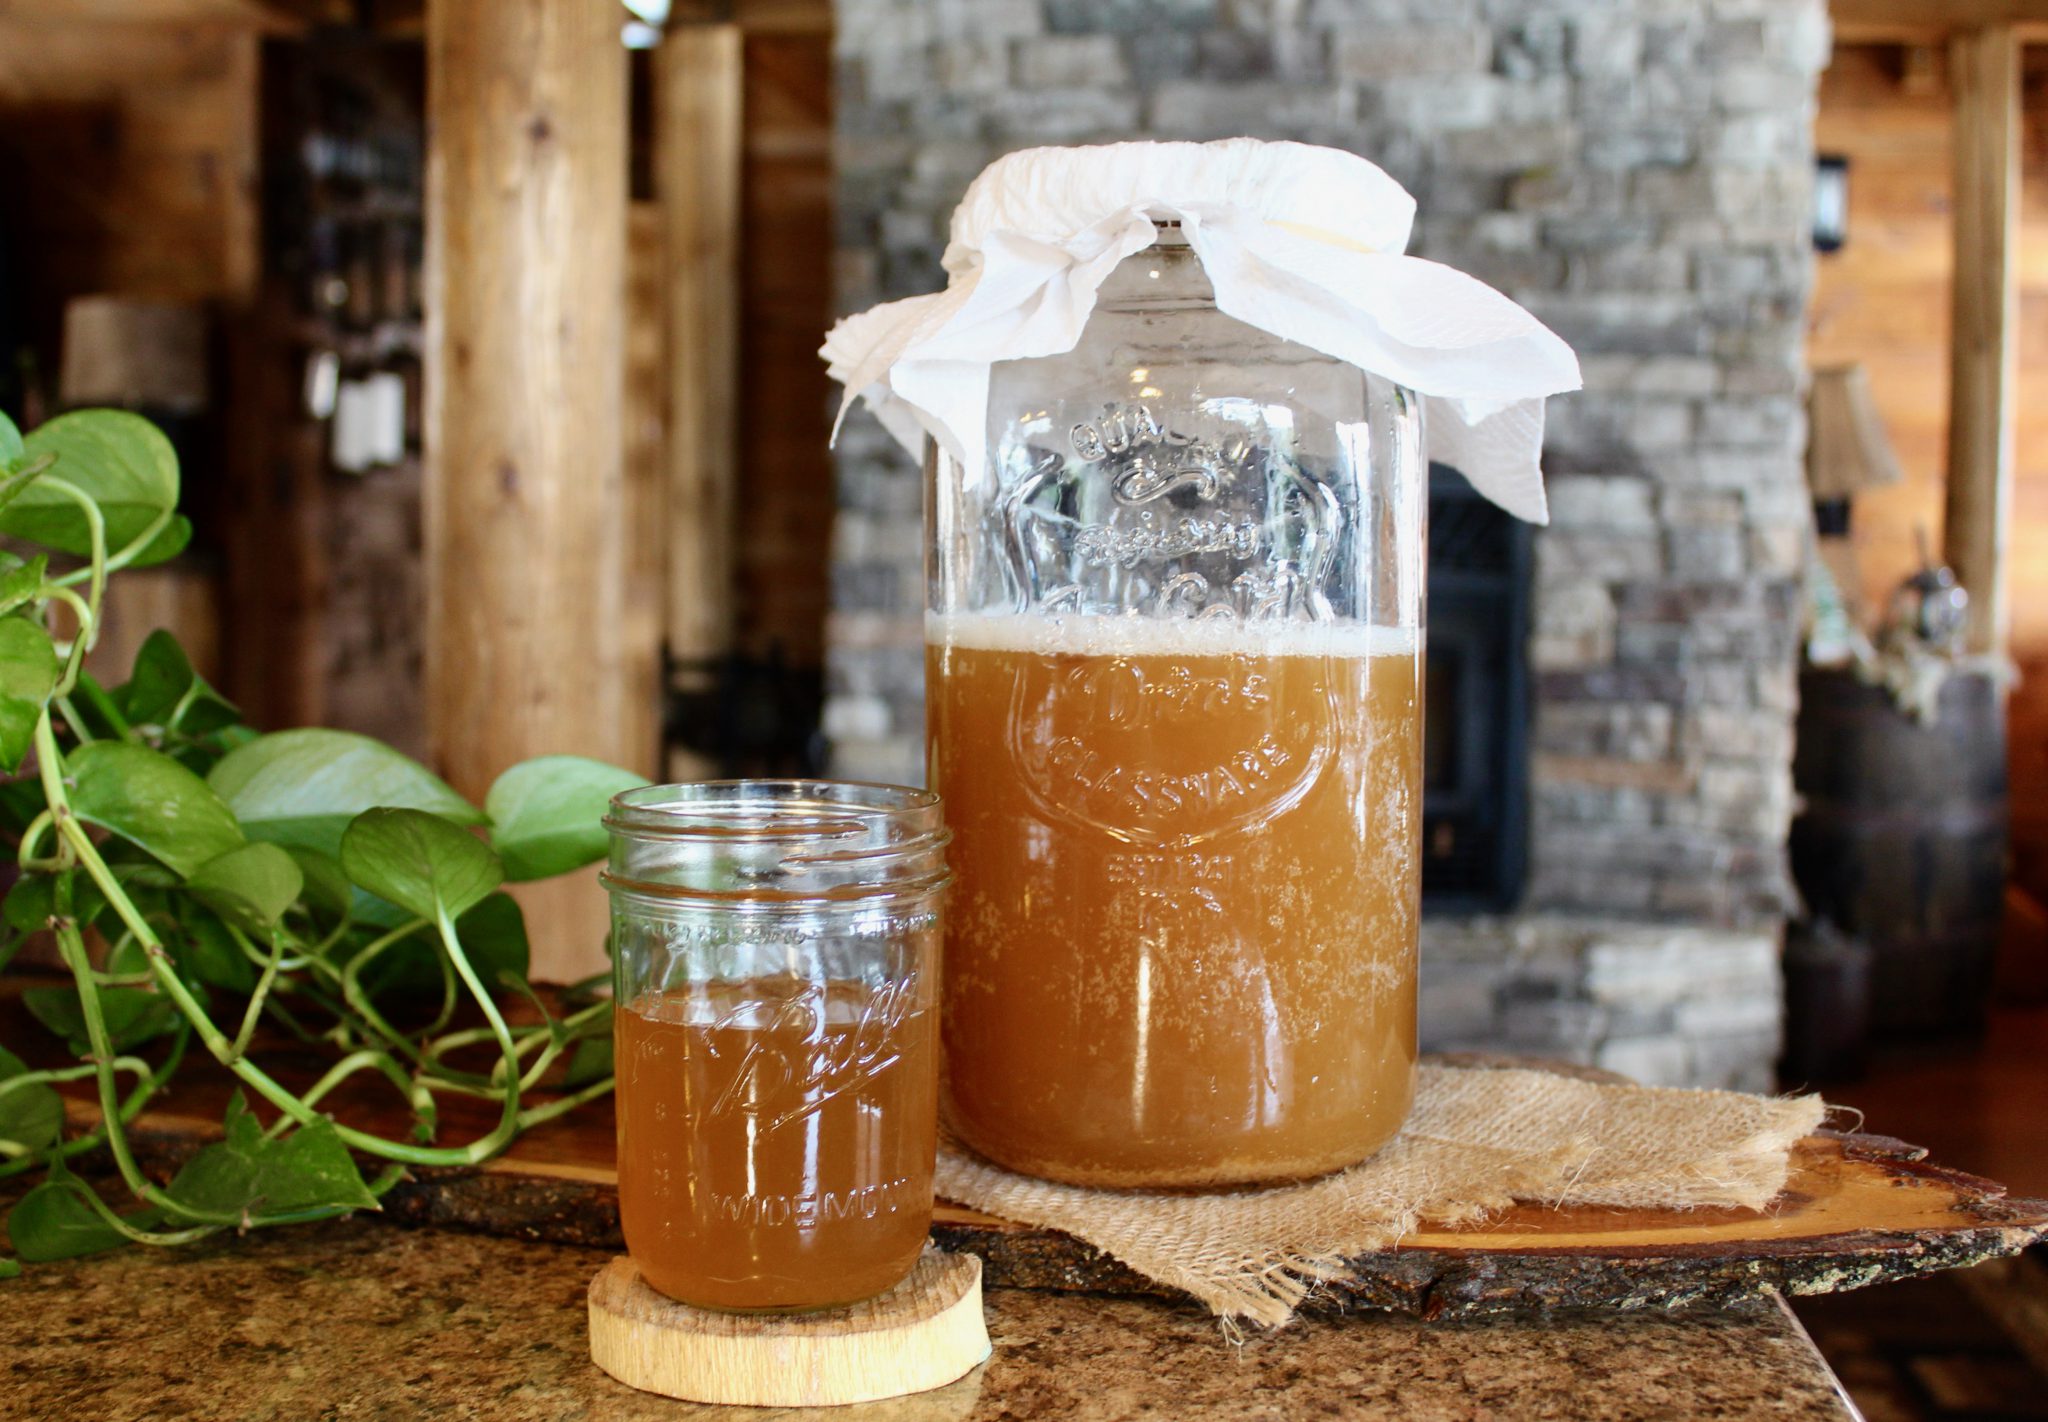
- If the batch is not done, put the paper towel back on, place the container back in the low-light area, and wait another week. When satisfied with the taste, pour the kombucha into a separate container, leaving the SCOBY behind, as well as about a cup of the liquid to help start the next batch. To help prevent continuous fermentation, place the golden brew into the refrigerator. Unrefrigerated batches may grow another SCOBY and continue to ferment.
Future Batches
After pouring the kombucha from the SCOBY container, immediately start another batch by following the steps above. The only difference is that washing the container is optional, as the perfect bacterial environment has been established and a starter SCOBY already exists. Always let your tea cool to room temp before adding it, as hot tea will kill your SCOBY.
With each batch, the SCOBY will thicken, earning the name “mother.” Underneath the “mother” forms a separate disk referred to as the “baby.” Babies may be used to start additional batches. A well-cared-for SCOBY can be used numerous times if thinned. Thinning means pulling apart the top layers from the bottom and discarding the bottom brownish layer.
Kombucha is known for its many positive effects, yet consuming contaminated batches has produced negative results. To prevent this, follow these brewing directions and keep things clean and sterile the entire time. Kombucha’s high acidic content makes it nearly impossible for bad bacteria to thrive, thus the health and safety risk is minimal. Still, check out the appearance, texture, aroma, and taste of each batch before you drink. SCOBY colors range from cloudy white to variations in brown, and size is dependent upon its age. Textures should be slimy in nature, almost “loogie-like” with some stringy brown floaters — it is alive, after all, feeding and growing continually. Aromas and tastes go hand in hand but are dependent upon the timing of the fermentation process ranging from sweet to tangy or varying tastes of vinegar. If in doubt, ditch it and start again — but I’ve been following this recipe for a decade and haven’t had a bad batch yet.
You can experiment with different teas or combinations of teas, like black and green, and see what flavors you enjoy most. Many people also like to flavor the fermented kombucha with a secondary fermentation in separate, smaller glass bottles with fruit, vegetables, herbs, or a combination before refrigerating. The possibilities are endless: carrot-ginger, blueberry, clove, lemon-mint, just to name a few. This secondary fermentation can also add more fizz to your brew.




Brittany says
Every other kombucha recipe I’ve seen calls for double the amount of sugar (when starting with an already grown SCOBY). Is the 8qt water:1c sugar correct? Or why do you start a SCOBY with less sugar? Thanks!