You can’t screw this homemade wine recipe up. It has only ONE ingredient. Plus, if our medieval ancestors were able to pull it off without the oversight of the FDA, so can you. Their goal then was the same as ours today: to turn the grapes into a challis of happiness as easily as possible.
There’s a crapload of modern “experts” who claim they know how to make the best DIY wine out there. Maybe. Homemade wine can be as complex as you want to make it. This recipe is not that. It’s easy, direct, and anyone can do it with just grape juice and a few basic supplies.
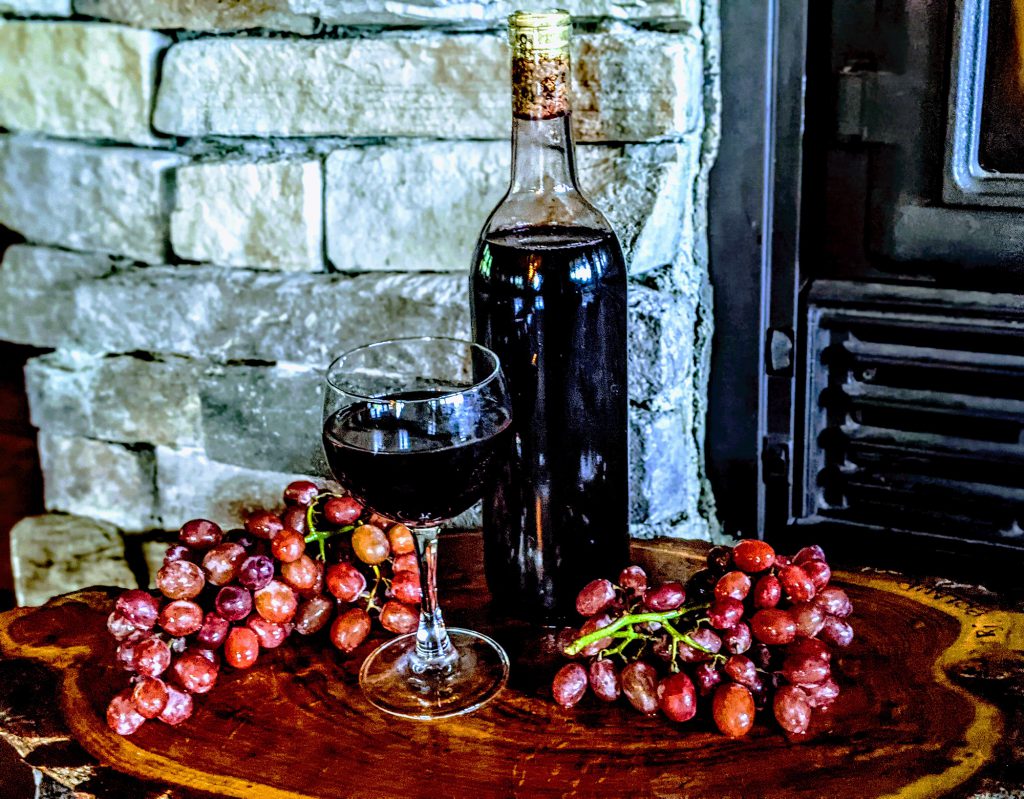
Homemade Wine Ingredient (singular) & Supplies
- Grape Juice — Call your local fruit market or wine supply stores and ask if they sell 100% pure grape juice in 6-gallon buckets. Yes, this is a thing. Typically it’s available between September and November, so act fast. That’s the only non-optional ingredient you will need.
- A Wooden Stick — Cut a tree branch long and strong enough to stir a 5-gallon bucket, peel off all the bark, or buy a 1-inch dowel. Make sure it’s untreated raw wood if you go the dowel route.
- 2x 6 Gallon Glass Carboy — One will work, but it’s best to start with two. Buy two. Do not use plastic.
- S-Shaped Airlock and Stopper — Get the right size stopper for your carboy. High-tech ones are not needed. (See Glass Carboy link above.)
- Auto Siphon Kit — Don’t go hog-wild on this piece. Simple works just as well.
- 24 to 30 Wine Bottles – 750 ml — New or used bottles work just as well.
- Natural Wine Corks — Natural or some agglomerated corks are made from the bark of a Cork Oak Tree, and synthetic are made from plastics. I prefer natural, but both will work. DO NOT reuse corks.
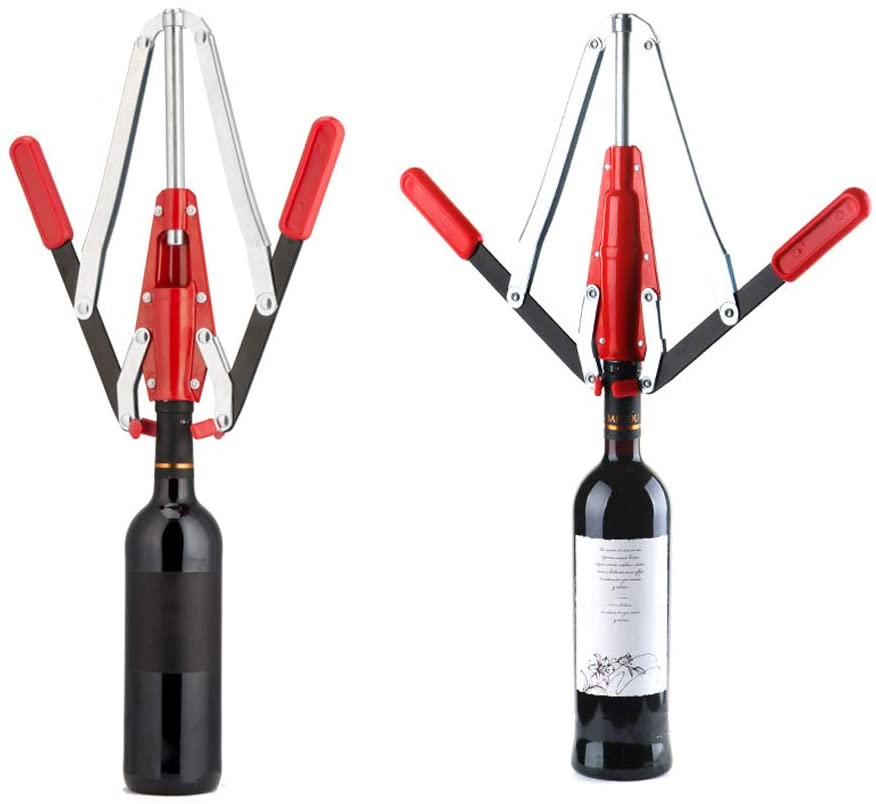
- Wine Bottle Double Lever Hand Corker or Wine Bottle Floor Corker — The hand model works but takes more time and figuring out. Floor corkers are MUCH easier to use but cost more.
- Preservatives — Okay, this is technically a second ingredient, but it’s optional. Preservatives are added to wine right before bottling and corking to kill and prevent yeast, mold, and bacteria from surviving or reproducing. This helps keep the wine from “going bad” and bottles from exploding.
Potassium metabisulfite or Sodium Metabisulfite are commonly used, but do your research before deciding. With that said, we’ve been making this wine for 25+ years and NEVER used one single preservative — not ever. Preservative wine always gives us headaches and blown-up joints, plus preservatives change the flavor.
We let our wine stay in the carboys longer (see below) and only bottle one 6-gallon batch at a time. We also keep our carboys and wine bottles in a dark, cool basement, rarely moving them till drinking time. Weigh your options here, the choice is yours.
Directions
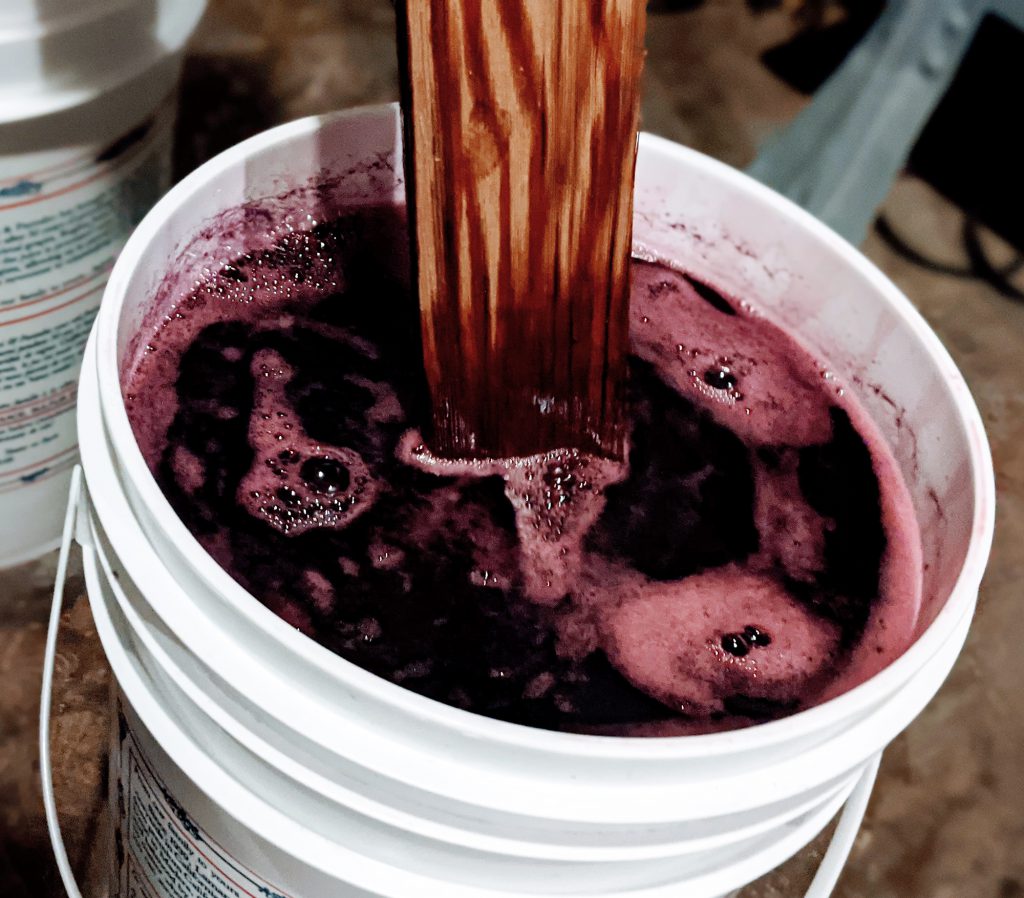
1. Let the bucket of grape juice sit in the bucket it came in for 24 hours in a dark, location at a temperature of 68 to 72 degrees. Basements are best, but closets work too. If these options do not exist, keep the bucket out of direct sunlight in the coolest indoor location possible.
2. Use the wooden stick to scrape the bottom of the bucket while SLOWLY stirring the liquid twice a day for 7 to 14 days. Skins at the bottom of the bucket are loaded with yeast which eats the sugar found in the juice resulting in a natural fermentation process. That’s what causes all the bubbles. Let the bubbles settle, and then snap the lid on securely. Make sure the little black air plug is off or turned upside down on the tiny hole. This allows extra air to escape.
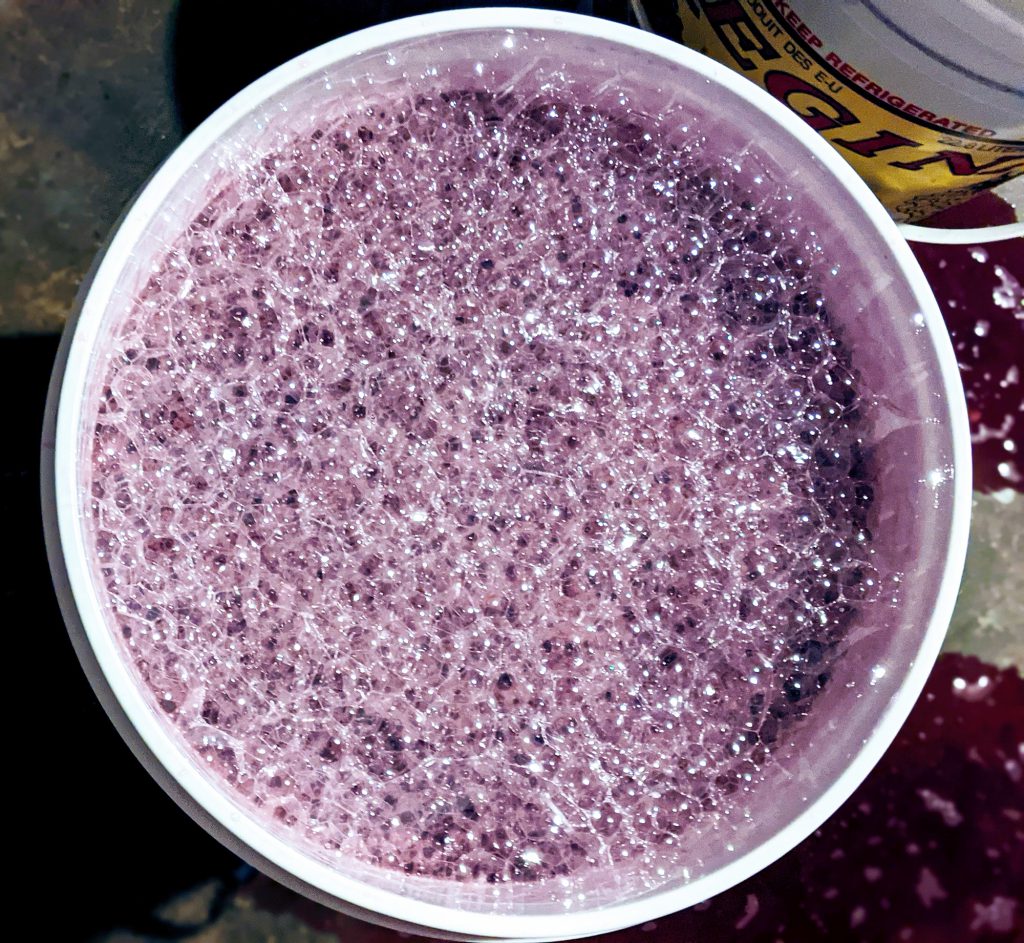
3. At some point between 7 to 14 days, the bubbling will stop. When that happens, siphon the juice from the bucket into a sanitized carboy using the Auto Siphon Kit. Avoid the junk from the bottom, although it won’t ruin your wine if you get some in there — the less air space in the carboy, the better.
4. AIR IS THE ENEMY OF WINE. Fill the S-Shaped Airlock and Stopper halfway with water and tightly push the cork into the neck of the carboy. It needs to be secure to prevent airflow. Check that the Airlock has water in the tube every few days that the wine sits. The water level may vary as air escapes throughout the fermentation process.
5. After 1 to 2 months, rack the wine. To rack wine, siphon the wine from one carboy to the next, leaving the sediment behind. Racking should be done every 1 to 2 months until the wine is bottled. Always place the S-Shaped Airlock and Stopper back.
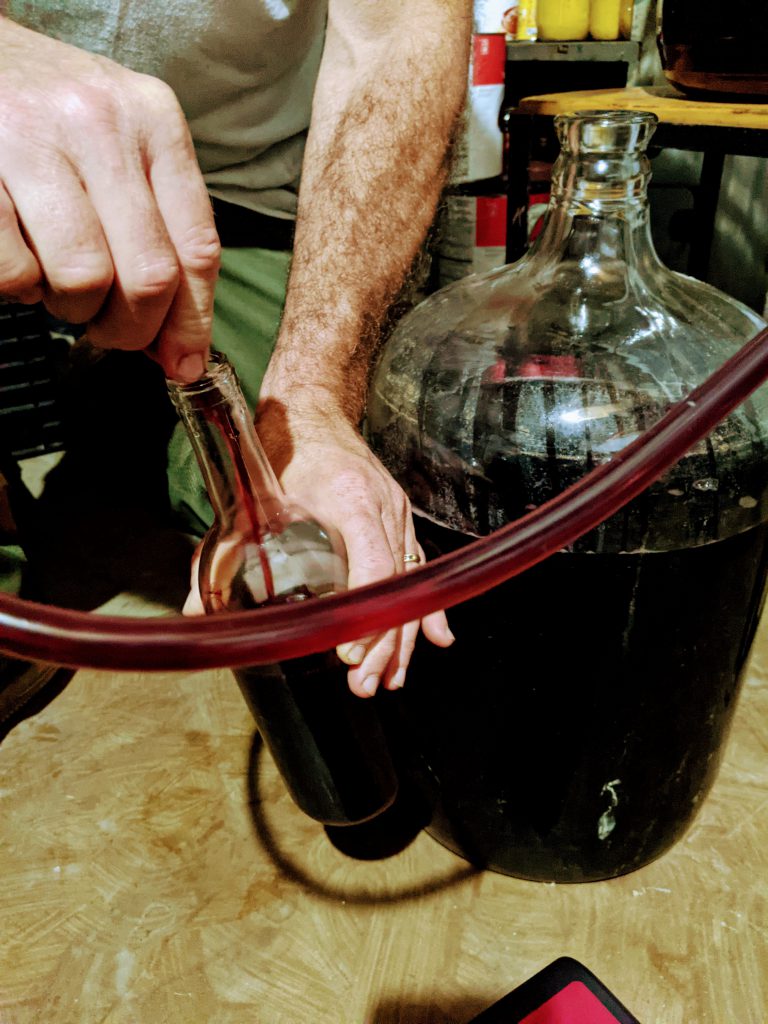
6. Wine should be left for 4 to 10 months minimum. Many variables influence the time, but to simplify things, give it a taste. Does it taste like wine or like juice? Did the wine foam or seem extra frothy? If you are not going for an alcoholic punch, let it ferment longer.
7. If adding preservatives, do it before bottling and follow the instructions. If not, begin siphoning from the carboy to the bottle. Fill the bottles to right below the neck. If preservatives were not used, keep the bottles still and in a dark location away from sunlight.
8. Impress your friends and neighbors by uncorking a bottle of this homemade goodness at barbecues, birthdays, and any other excuse to get together and eat, drink, and be merry.
Read Next: A Gut-Saving, Probiotic Drink – How To Make Kefir




Ron Jeff poland says
I love this article The wine is like no other.