If 2020 taught us anything, it’s that a global panic disrupts supply chains and creates scarcity. Many grocery stores issued buying limits on certain food items, prices skyrocketed, and store shelves thinned out. Realizations of just how dependent our families and friends are on other people’s food raced through a lot of American minds. What do we do if there are no groceries at the store?
This year on Free Range American we’re celebrating self-sufficiency and self-reliance. That means learning to hunt. Learning to reload ammunition. And, yes, learning to garden. Preppers have long discussed the necessity of a “survival garden,” and thanks to 2020, those guys and gals look a whole lot less crazy now.
Gardening does not have to be difficult, but it is time-sensitive. You must start in the late winter months and prep the soil by picking a location, tilling, fertilizing, and mixing. Here’s how to get started.
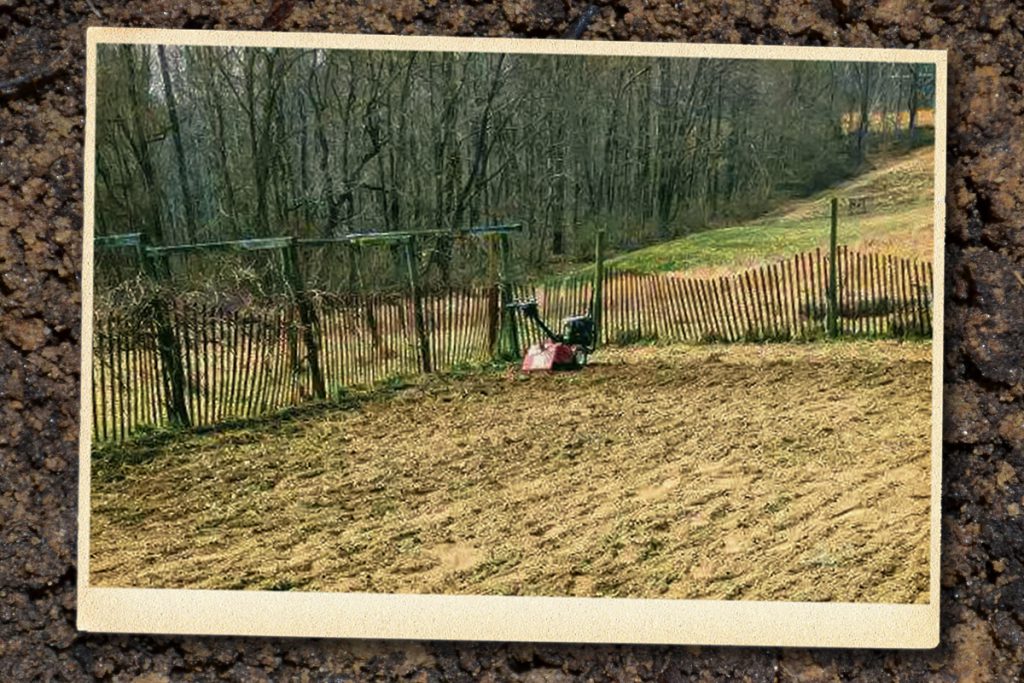
Picking Your Best Garden Location
Most vegetables require six to eight hours of direct sunlight per day in soil that drains well. To determine the best light source, identify where the sunlight floods through your windows in the morning. Pick a spot on that side of your house. If you are unable to plant there, select an area outside with the least amount of shade cast upon the ground in the morning. Morning sun is better than afternoon sun. Avoid picking a location that seems to take a long time to dry out after rain.
Next, determine the amount of area available. Limited space doesn’t dictate garden success. Keep in mind that vegetables expand. Generally speaking, most vegetable plants need 2 to 3 square feet of space. Exceptions include vining plants like zucchini and squash, which require twice that amount. Vining plants are the “hogs” of the planting world, scarfing up as much area as possible. Self-reliance gardeners learn to tame the “hogs” by creatively and strategically planting within the parameters available. When you have your spot and space figured out, mark the four corners with wooden stakes.
Rototill vs. Shovel Tilling
Gardening success depends upon good soil prep. You should be able to grab handfuls of soil and sift it through your fingers without chunks of dirt, rocks, sticks, or debris remaining in your hand. The less chunky the soil, the easier time your plant roots will have gathering nutrients, water, and air. There are two ways to do this: rototilling or turning by shovel.
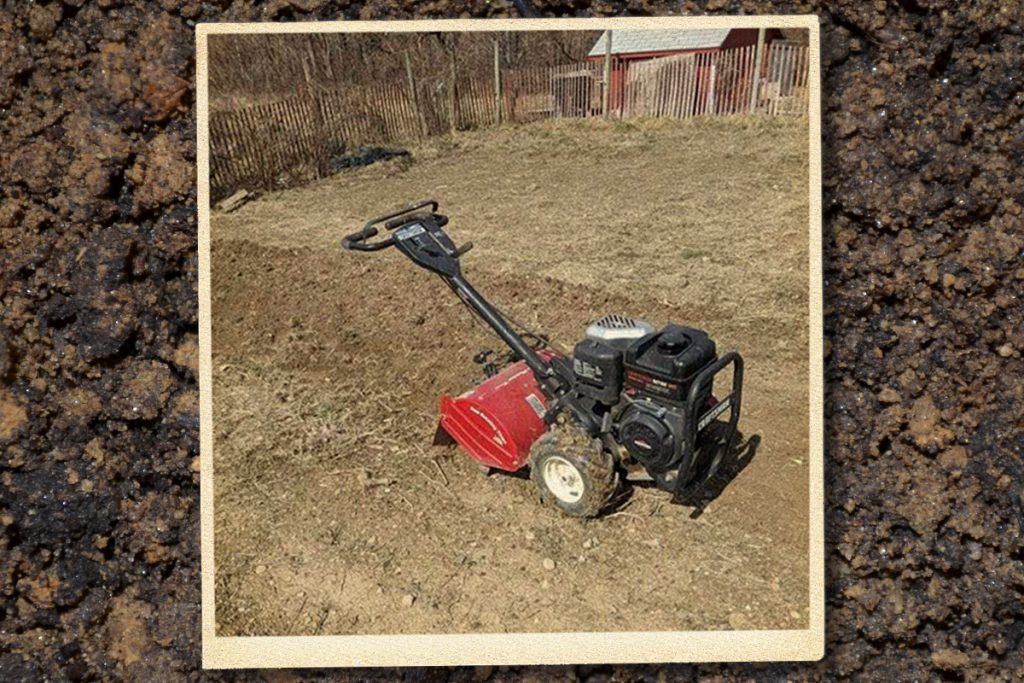
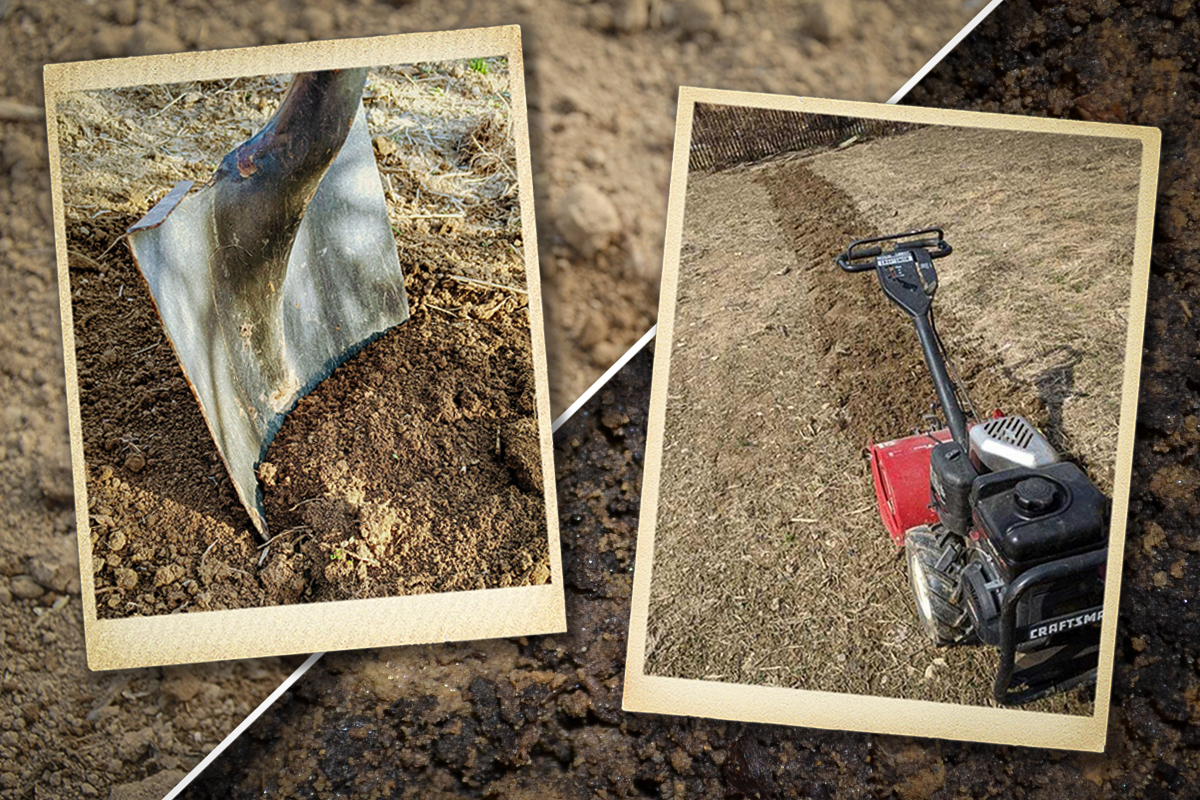
Easiest Method: Rototilling means using a motor-driven machine to dig up or turn soil. Do this in February or March following two rain-free days with average high temperatures of 45 to 55 degrees (depending on region, this typically comes in February, March, or April). This temperature range ensures workable soil and prevents damaging the rototiller. Tilling wet land leads to jammed machines and soil clumps, defeating the point of this step. Never-tilled land will require going over the area a few (two to four) times. The goal is to dig or till 6 to 8 inches deep throughout the garden, leaving no area untouched. Use a rake to smooth out the soil.
Helpful Tip: Research what type of rototiller is best for your garden beforehand. Take these things into consideration: garden size, size of person using the tiller, and type of rototiller. Home Depot, Lowe’s, and other big-box stores rent rototillers.
Cheapest Method: Shovel tilling means using a rounded or pointed tipped shovel and a rake to do the work of a tiller. Do this in March following a rainy day with an average high temp of 45 to 55 degrees. Moist land is MUCH easier to dig into than the rock-solid earth. Force the shovel down 6 to 8 inches, get a good scoop of dirt, and turn it upside down onto the ground. Make sure no part of the garden goes unturned. Let the turned ground dry for a day. Then take your shovel tip and break up the chunks of earth until the soil can sift through your fingers. Use a gardening rake to smooth out the area.
Helpful Tip: For an easier time turning the ground, select a shovel with a sharp-pointed or rounded blade. Choose a garden rake with a strong wooden handle and head made of metal.

Fertilizing
Fertilizing a garden simply means adding nutrients to your soil that may be missing. Whether untrained or worked soil, all fall short of the perfect blend of nutrients. Replenishing such components reaps a more bountiful garden. The best way to do this is to spread manure 2 to 3 inches deep over the entire garden.
Manure is the most natural fertilizer. Cow, chicken, horse, and rabbit are the best types of manure. Older manure is better, meaning the more dried out or composted the “poo,” the better the result. Fresh manure can “burn” or damage vegetables, whereas composted manure allows a slower process of nutrients seeping into the soil. Fresh manure can also contain seeds that make weeding a garden a big chore. Manure can be cheaply purchased by the bag at most improvement stores — or better yet, contact a local farmer.
Mixing and Smoothing
Mix the fertilizer with the soil by rototilling or shovel tilling as explained above. No clumps of manure should remain. The better the “mix,” the more evenly nutrients will be integrated into the soil. Finish up by taking a garden rake and smoothing out the entire garden. With this done, you’re well on your way to homegrown summer meals without a trip to the grocery store.
Read Next: Survival Garden 101: Why You Need To Plan Before Planting
Read Next: Starting Seeds Indoors





Comments