A loud bugle pierced the mountain air and woke me like a double-shot espresso. The bull was on a mission to confront another bull bugling in the background. I nocked an arrow and assumed the position as he appeared about 70 yards out from the timber. His chocolate-dark antlers carried outstanding mass; his body size was unfathomable. In an eye blink, he closed from 70 yards to 40, as if coming on a string. I anchored when some barrel-trunked evergreens obstructed his view.
I was expecting he’d stroll by at 6 yards and broadside, but since I had nearly no cover, I was prepared to take a frontal shot if the bull slammed on the brakes at a top-pin distance. He did exactly that 14 yards away. My top pin burned a hole through his chest where brown meets tan, then I released. The arrow I’d built myself buried deep into his chest. It had launched from a bow that I set up myself, tuned, and tweaked to no end. The old 6-by-6 ran 80 yards before his legs gave out. In the wake of his expiration, I was flooded with overwhelming satisfaction, for I’d taken a great public-land bull with equipment I’d assembled in my home bow shop.
If you’re a bowhunter, you’re well acclimated to making routine archery-shop visits to have bow and arrow work performed by a professional archery technician. From bowstring replacements to arrow re-fletching to peep aligning, most archery consumers resort to a professional for everyday tweaks and tunes. Of course, trips to the bow shop are slightly inconvenient, and a bit expensive.
Commercial archery shops will always be needed; not every bowhunter is meant to work on his or her own equipment. I have many friends who are archery dealers scratching out modest livings doing what they love. I’m totally behind them. Still, for the DIY-savvy bowhunters like me, tackling your own archery work at home makes good sense. It’ll save you trips to the shop, and the equipment needed to perform the work will pay for itself within a couple of years.
There’s certainly a lot to learn before you start working on your own equipment, but if you’re even somewhat bright and are willing to research and learn, you could become your own archery mechanic with the following eight basic tools.
1. Bow Press
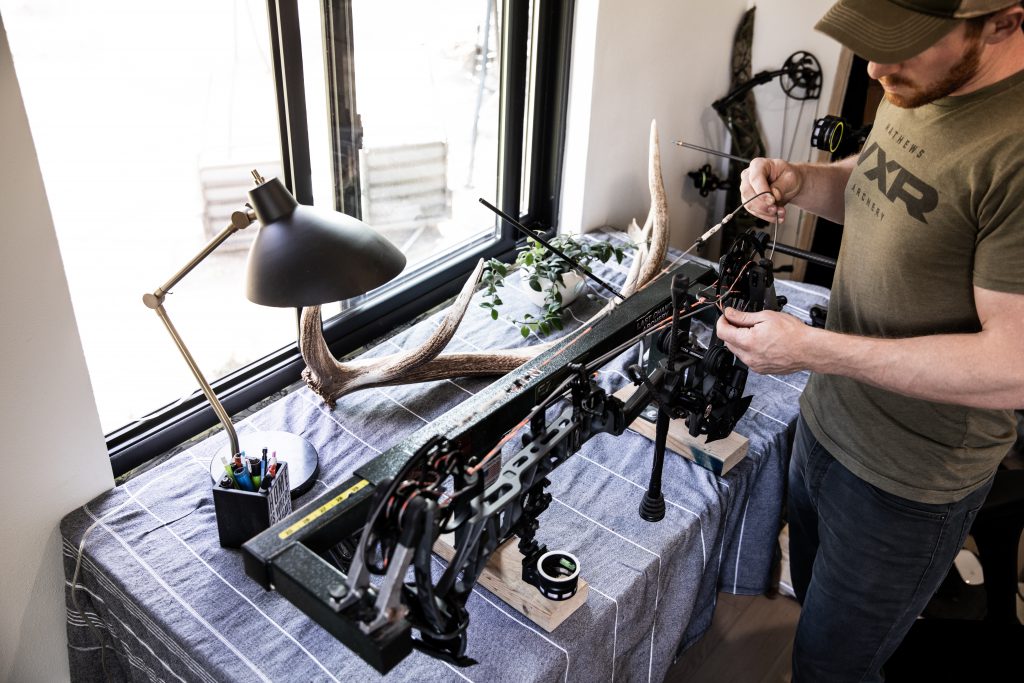
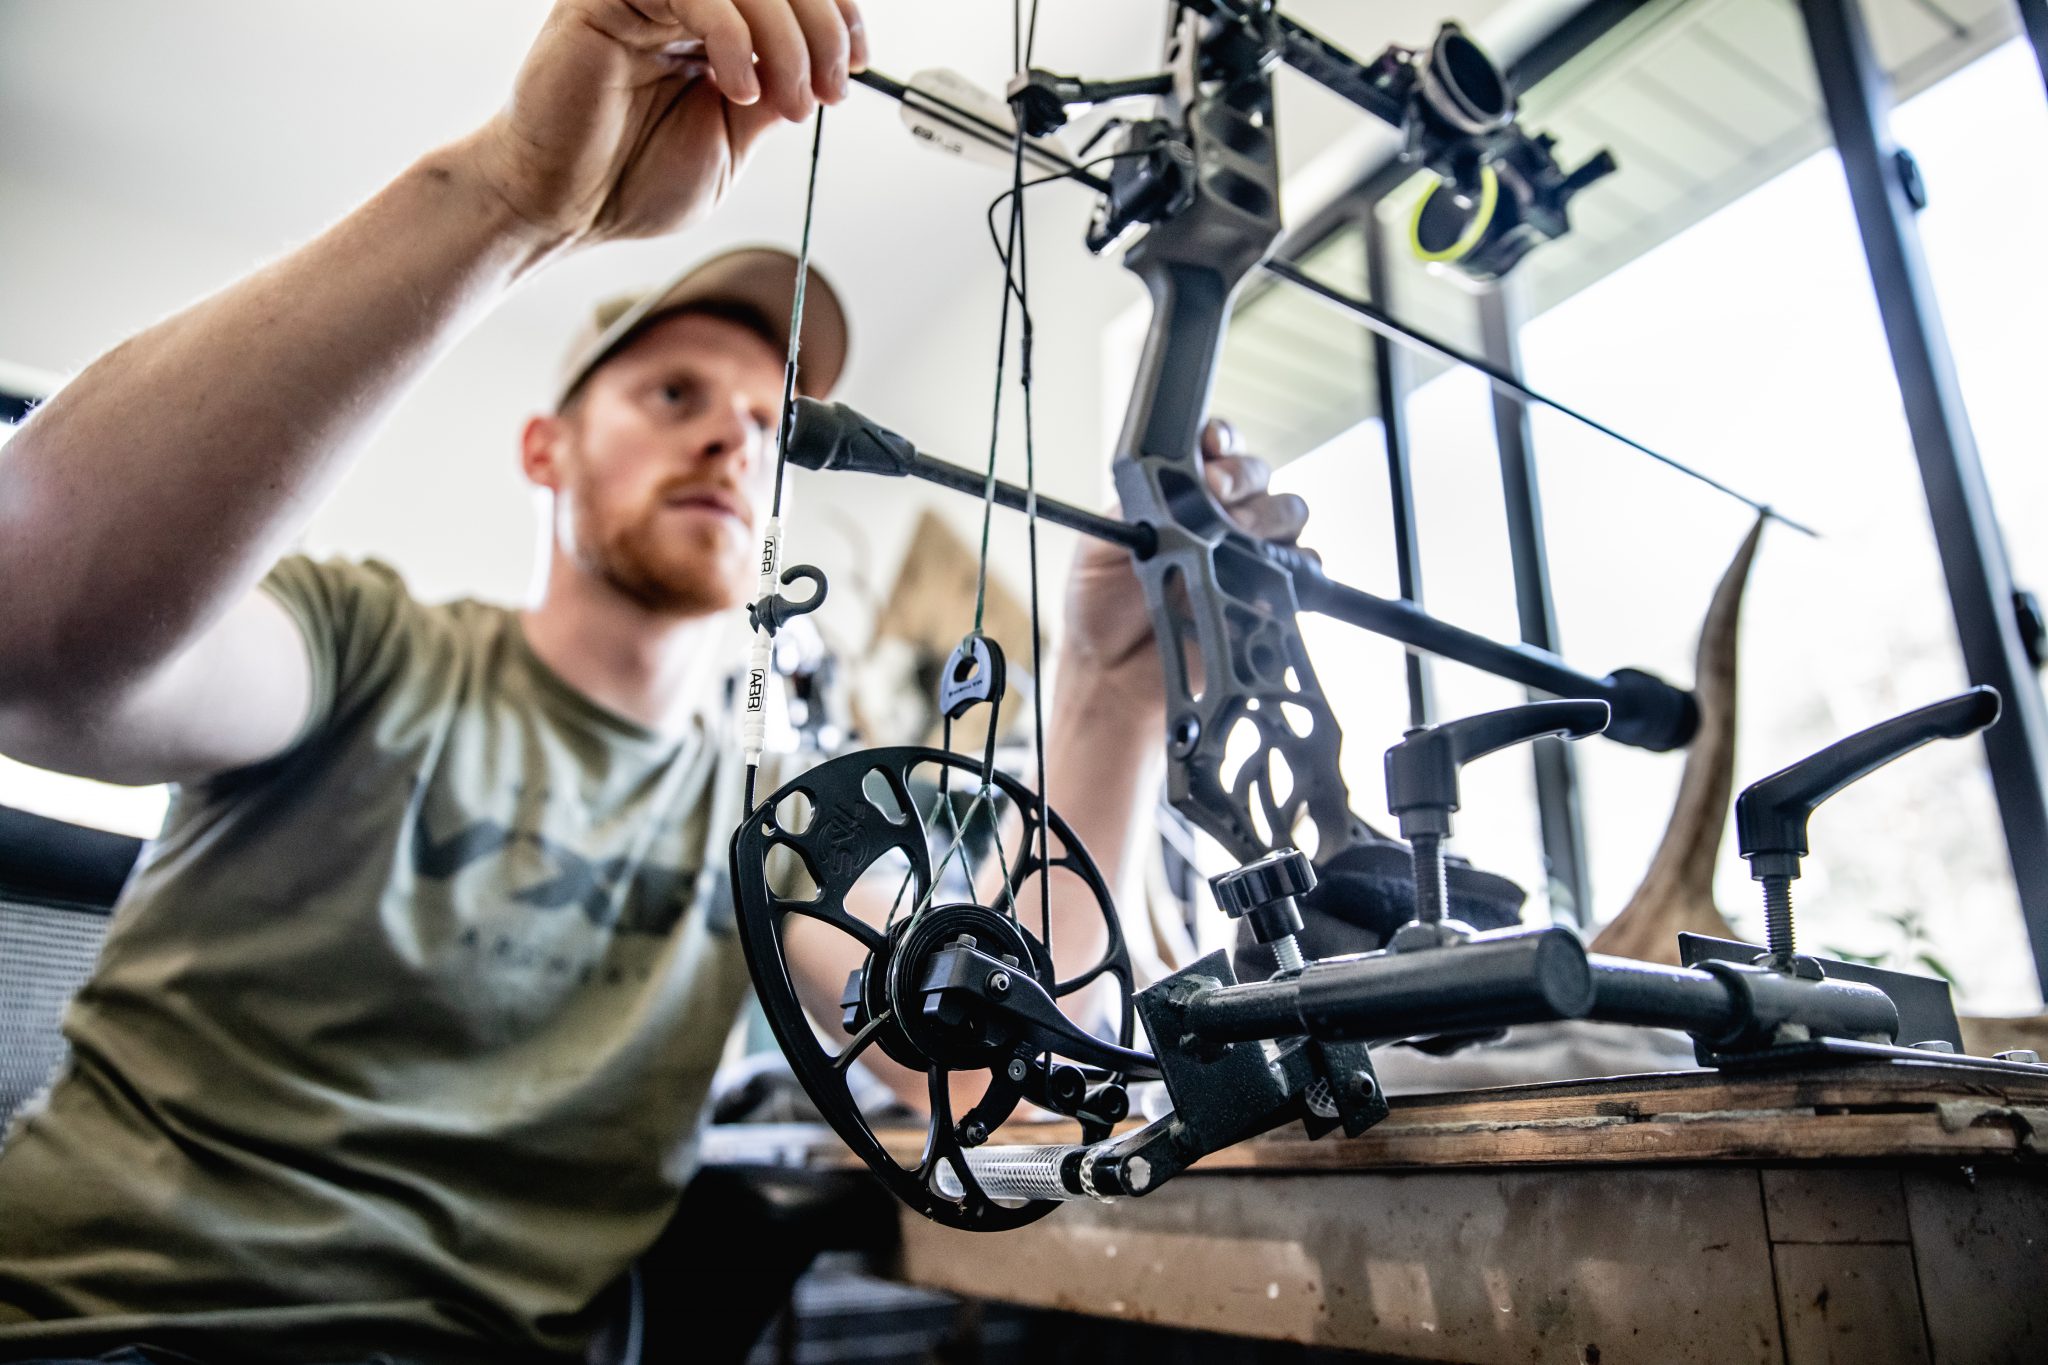
A bow press is the most expensive, yet indispensable piece of equipment a home bow tech can own. From changing a bowstring to aligning a peep sight to fixing cam lean or synchronization, a bow press enables you to do work that the pros do.
Several options are available, but I suggest Last Chance Archery’s (LCA) EZ Green Bow Press. I use one myself. It’s unbelievably user-friendly, and LCA provides information on pressing all types of bows so that you don’t risk damaging your bow or its components. The EZ Green is $399, and it’s made in the USA and should last your lifetime. To boot, LCA is a veteran-owned company.
2. Bow Vise
A bow vise frees up your hands so that you can perform intricate work such as installing accessories, tying on a D-loop, or leveling a rest. I’ve worked with and without one, and believe me, it simplifies everything tremendously. Here again, LCA’s EZ Green Bow Vise is my go-to choice. For $99, the convenience is astounding.
3. Grain Scale
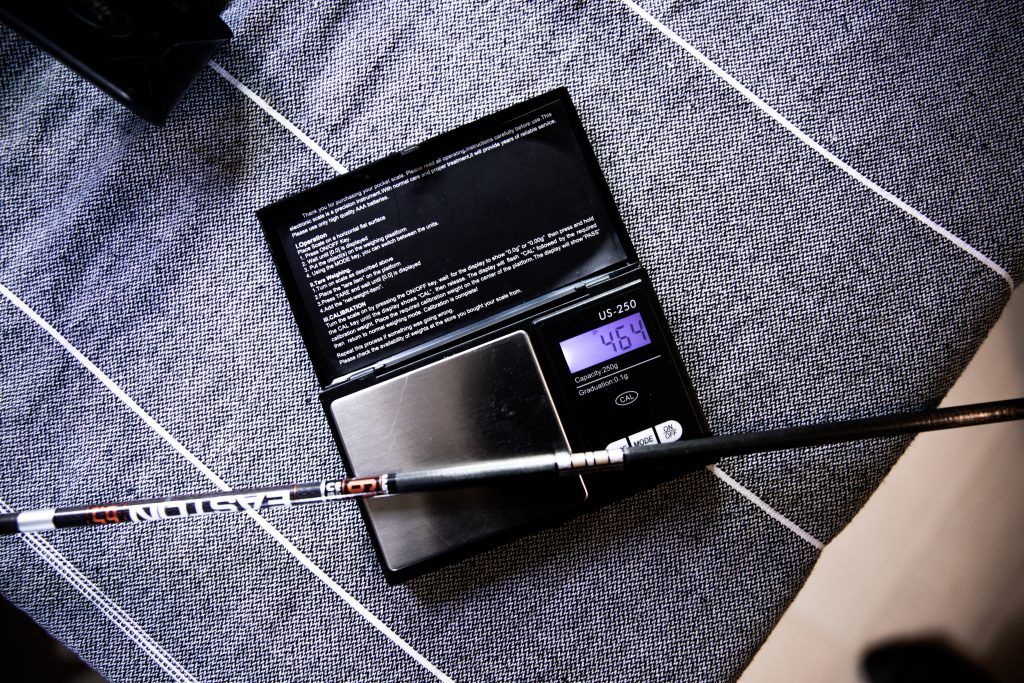
To measure arrow and/or broadhead weight, a grain scale is a must-have tool. If you have multiple practice tips in your archery toolbox, you can quickly verify their weights before installing them in your arrows. Also, you can identify discrepancies in grain weight between arrows. If an arrow varies more than 5 grains from the rest, I’ll usually mark it and use it for practice only. It’s rare, but it does happen, and a grain scale gives you the opportunity to identify it. Scales that measure in grains are a dime a dozen, made by LCA and many others. A quick Amazon search is the way to go here.
4. Pliers
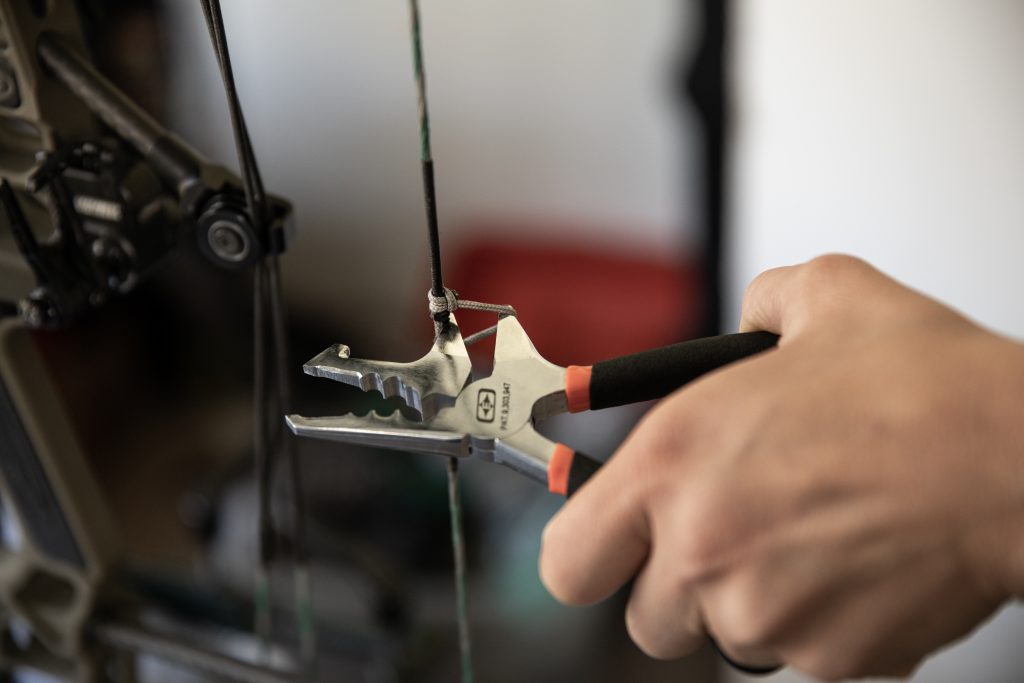
A home bow shop isn’t complete without multitool pliers such as Easton Archery’s Elite Nock and D-Loop Pliers. They run around $26 and are designed to pull the tightest D-loops possible to avoid movement or twisting once installed.
5. Hex Wrenches
You probably already own a set or two, but hex wrenches are needed for most bow and accessory adjustments. Watch out, though, as some bow manufacturers now have Torx-headed screws for fastening cam modules and such. A set of both usually runs $10 to $15 each.
6. Bow Scale
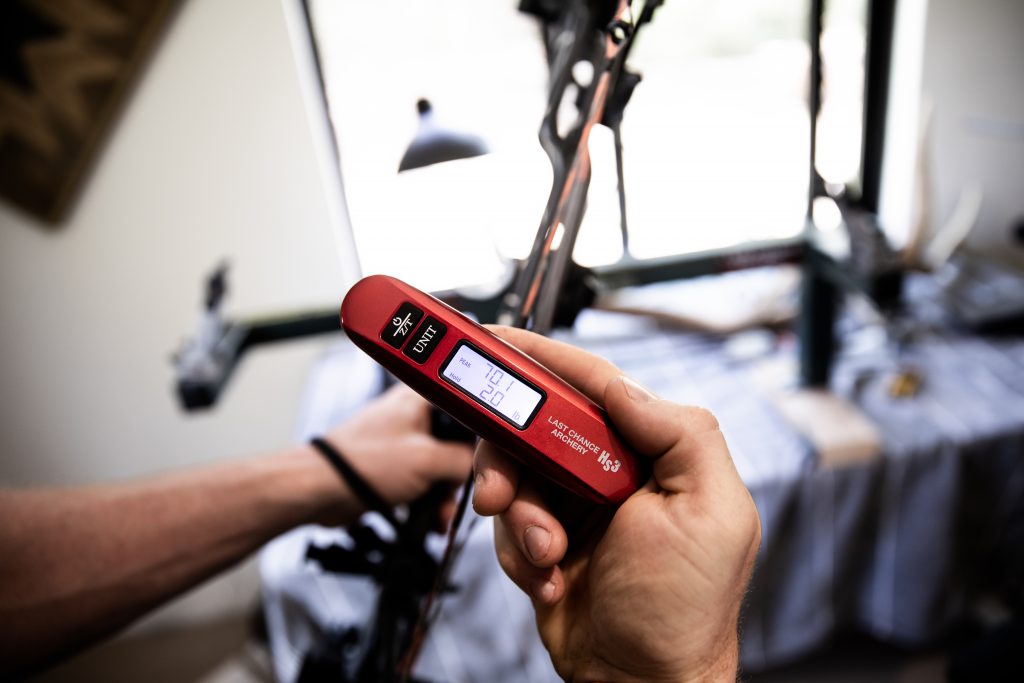
Hand-held bow scales like LCA’s HS3 are convenient for on-the-go measurement, but it’ll set you back $79. Cheaper ones are available online, as well as from the likes of Cabela’s and through 3 Rivers Archery Supply.
7. Paper Tuner
While commercially produced paper tuners are available, I crafted mine from 1-inch PVC pipes and fittings. I made it the exact desired height, and it was incredibly easy and inexpensive to build, maybe $20. If you go the commercial route, you’re looking at $55 to $190.
Since I’ve been my own bow tech since I was 13 years old, I don’t use lasers because I have an eye for everything. Most often, my paper-tuning confirms my eyes did well, and if I have to tweak anything, it usually isn’t much. For a newcomer, I’d suggest getting a laser tool to initially set up the rest and check for cam lean. Spot Hogg Archery has a great one. I used it in the past when I worked at my family’s archery pro shop.
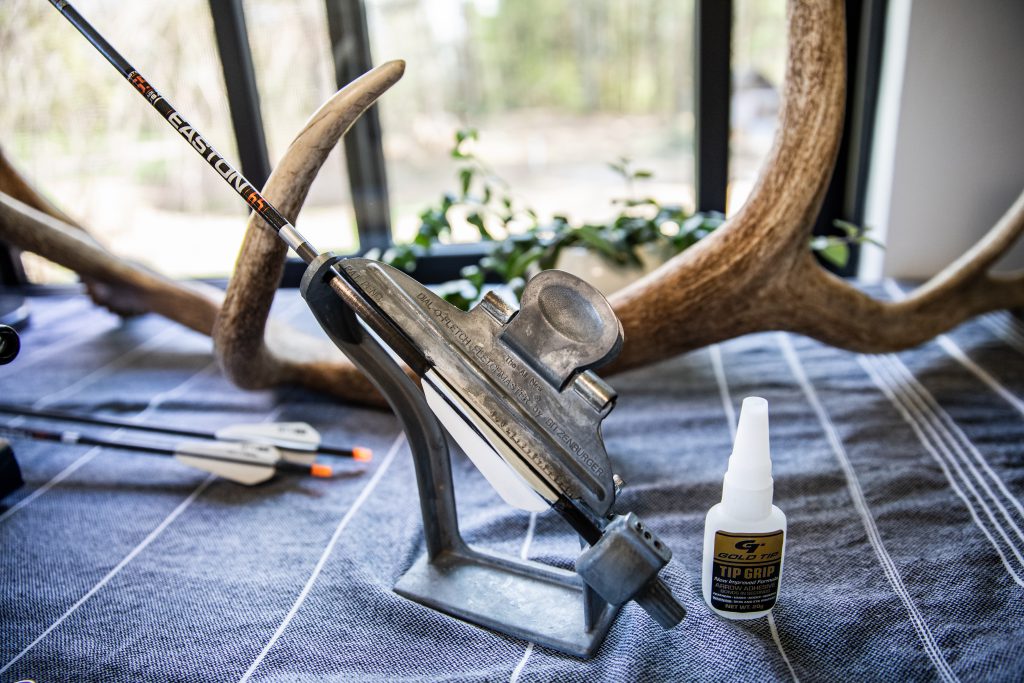
8. Fletching Jig
Ever damage a vane while shooting backyard groups, or lose or damage a vane or three after a pass-through shot on an animal? Well, it’s awfully inconvenient to run to an archery shop to have just one vane replaced. A good fletching jig saves you the trip and should last a lifetime. I use one by Bitzenburger, and I’ve also used LCA’s Vane Master Pro. Both work well, but there are some things I like more about the Bitzenburger. And it’s cheaper at about $100, whereas the LCA model is $299.
Read Next: 4 Exercises That Will Bulletproof Your Bow Draw




Comments