Many deadlift attempts are DOA before the plates ever leave the ground because most folks don’t know how to lock in their setup. But with a basic understanding of position, leverage, and tension, you can dial in your deadlift technique and rip heavy iron from the earth. Here is everything you need to know to get your proper deadlift technique on point.
Position and Leverage
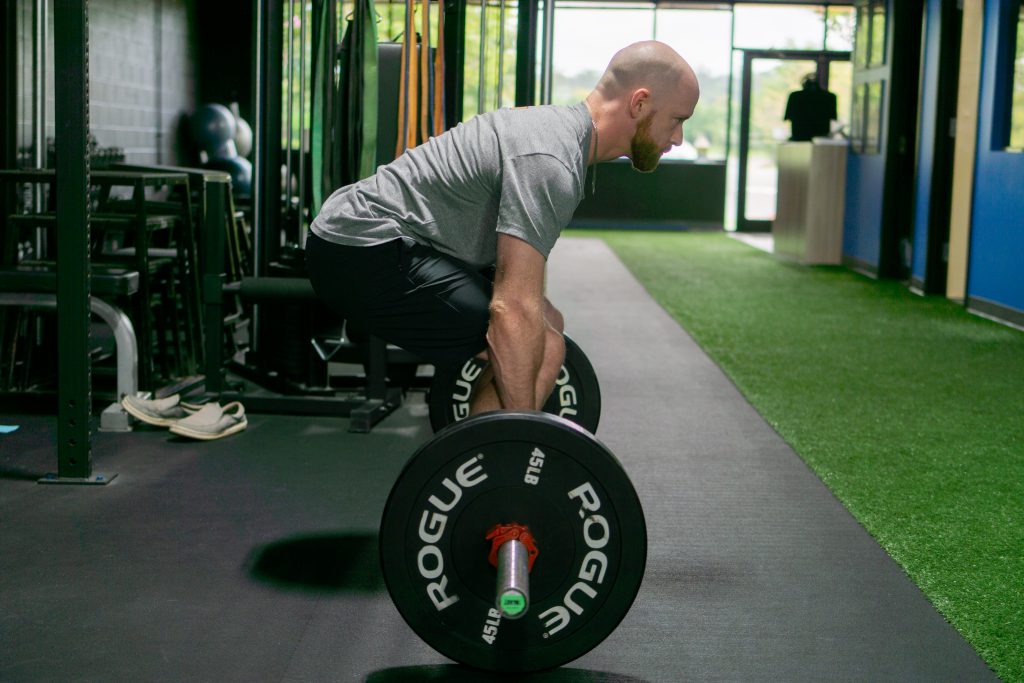
While each deadlift setup is slightly different based on individual bodily proportions, the angles within
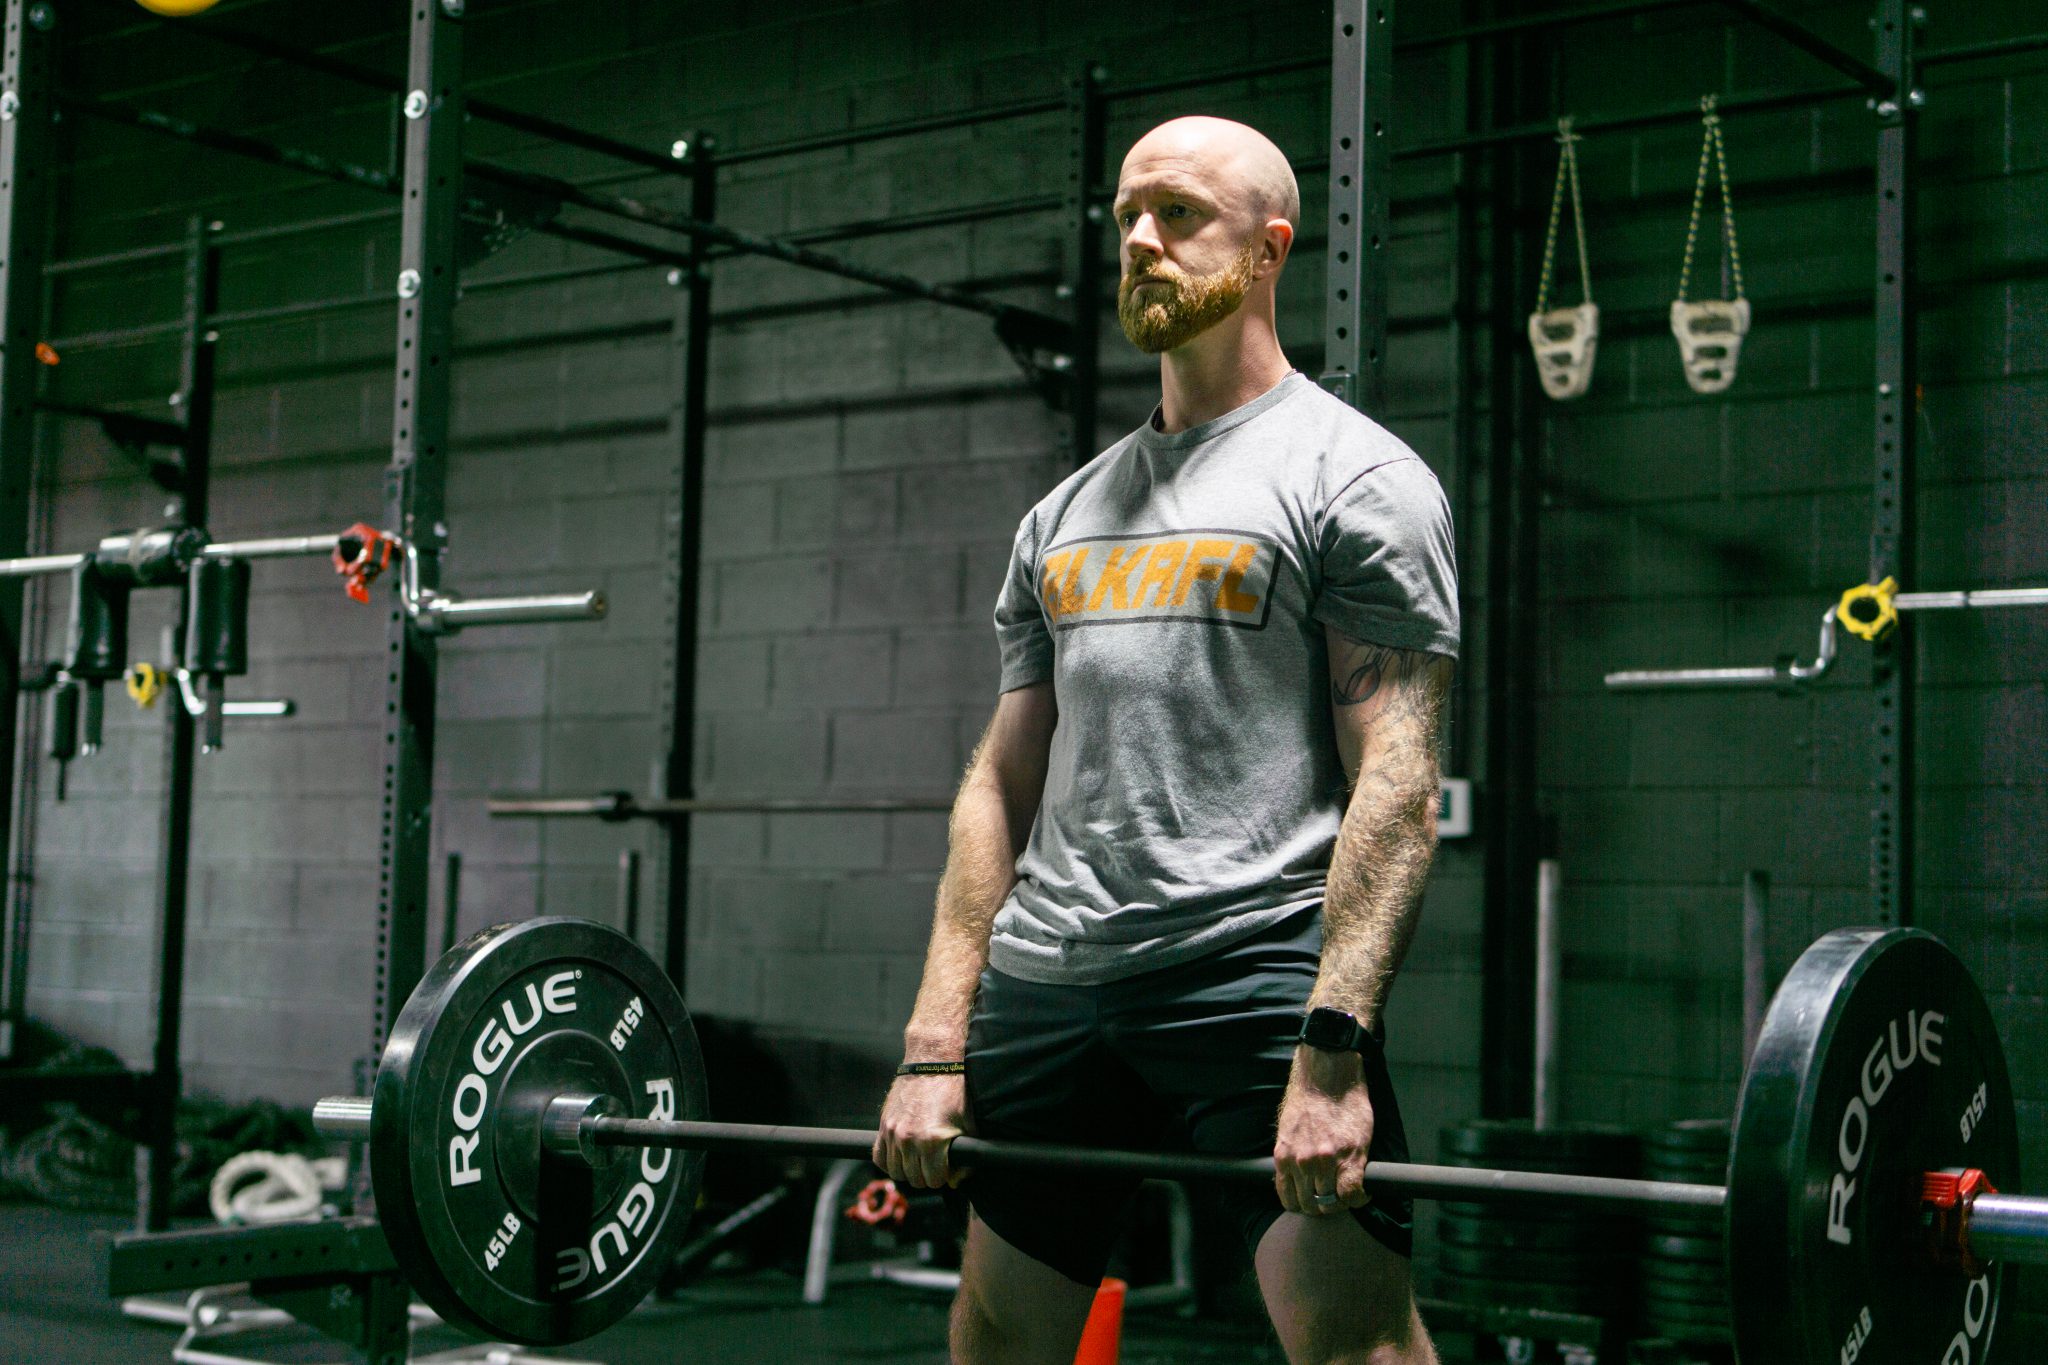
While each deadlift setup is slightly different based on individual bodily proportions, the angles remain the same. Your hips must be lower than your shoulders, and the bar must be positioned so that it is “cutting your shoulder blade in half” when observed from the side. This positioning allows for a straight-bar path as well as for optimal tensioning of your hoist muscles. Your hips and torso should form a perfect “V,” and your knees should be bent a little less than 90 degrees.
With this setup, you are an effective human crane.
“Pulling” Yourself into Position to Set Tension
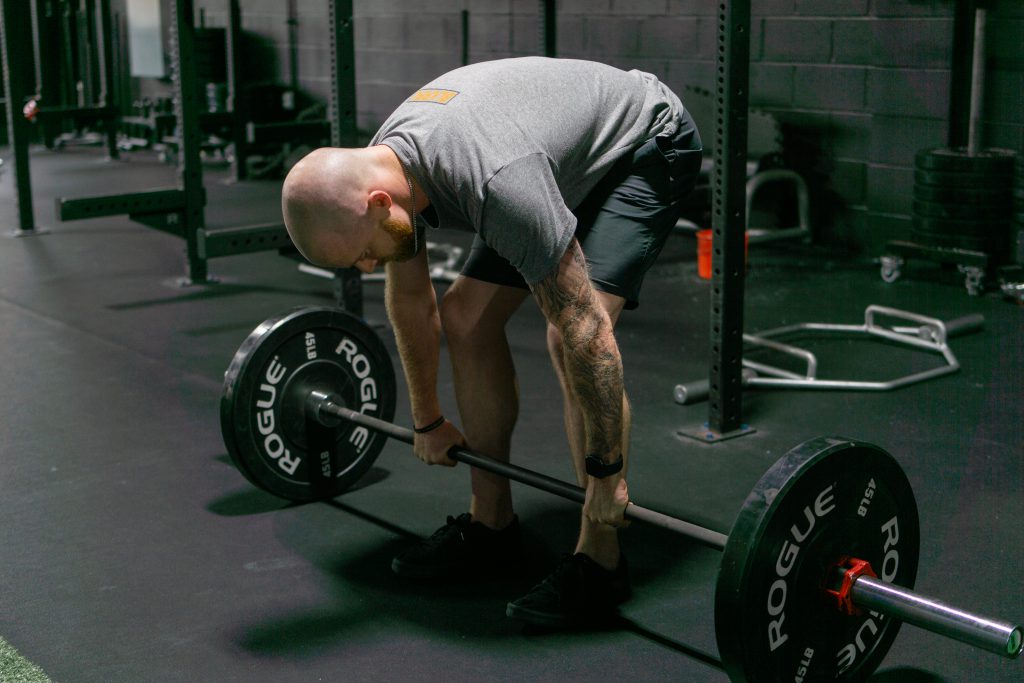
Start the party by standing 1 to 2 inches from the bar with your feet hip-width apart and your toes pointed slightly out. From there, bend over and grab the bar while keeping your arms long and pull yourself down into your setup.
As you pull yourself down, you’ll feel the bar clink against the weights. This step is “getting the slack” out of the bar, and it’s real dang important. If you don’t get the slack out, you can’t set full tension. Without full tension, you can’t keep your leverage.
Let’s say you pulled into the bottom position, but you couldn’t get your hips lower than your shoulders. That means that you set up too close to the bar; back up a little bit. Conversely, if you pulled yourself down to the bar but can still move all over the place without picking the bar up, you were set up too far back; move closer.
You should also feel your body weight distributed evenly from left to right and front to back in your feet. If you feel most of the weight in your heels, keep adjusting until you shift your weight forward to your midfoot.
Check out the video below for a detailed rundown:
A Note on Bodily Proportions
If you have long limbs and a short torso, everything discussed above works well for you. If you have short limbs and a long torso, you’ll have to widen your stance to shoulder width and place your arms inside of your legs.
A wider stance will keep your hips closer to the bar and allow you to maintain your leverage to move the weight while limiting stress on your lower back. If you find yourself somewhere between short and long in both categories, play with each stance to see what fits best for you based on leverage and tension.
The Lift
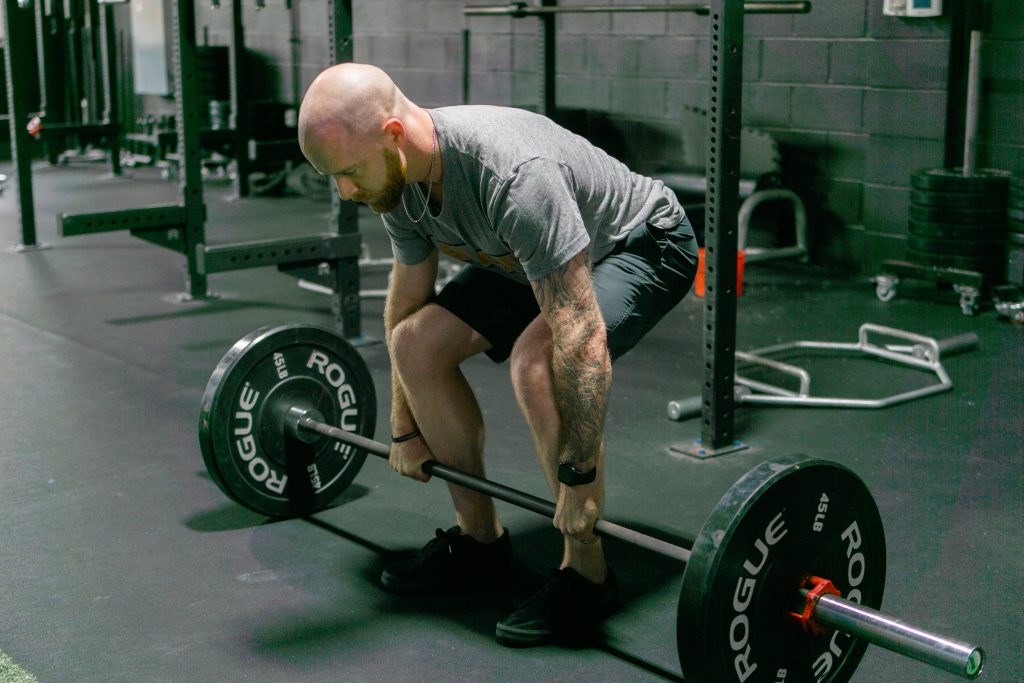
“Lift” is a bit of a misnomer. You’re not going to lift the bar. Instead, you’re going to “drive the floor away” and “pull the bar into your body.”
Driving the floor away coordinates your leg drive, which is what you need to initiate the lift. If you try to lift the bar rather than drive the floor away, you’ll end up raising your hips without the bar moving, killing your leverage.
Pulling the bar into your body maintains your tension and keeps the bar close to your hoist muscles, making it easier for them to lift. The bar should ride up your legs through the entire motion. If it drifts off, you weren’t tight enough you gave up your leverage.
The Deadlift Lockout
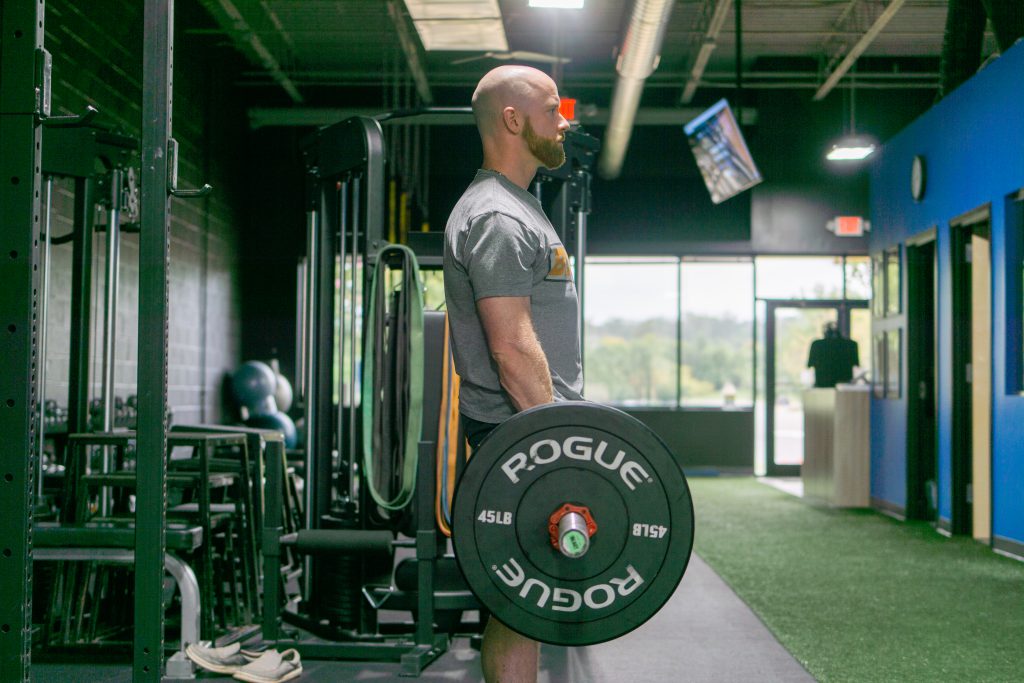
The lift finishes in the lockout position: knees and hips extended, ribs pointed at your hips, and hips pointed at your ribs.
You might see some well-meaning folks hyperextend their backs to finish their deadlift reps. Don’t do that. They are wrong and they’re only putting undue stress on their backs.







Comments