Hunters spend hours e-scouting the backcountry in an effort to create a best-case scenario — a successful hunt. It’s high time they put an equal amount of time and effort into emergency planning and wilderness medicine training.
According to the International Hunter Education Association, there are about 1,000 hunting accidents each year, and close to 100 of them are fatal. But you won’t be only hunting in the backcountry. You’ll be hiking, building fires, cooking, tuning equipment, shooting guns and archery tackle, among many other tasks. These all increase the likelihood of injury. As such, you must plan for medical care and trauma as effectively as you plan for a good hunt.
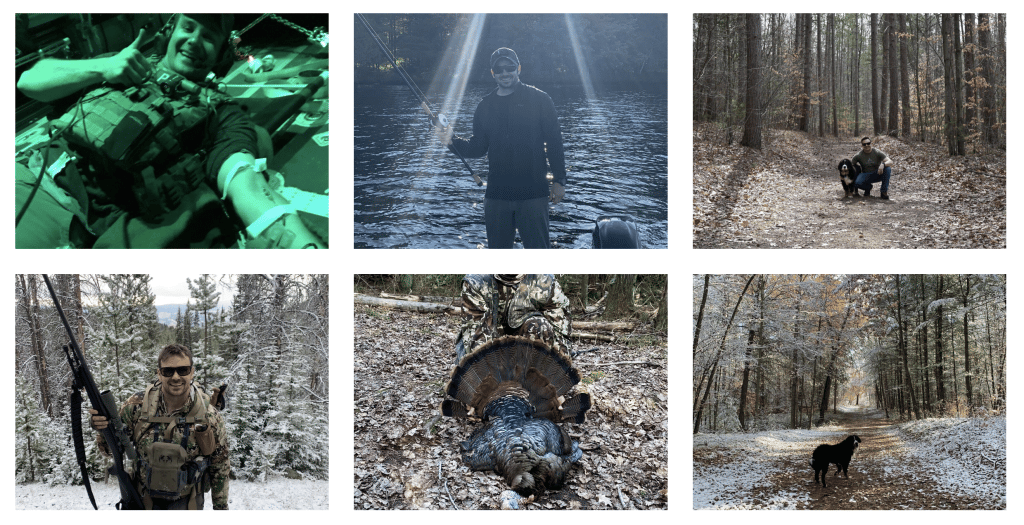
Jimmy Gruenewald was a special operations physician assistant formerly with the Army’s 82nd Airborne Division with the 508th Parachute Infantry Regiment and the 160th Special Operations Aviation Regiment (Airborne). He’s created and executed emergency medical plans for combat zones in Afghanistan during six deployments and for wilderness hunts in North America.
These days, he’s the CEO of Orion Medical Consulting and a licensed emergency medicine physician assistant with more than 12 years of experience that emphasizes wilderness medicine products and skills training.
Kevin Estela is the Director of Training for Fieldcraft Survival and author of 101 Skills You Need to Survive in the Woods. He is also the former Lead Survival Instructor at the Wilderness Learning Center as well as a lifelong hunter and outdoorsman.
These two gave Free Range American a process that anyone who journeys into the backcountry can follow to create a life-saving emergency medical plan.
Let’s start by defining our goal, literally.
What is an emergency med plan?
This is the definitive level of care that can be secured for someone in the event they are severely injured during an activity — for our purposes, that’s a backcountry hunting trip.
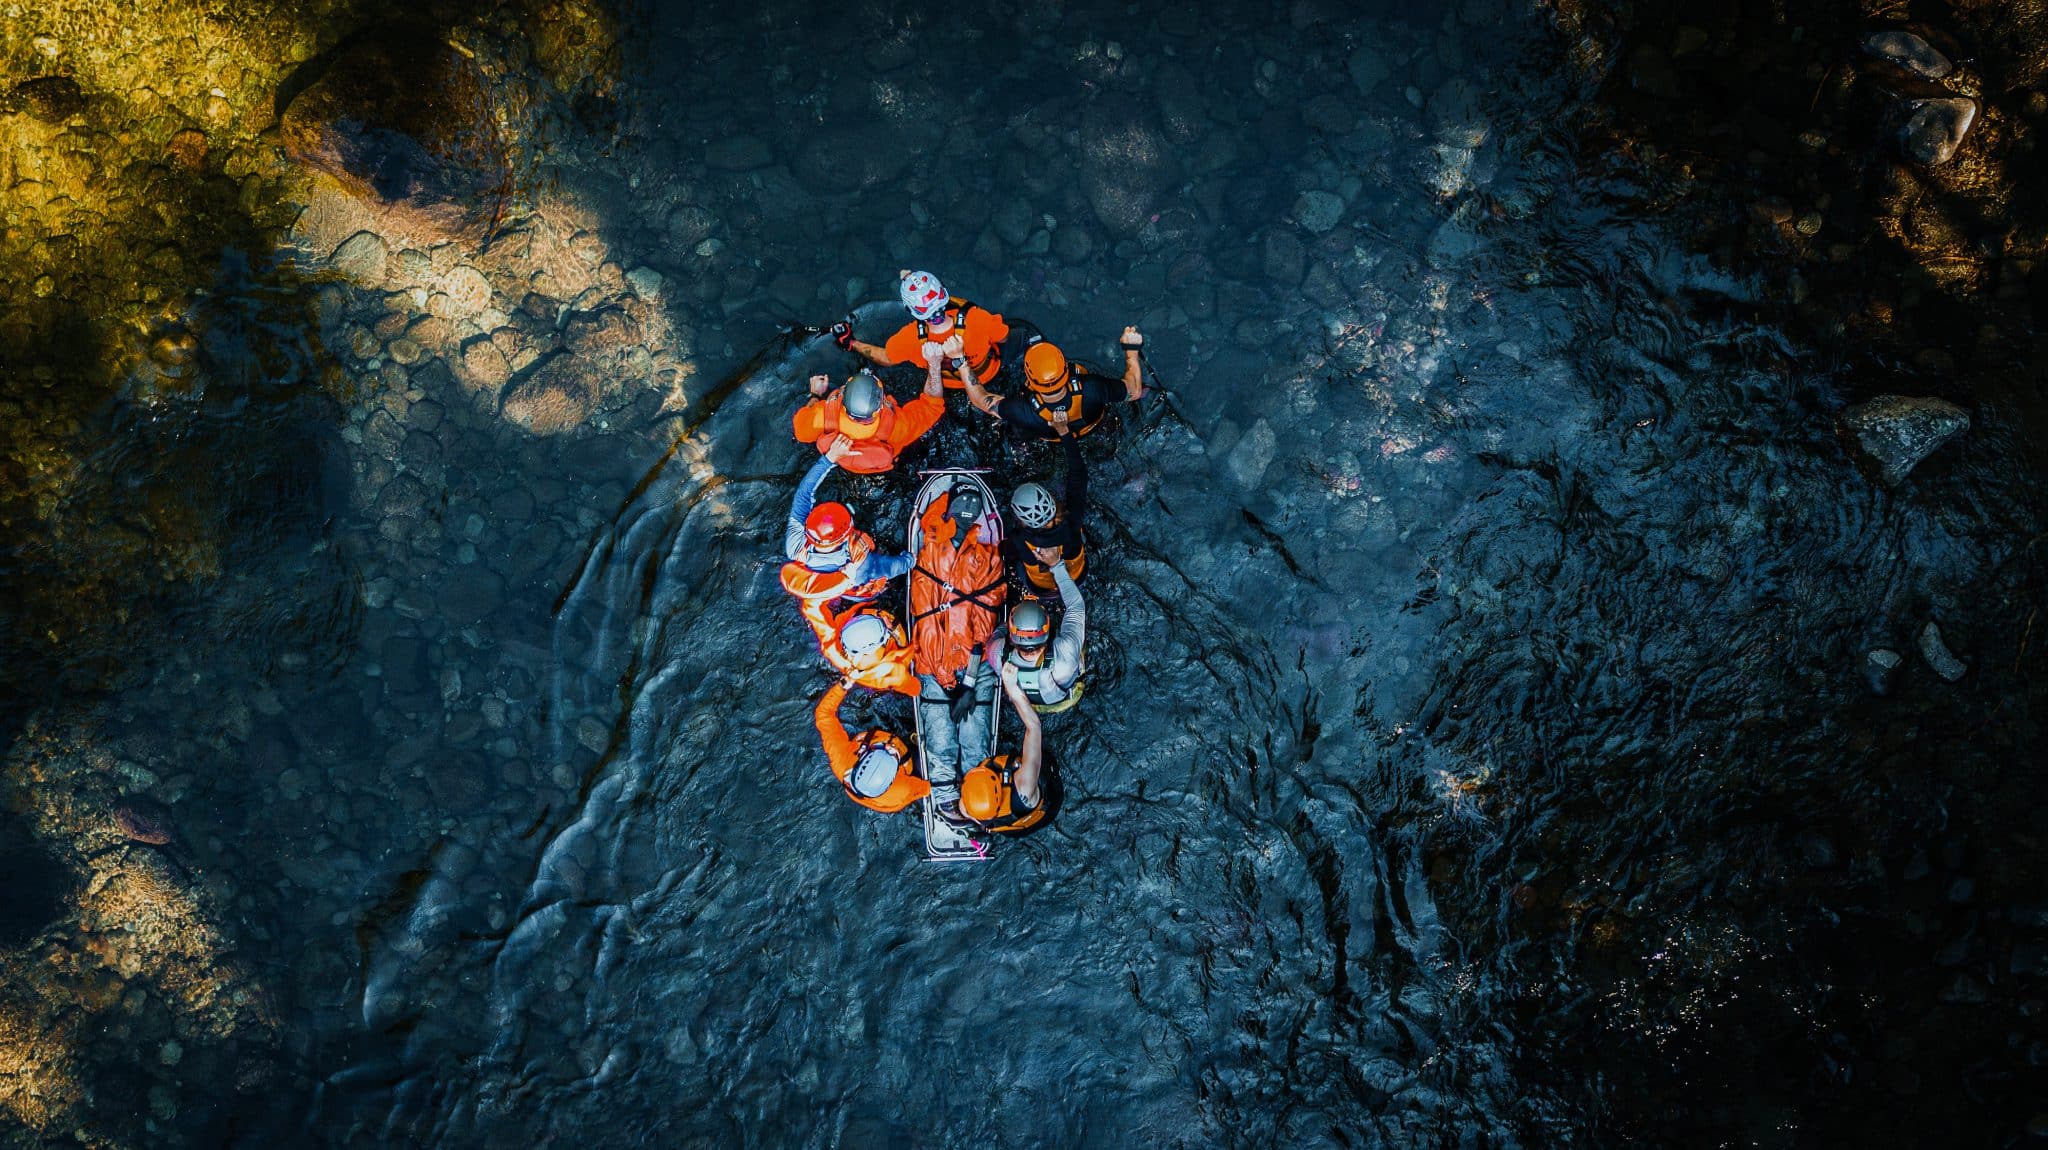
An emergency med plan covers everything from the kit and the initial aid that can be rendered to how an injured party will be transported to medical care, if possible. Gruenewald says there are five components of a comprehensive backcountry and wilderness medicine emergency plan and that it begins with basic preparedness.
Step 1: Preparedness
According to Gruenewald, the best place to start is by imagining different scenarios. Here’s one he often uses:
“Your hunting partner just fell down the mountain. They are unconscious and bleeding, and you’ll have to move them to get to aid. Help is also hours away. And it’s night. What do you do?”
This scenario is one of the worst kinds of backcountry emergencies hunters can face. It also offers the opportunity to consider your preparedness for each type of injury: fractures, severe bleeding, head trauma, joint dislocations, etc.
It’s not likely that all of those injuries will happen at once, of course, but they’re all possible in the backcountry. You could fall down a mountainside, fall on your own arrow, fall victim to a negligent firearm discharge, or suffer wounds from an animal attack. Gruenewald’s question is the catchall that gets you to consider your skills. But you have to keep all potential injuries in mind.
If Gruenewald’s question makes your mind go blank, that’s a big problem. If you feel confident that you know what to do should the scenario he describes actually happen, then you’re in solid standing. For those who blanked, check yourself with some follow-up questions.
First, ask yourself: “Am I physically prepared to handle the situation?”
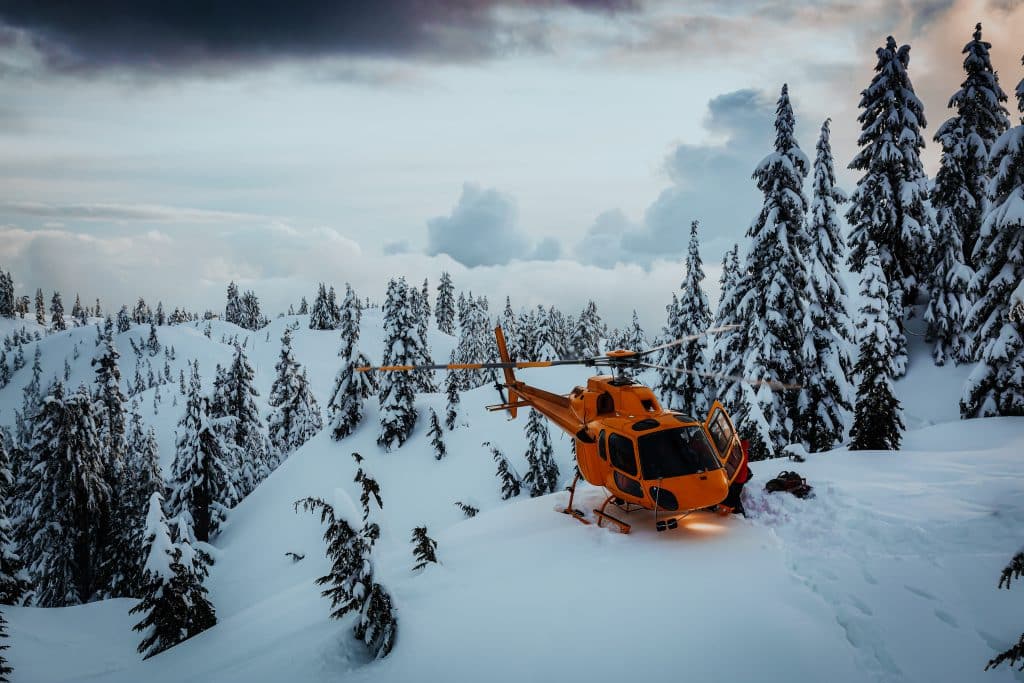
Let’s say you have no choice but to move your buddy a mile or farther so emergency personnel can land a helicopter to extract them. Is your body up to the task? If you aren’t confident that it is, it’s time to get to work.
The second question: “Do I know how to assess injuries and give aid?”
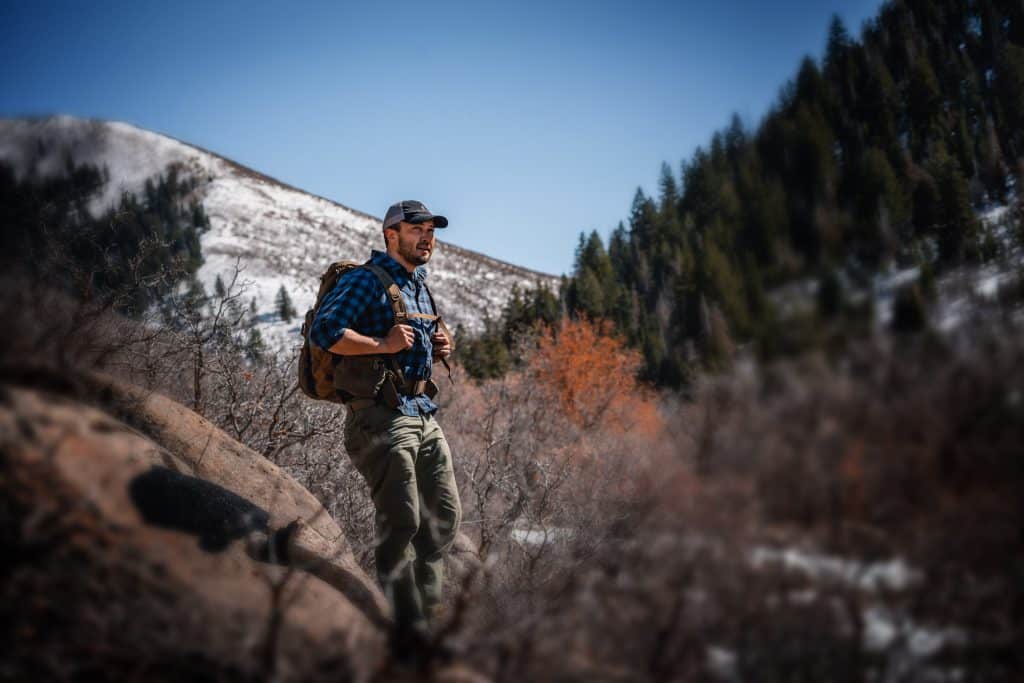
Estela says, “It’s critical that you know how to effectively perform a MARCH assessment.”
MARCH stands for Massive Hemorrhage, Airway, Respiration, Circulation, Head Injury/Hypothermia.
Do you know how to locate and stop bleeding? Can you evaluate your injured friend’s spinal condition and identify bone fractures? If not, it’s time to get emergency medical training.
Gruenewald offers such training through Orion, as do the good folks at Fieldcraft Survival. Plus, the National Association of Emergency Medical Technicians has a Tactical Emergency Casualty Care course that is open to civilians.
Schedule a course and take it before your next trip into the backcountry. Then practice the skills that you learn, before you have to use them. Use Gruenewald’s question to inspire action so that you’re an asset in the field instead of a liability.
Step 2: Extraction Plan
The next critical component of an emergency med plan is mapping out egress to emergency services if something goes wrong — don’t plan on simply waiting for help to reach you.
Gruenewald says, “You have to operate under the assumption that no one is coming to help you get your injured friend out of the backcountry and to professional medical help. Start by knowing exactly where to find that medical help.”
Use Google Maps, or a similar application, and designate your hunt areas. Then select your most likely entry points for each area and mark them. Once you’ve taken those steps, mark the nearest town to each entry area and each hospital with an emergency room. The ER is important because they are staffed at all times.
Highlight the routes from each entry point to the closest hospital. Ideally, find at least two hospitals with highlighted routes should you move from one hunting area to another.
Then, print this map, laminate it or put it in a protective sleeve, and keep it in an easily accessible section of your pack.
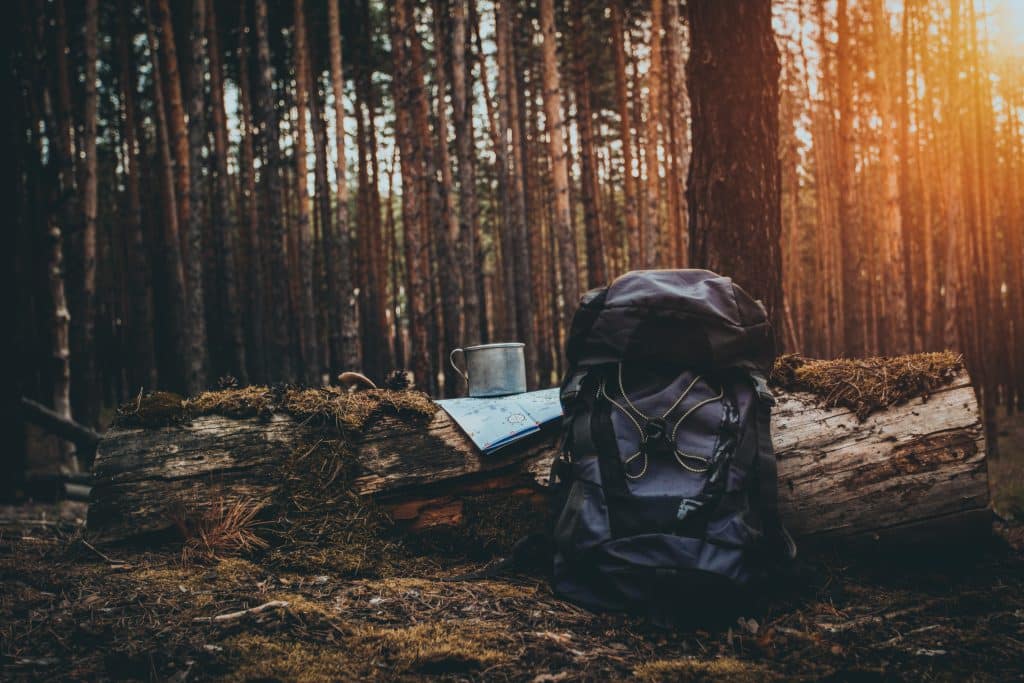
Once you have your hospital plan map, research the telephone numbers of all emergency medical services in the area, including emergency rooms, ambulance services, and so on. Print out a list and keep it with your hospital plan map. Then you can notify the emergency room that you’re on your way, or you can contact an ambulance service once you’re out of the backcountry.
Time matters a lot here, but systems help keep you from getting overwhelmed and making bad choices. Have this list set and ready so you’re not googling numbers when you should be transporting your friend and keeping them comfortable and, well, alive.
You must also consider how in the hell you’ll navigate back to the road or other extraction points so that you can get to a hospital.
“Plan your emergency azimuths,” Estela says. “Your first could be to the vehicle. But plan others like the closest water source, the closest ranger station, or the closest road.” Set these points in your GPS and mark them on a physical map. If you don’t know how to plot an azimuth, you should learn.
The last thing you want to deal with is a bad injury and getting lost at the same time.
Step 3: Communication
Comms are everything, and leaving word about where you’re headed before you go on a hunt is essential.
“People that aren’t with you need to know where in the heck you are,” Gruenewald says.
Use a Garmin inReach, satellite phone or similar device to start and maintain consistent communication with friends or family members who aren’t with your party. Set a communication schedule — for instance confirm that you’ll check in once per day with your location and stick to the schedule.
This covers a few bases.
First, the folks at home can approximate where you are at all times. Second, they know to contact local emergency services with your last reported location if you break communication. Third, it’s nice for the people who care about you to know that you aren’t dead.
If you’re hunting near a staffed ranger station, contact them and let them know you’re in the area and about where you’ll be camping and hunting. They’ll likely have a better medical kit than what you’re carrying. They’ll also be able to guide first responders should you need help. Bonus — they might be able to give you a heads-up by telling you that the elk went thataway.
Should you use a transport service, keep their contact information handy and ask if you’d be able to contact them to extract you in the case of an emergency.
And be sure to do a systems check and regular maintenance on all of your communications gear. Test your batteries; have backup on hand; set up in-service tracking dates for all of your gear so you know everything functions as necessary.
Step 4: Wilderness Medicine Kit Planning
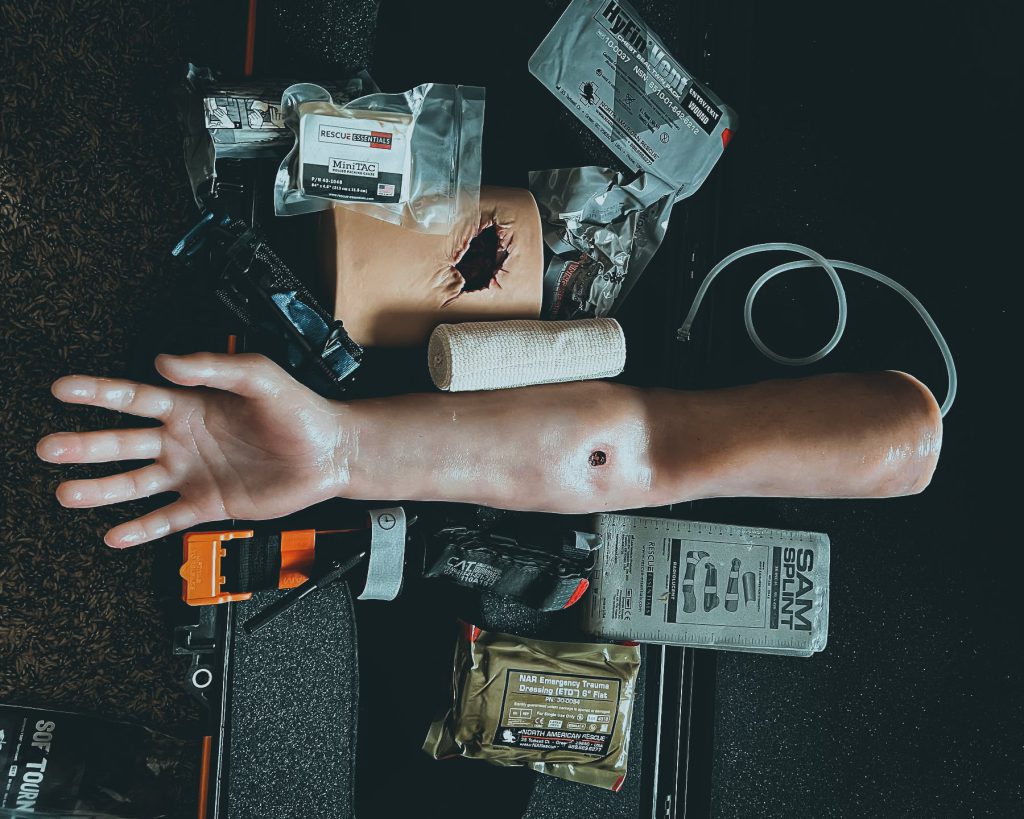
Let’s start with the obvious but often overlooked — you fucking need to carry a medkit. You also need to ensure it’s stocked with enough of the right stuff.
“Too often people take an all-or-nothing approach,” Estela says. “They need to understand that there’s a difference between a trauma kit and a medkit. They have heavy hitters like tourniquets and chest seals, but they don’t have finger bandages and other gear for dealing with smaller, more common injuries. You need both types of equipment.”
Estela recounted an injury he suffered during one of his hunting trips. Another hunter wounded a deer that he later killed; as Estela was breaking the deer down, he sliced his finger on a broadhead that was lodged in the animal’s back. It was a minor injury, but it could have ruined the trip if he didn’t have the equipment to treat it. Worse, that minor injury could have evolved into a major problem.
He urges you to consider the silent killers:
- Dehydration
- Cold
- Small burns to fingers
- Eye injuries
This all leads us to ask, where do you begin when putting together your kit?
Here are Gruenewald’s selection criteria for backcountry medkit equipment:
- Can I put this on one-handed?
- Can I use it under duress or in the dark?
- Is this packable? (Not bulky.)
- Is this equipment supported by data proving it works?
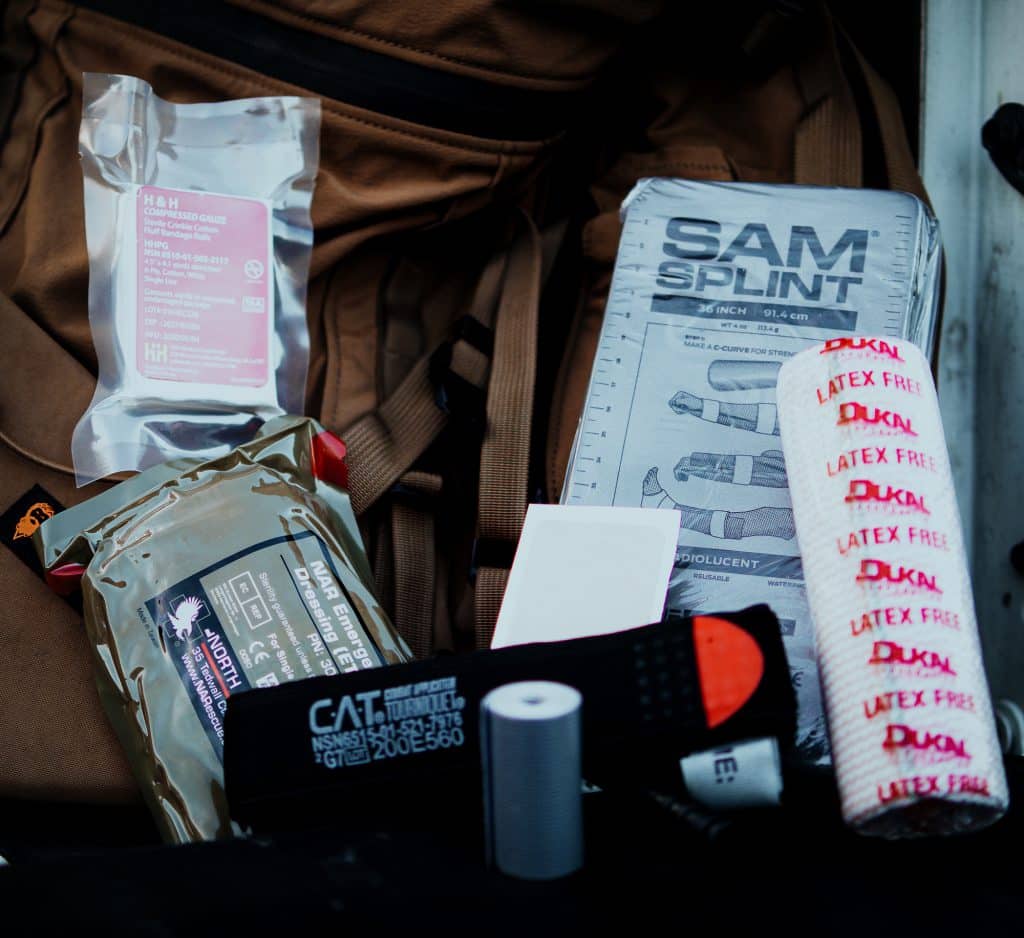
Gruenewald’s original backcountry medkit is a great starting point.
It includes:
- SAM XT tourniquet
- Compressed gauze (4.5 inches x 4.1 yards)
- 6-inch elastic bandage
- Moleskin (2-by-3 inches)
- SAM splint (36-inch moldable)
- Hyfin vented chest seal
- Reinforcement tape (2 inches x 100 feet)
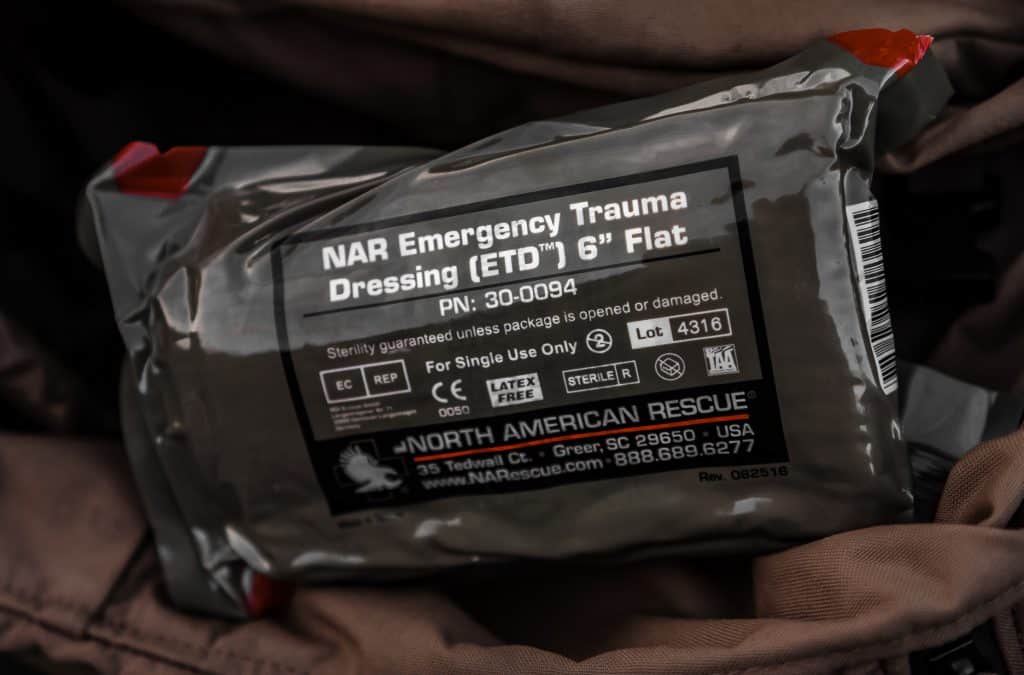
He’s since beefed up his recommendations by adding a second tourniquet and trauma shears. This kit covers you for injuries large and small. The absolute minimum he recommends is one tourniquet, one hemostatic dressing, and one emergency bandage.
Cover yourself for Estela’s silent killers by adding an emergency blanket, a fire-starting kit, over-the-counter NSAIDs and analgesics, and ophthalmic antibiotic ointment. You’ll need a prescription from an ophthalmologist for the ointment, but it’s worth it. You can use it to treat skin lacerations and abrasions, as well as apply it to the eyes. If you put regular antibiotic ointment in your eyes, you’re going to have a bad time.
You also have to consider that you or a hunting partner might be in severe pain for hours. Worse, you might have to hobble your ass out of the backcountry with bodily damage. Get some prescription pain meds from your doctor and keep them in your kit. Food and water contamination is super common in the backcountry. So it’s also a good idea to carry antiemetics should you end up with a gnarly bout of nausea and vomiting.
Consider all of these scenarios and set your kit, then walk through it with your hunting partners. They need to know exactly where you carry it in your pack and how to use all of the equipment. Make sure you reciprocate. Even better, be sure everyone in the party is carrying the same kit and is trained on how to useit.
Step 5: Emergency Card
Here’s another reminder that time is critical in medical emergencies. You can save emergency personnel time by carrying an emergency card that outlines your medical information.
Your emergency card should list:
- Your name and address
- Your emergency point of contact
- Medications
- Allergies
- Chronic illnesses
Laminate your emergency card or keep it in a protective sleeve. Keep it with your medkit so that your hunting partners know where it is and can easily access it.
Seek Expertise
Don’t be too proud to ask for help. Gruenewald is an expert and he’ll help you craft your emergency medical plan. If you want a lock-tight med plan, contact Gruenewald.
A wilderness medicine plan could save your life or your hunting partner’s life. There’s no excuse not to have one for each trip into the backcountry. Keep in mind that the skills you learn while developing your backcountry medical plan are transferable to everyday life. You can’t predict medical emergencies, but you can prepare for them. Your preparation could be lifesaving.



Comments