Survivalist gardening is all about knowing what works ahead of time. Take planting cold crops, for example. Most people have accepted Memorial Day weekend as the start date for the planting season; however, experienced gardeners know late March to early April marks the true time for breaking ground.
Cold crops planted outdoors as seeds include things like: asparagus, beets, carrots, chard, endive, kale, kohlrabi, leeks, lettuce, onions, peas, potatoes, radishes, rhubarb, shallots, spinach, and turnips. Getting your cold crops into the dirt early is the difference between the guy next door dreaming of a glorious garden overflowing with big juicy round tomatoes, shiny green peppers, and rows of lush crisp lettuce and the survivalist gardener actually producing one.
Maximizing growing time means starting early and is dependent upon your zone, i.e. weather. Most early sowing starts when the ground is unfrozen or workable. Nearly all cold crops should be in the ground beginning around March 11 through the beginning of April. Don’t stress out — early April will still ensure your garden gets a head start, especially compared with the early June planters.
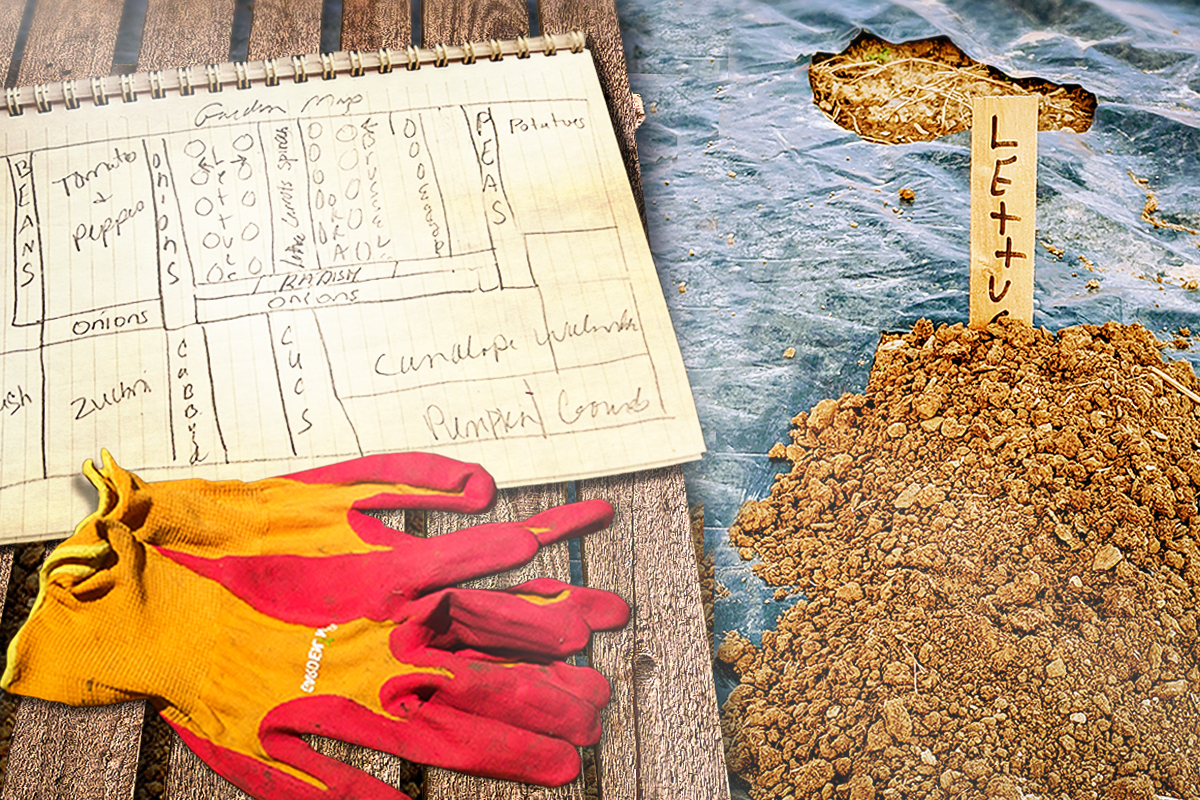
This basic template or garden map you previously created lays out where some early crops should be placed based upon plant compatibility. Print it out and slap it into a notebook or sketch your own, but remember “what goes where” is absolutely needed since some veggies do not grow well next to each other, resulting in the death of one of the plants. If any changes are made, double-check that the veggies will do well in their new location. Note that the following steps should have already been completed: tilling/rototilling, fertilizing, mixing, and smoothing. Rototilling one last time before the next step is never a bad idea.
First Up: Weed Control
Weeds are the death of veggies and often the surrender flag of the gardener. They are thieves waiting to steal valuable nutrients, water, and even sunlight from your green friends, ultimately resulting in low to no crop production. Back in the day, the solution was to pull the smug little buggers by hand, creating hours of daily misery. Survival gardeners work smarter, not harder, by selecting ground cover to snuff out most of the weeds while allowing veggies to thrive. Select one of the following three methods to get going:
Method 1: Granny’s Black Plastic. Use a roll of black plastic sheeting to cover the ground. This method is cost-effective, especially for large gardens. Most hardware stores sell bulk rolls in a variety of sizes and mils. The larger the mil number, the thicker and more durable the plastic. Cut to fit the garden, covering as much square footage as possible. Secure the edges from blowing in the wind by placing rocks or branches on the edges. Do not use clear plastic, as it works more like a greenhouse than a weed preventer.
Advantages to this method: Reusable plastic lowers yearly cost, it’s easy to store, and it’s very effective.
Method 2: Garden Weed Barriers. Cover the ground with fabric, woven cloth, or paper. Most hardware stores sell rolls of coverings ranging from woven cloth or fabric to paper. Research the reliability of the products as some tend to price-gouge, despite resulting in the same outcome as their less expensive competitor. Also, research what materials are used in the weaving process, as some tend to use plastic.
Advantages to this method: Reusable, easy to store, very effective with weed control — though that depends upon the quality of the cloth — and it’s environmentally friendly, unless woven with plastic.
Method 3: Old-School Covering. This method requires planting the crops first and then placing hay, straw, grass clippings, or newspaper around them. Many weeds still find their way through the covering if the layers are not thick enough or if windblown. If using newspaper, wetting the paper once placed around the crops helps prevent the paper from blowing and allows it to mold to the ground when drying. Advantages to this method: It’s environmentally friendly.
Tricks to Spacing
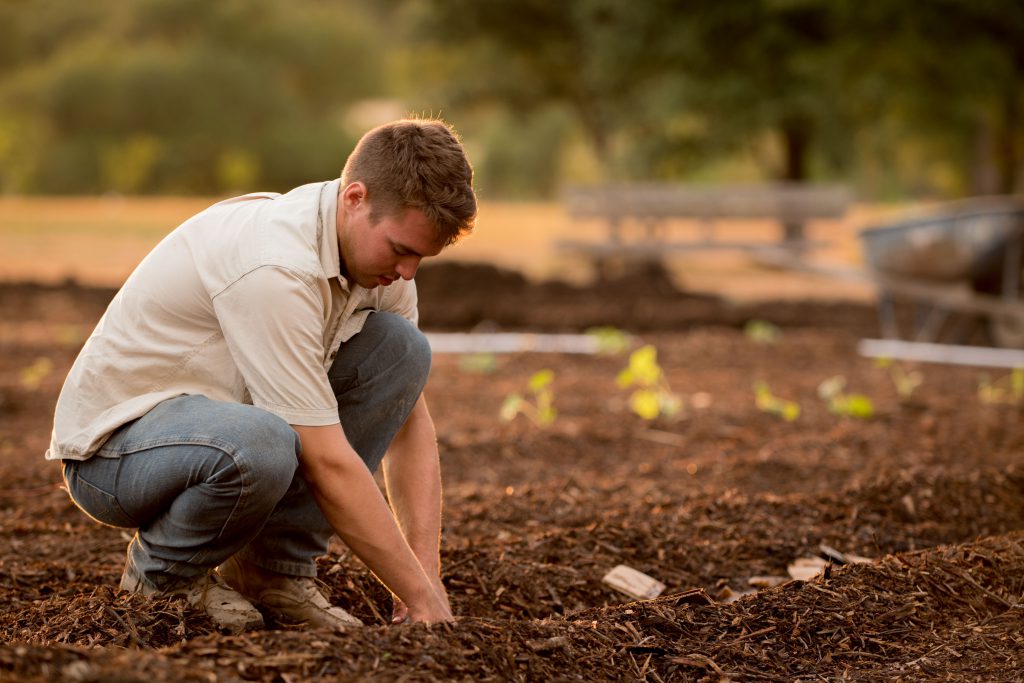
Determining just how much space each veggie needs sends even the sanest gardener into a fit of worry. While following directions on individual plant packets is important, remember one thing: Wild greens find ways to survive regardless of space or care. Greens growing in your garden are already being given special treatment, and by employing a few tricks along the way, space becomes less of an issue.
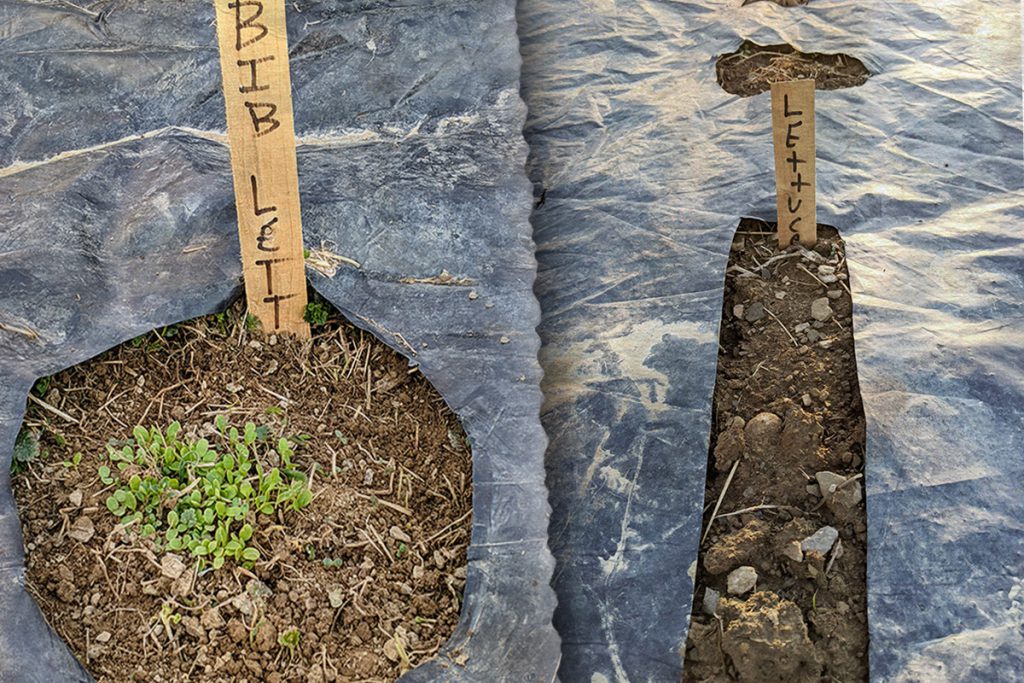
To manage spacing concerns, plant most veggies in rows following this standard measurement. When using weed ground cover, measure 2 to 3 feet down from the top of it and 2 to 3 feet from the side. Cut out a circle measuring 18 inches in diameter. Measure 2 to 3 feet from the edge of that circle and cut out another 18-inch-diameter circle. Continue measuring and cutting until approximately 2 to 3 feet from the bottom of the material. After one row is cut out, begin another row by following the same directions. If limited in space, it is acceptable to have rows closer together based upon the packet instructions for row spacing.
Cold crop veggies sown as seeds that may be planted this way include beets, parsnips, kohlrabi, radishes, chard, and certain types of lettuce.
Another way to handle spacing is by planting in straight lines. If using weed ground cover, never cut sections of material out greater than 3 feet in length, as the wind will wreak havoc on the covering. Maintain the 2 to 3 feet of space between rows and aisles, unless limited in space and choosing to follow individual packet instructions for row spacing. Shorter rows make managing these crops easier. Carrots do well in rows, particularly shorter rows, but must be weeded on a regular basis. Add soil to the top when orange is visible to grow larger carrots.
Cold crop veggies sown as seeds that do well planted this way include beets, parsnips, kohlrabi, radishes, chard, spinach, kale, lettuce, and carrots.
Tricks to Sowing Cold Crop Seeds
The best tip when using weed ground cover is to form a row along the outer edges of it. To do this, drop seeds approximately 6 to 10 inches from the material and into the soil. Pile soil on top of the seeds and onto the edges of the material. This ensures straight rows and secures the ground cover, preventing it from blowing about by the wind. The best veggies to plant on these outer edges are onions, shallots, peas, spinach, kale, Swiss chard, and lettuce. Onions continue to grow larger and bigger when soil is continually mounted on top of them. Peas need something to grow up and onto. This can be done by installing a trellis or pounding sticks into the ground and tying a strong string from one stick to another. Two rows of string should be attached to the sticks.
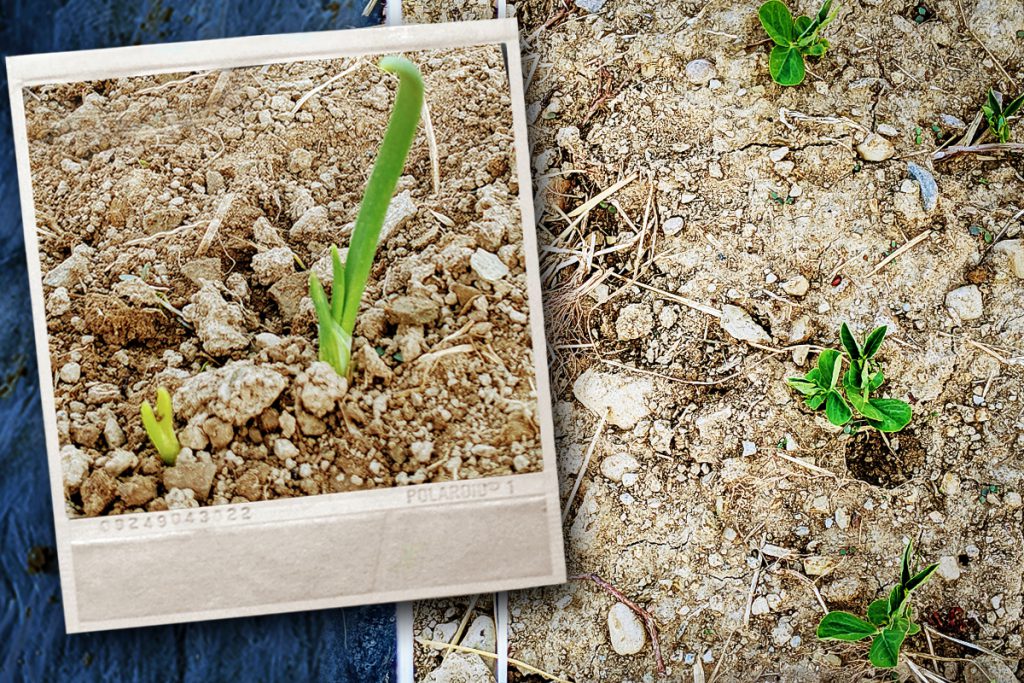
Questioning how many seeds to drop into the soil at once is another freakout moment for newbie gardeners. Following the instructions on an individual veggie seed pack is always acceptable, or follow this general survival gardening rule: plant two to four seeds at a time in the soil about 1 to 2 inches deep.
As long as you plant cold crops at the right time, you are giving the seeds the best shot at growing. If sprouts grow too close together, simply transplant them to another location or dispose of them.
Potatoes are in a realm to themselves. They do best when planted in an area separate from other veggies. For these crops, a magnitude of tricks will work. Purchase potato seed starters from a reputable store, as many potatoes have been sprayed and are not able to reproduce. Select potatoes that have eyes, if possible. Not having white bumps protruding from the potato (eyes) does not prevent future potatoes from growing but gives the potato an easier start.
The potato seeds need to be chunked into four parts and air-dried for a few days. This prevents mold from ruining them. The easiest planting method is to drop the chunks on top of the soil and cover with a 3- to 5-inch base of straw. The potatoes should be about 6 to 8 inches away from one another. This makes harvesting them incredibly easy as they hardly need any digging to remove them from the earth.
Read Previous: Survival Garden 103: Soil Prep
Read Previous: Survival Garden 102: Starting Seeds Indoors
Read Previous: Survival Garden 101: Why You Need To Plan Before Planting





Comments