My husband Caleb and I recently completed our first real big, badass outdoor trip. We were gone for a month, backpacked 75 miles, and drove 3,500 miles. Through it all, we saw and experienced things unlike anything we could have imagined, but it wouldn’t have worked out if we hadn’t been so serious about planning.
We traversed a great expanse, from the Guadalupe Mountains in the desert of West Texas to the lush peaks in New Mexico’s Carson National Forest through the broad plains and high mountains of Colorado and beyond to the tranquil Bridger-Tetons in Wyoming, and there were a whole lot of steps in between all that.
The extensive planning and research we did before we even started thinking about packing really made it all possible.
A big trip always takes a lot of planning and prep — more so if you will spend most of that trip outdoors. Many factors need to be considered, like bugs, skunks, bears, and where you can find a tree to use as a bathroom wall, but it is manageable. And you don’t have to be a pro to do it all on your own. As with any journey, begin with the very first steps.
Planning an Outdoor Trip Step 1: Write an Itinerary
When you are ready to tackle a big, badass outdoor trip, writing out an itinerary is the best place to start. It seems boring and basic, but it’s a crucial step in planning a big trip.
The daydreaming aspect of picking a location is fun, but you have to be thoughtful and realistic about how the trip will play out. This was both an exciting and tedious process for us. We threw ideas around for visiting 10 to 15 locations, some more extravagant and out of the way than others, and we did argue, but logic prevailed. In the end, we selected five places that we were both excited to see that were also feasible for the time window we had.
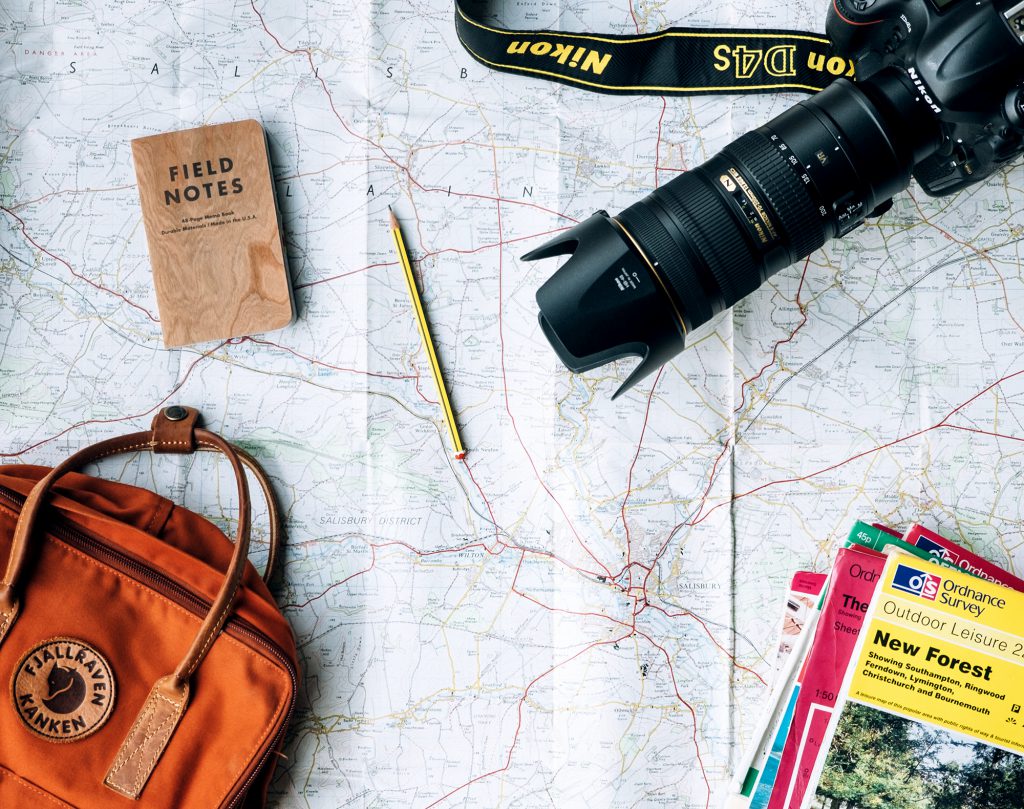
Before you write an itinerary, you need to do research, no matter where you’re going. Here are six things to consider when gathering important information about your destination:
- Rules and Regulations: Are you allowed to have a fire? Are you allowed to carry a firearm? Is the park only open at certain times of the year? Depending on what you plan to do and where you are going, you need to have different and pertinent information. If you are going backpacking, some areas require you to have a backpacking permit while others do not. The same goes for camping or day hiking.
- Stay Limits: Some locations have limits on how long you can park or camp, so be aware of that when planning. If you can only camp for 14 days, don’t plan for 15; simple as that. On our trip, we encountered many places with limited camping that we were unaware of until we got there. Luckily, it didn’t turn out to be an issue, but a little more research would have made us better informed.
- Camping Rules: If your trip includes camping, learn the local camping rules before you get there. First, obviously, find out if camping is even allowed. If it isn’t, you might have to change some things around. If you’re all good, find out if reservations are required— and make them. If it’s a first-come, first-served situation, you want to know that too, and have a backup plan. At one stop, we were confronted by a park ranger because we unknowingly camped in a prohibited spot. It was a simple fix, but doing more research could have spared us some wasted time and frustration. Always check ahead.
- Parking Availability: It is important to know where you can park and for how long. Some destinations don’t have parking and others charge for it. You don’t want to show up after eight hours of driving only to find there’s no place to park. If you’re backpacking, you also have to make sure your vehicle is allowed to stay in a spot for as long as you’ll be away from it. Coming out of the woods to find your car has been towed will put a real damper on your trip.
- Price Check: Lots of parks and recreation spots charge an entrance fee, day fee, camping fee, or some other kind of fee. Don’t be caught off guard and know what you have to pay before you arrive. This keeps you prepared and also helps when planning your trip budget. At one location we had reserved a place online for $1. When we showed up, we were expected to pay another $30 each just to enter. Oh yeah, don’t forget to bring some cash. You don’t want to rely on cards or digital payments in far-flung places.
- Resources: Part of our trip involved camping in the desert of West Texas in temperatures that were 90-100 degrees. Needless to say, water was important. Do your research and figure out if the place you are going to has the resources that you need like bathrooms, running water, or shade. Knowing that some of the places we were visiting were in the midst of a drought, we packed water reservoirs in the back of our vehicle with a calculated amount for each of us.
Planning an Outdoor Trip Step 2: Make a Day Planner
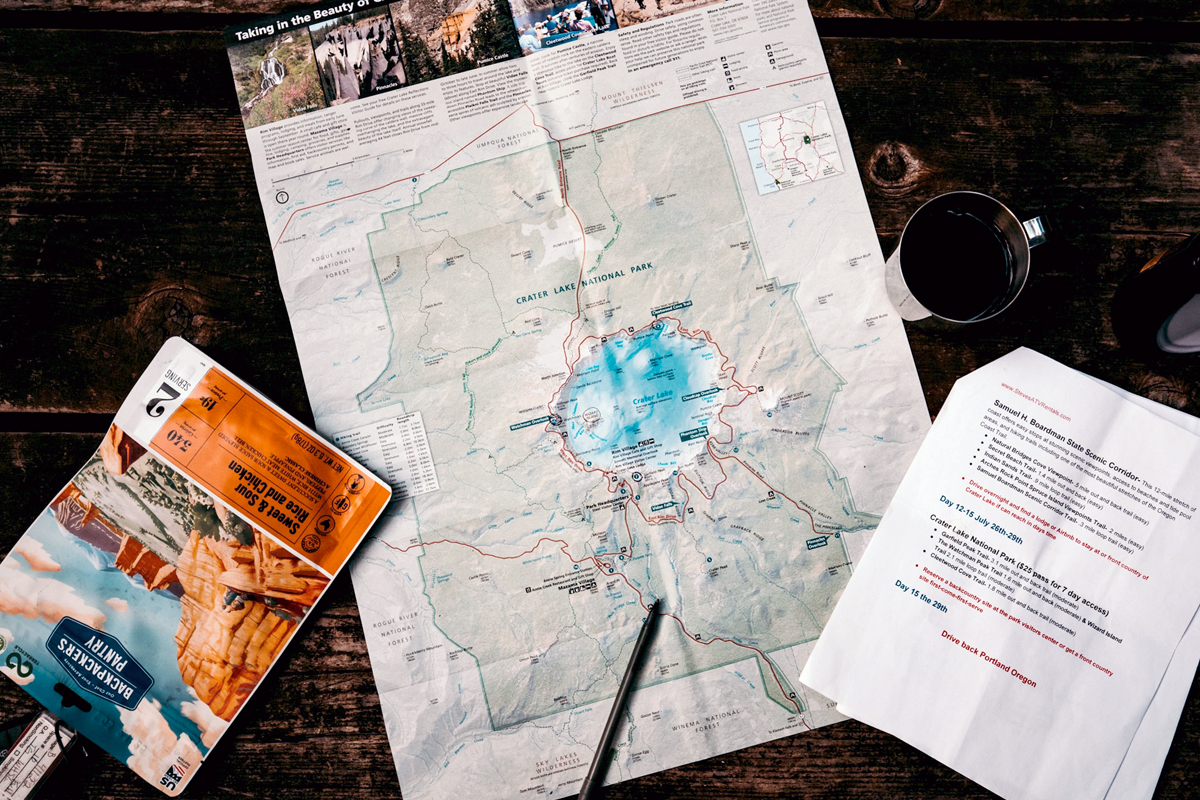
Once you have this research done, write down your trip schedule day by day. You don’t need to go minute by minute, but you need to have an idea of where you will be and what you will be doing. You can then use that schedule to buy the right tickets and camping permits and make the correct reservations before leaving home.
When preparing for our trip, we wrote down a day-by-day plan of where we would be, what hikes we planned to do, and when we would be coming off the mountain and moving on. This was critical because we knew we needed to plan rest days and allow for travel time in between destinations.
If you are doing something physical like backpacking, account for rest and recovery time. You don’t want to burn yourself out, plus scheduling some free time allows you to relax and enjoy where you are.
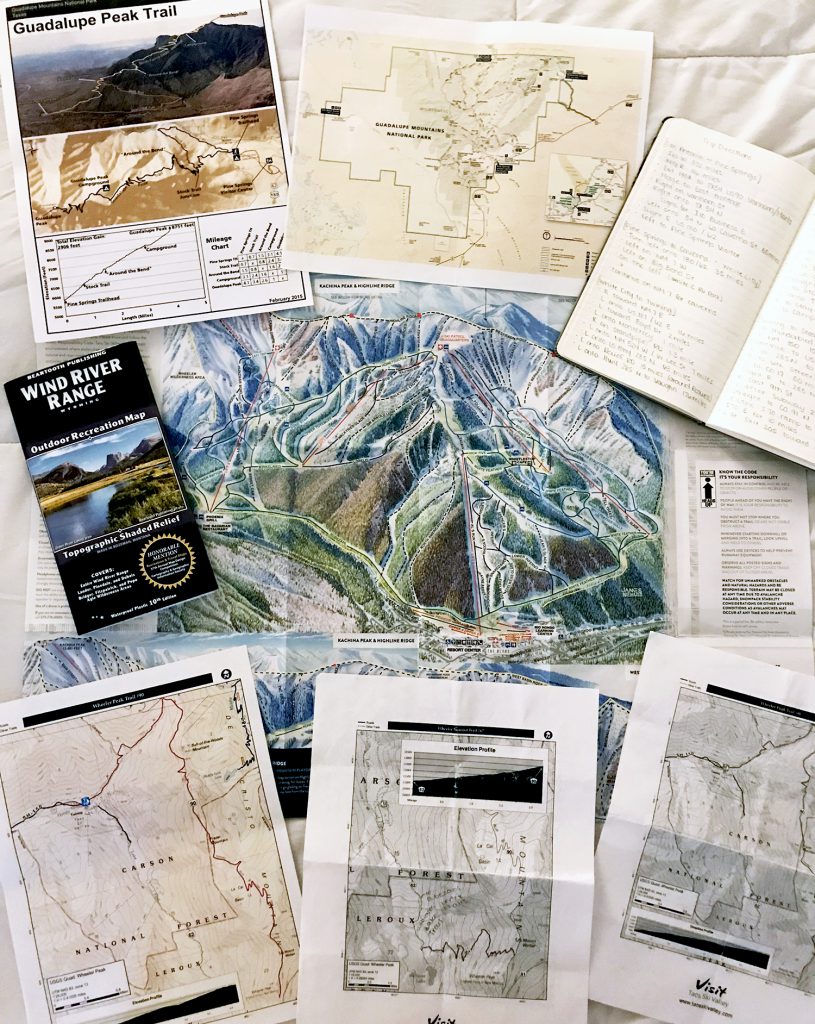
Include travel times, trail difficulty, and special notes about places (i.e., prices and specific regulations) in your itinerary and print out any maps and directions that are available. Don’t rely on a phone that could run out of juice or lose service, leaving you lost in an unfamiliar place.
In the middle of the backcountry, we saw a family trudging through knee-deep snow, following a “trail” marked on the woman’s phone. They were nowhere near where the trail was actually located. Don’t be that person. Have a map.
Even though you have an itinerary, don’t compromise your safety just to stick to it. Be flexible and willing to change plans as necessary.
Step 3: Tell Somebody Where You’ll Be and When
Whether you are traveling solo or with somebody, it is important to tell someone where you are going as precisely as possible. Give someone a rough idea of where you will be geographically and for how many days, or send them a copy of your itinerary and that day planner you made.
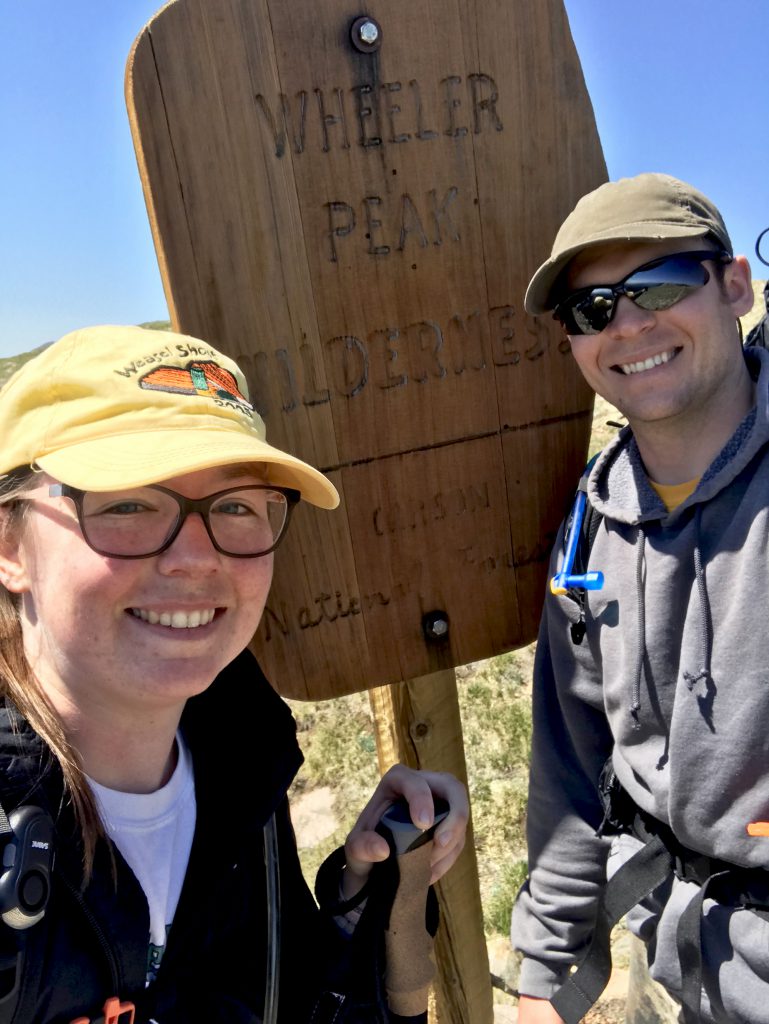
If you are exploring the outdoors on your own, this is an especially important step. If something happens, people need to know where to locate you if they don’t hear from you. On our trip, we visited multiple backcountry locations for multiple days each, so it was important for us to tell our families when we would be on a mountain and when we wouldn’t be. It helps alleviate stress for you and for those who care about you.
After you write an itinerary and have the basics of planning an outdoor trip done, it’s time to move on to planning food preparation and packing your gear!
Read Next:
More Adventure 101
Making a Hiking Road Trip Food Plan | How to Pack for a Big Outdoor Trip
The Importance of Mental and Physical Fitness Prep




Comments