Here’s a bright and shiny newsflash for you: there’s an 80% chance that you’re going to experience back pain at some point in your life. There’s a 50% chance you’ll feel that pain within the next year. It’s the number one pain complaint every year among working adults in the US.
The good news is that by consistently performing a few simple mobility drills, you can keep back pain at bay and dampen its effect should it creep up on you.
Where Does the Pain Come From?
“Most pain comes from overuse,” says Dr. Justin Rabinowitz, a movement, and rehabilitation specialist and the founder of Strive2Move in Martinsville, New Jersey.
“We do the same things over and over again. Whether it’s hiking or just sitting still in the same way. That leads to overuse and causes things like back pain,” Rabinowitz said. “Doing mobility drills helps us break those patterns and gives the body the different types of movement that it’s craving.”

Mobility 101
Mobility is a combination of a few things: stability, joint range of motion, muscle strength, and muscle extensibility. All of those things combine to create an “active range of motion,” aka mobility. It’s the range of motion at a joint or series of joints that you can actively control.
This is important because if a joint like your hip doesn’t move as well as it should, stress gets disproportionately distributed to the adjacent joints, including the lower back, knees, or the other hip. It can end up creating pain in one or more of those adjacent joints.
Throughout your body, joints are “stacked” in such a way that those requiring more mobility are above and below those that are more stable.

Here’s how it goes from the bottom up:
- Ankles: more mobile
- Knees: more stable
- Hips: more mobile
- Lower Back: more stable
- Mid/Upper Back and Shoulders: more mobile
- Neck: more stable
All joints have normal active ranges of motion that are required for joint health; it’s just that some joints require more than others. We have to ensure that all joints are moving well to make sure that we aren’t putting too much stress on a given joint or set of joints.
Let’s explore some simple drills that you can do to keep your joints healthy and your lower back more resilient. First up are hip mobility drills:
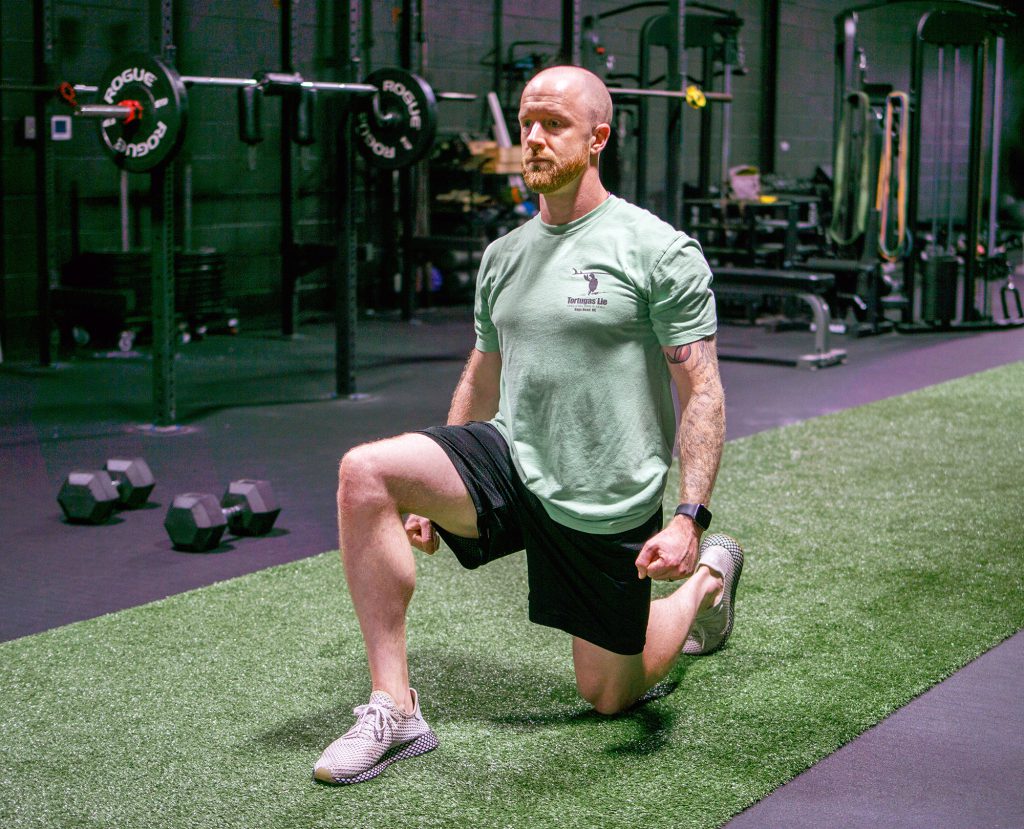
Active Hip Flexor Stretch
1 to 2 sets of 5 to 15 reps per side
Go on and follow the instructions that my business partner gives in the video above. As he says, be sure to stay tall and tight throughout the motion: head over shoulder, over hip, over knee.
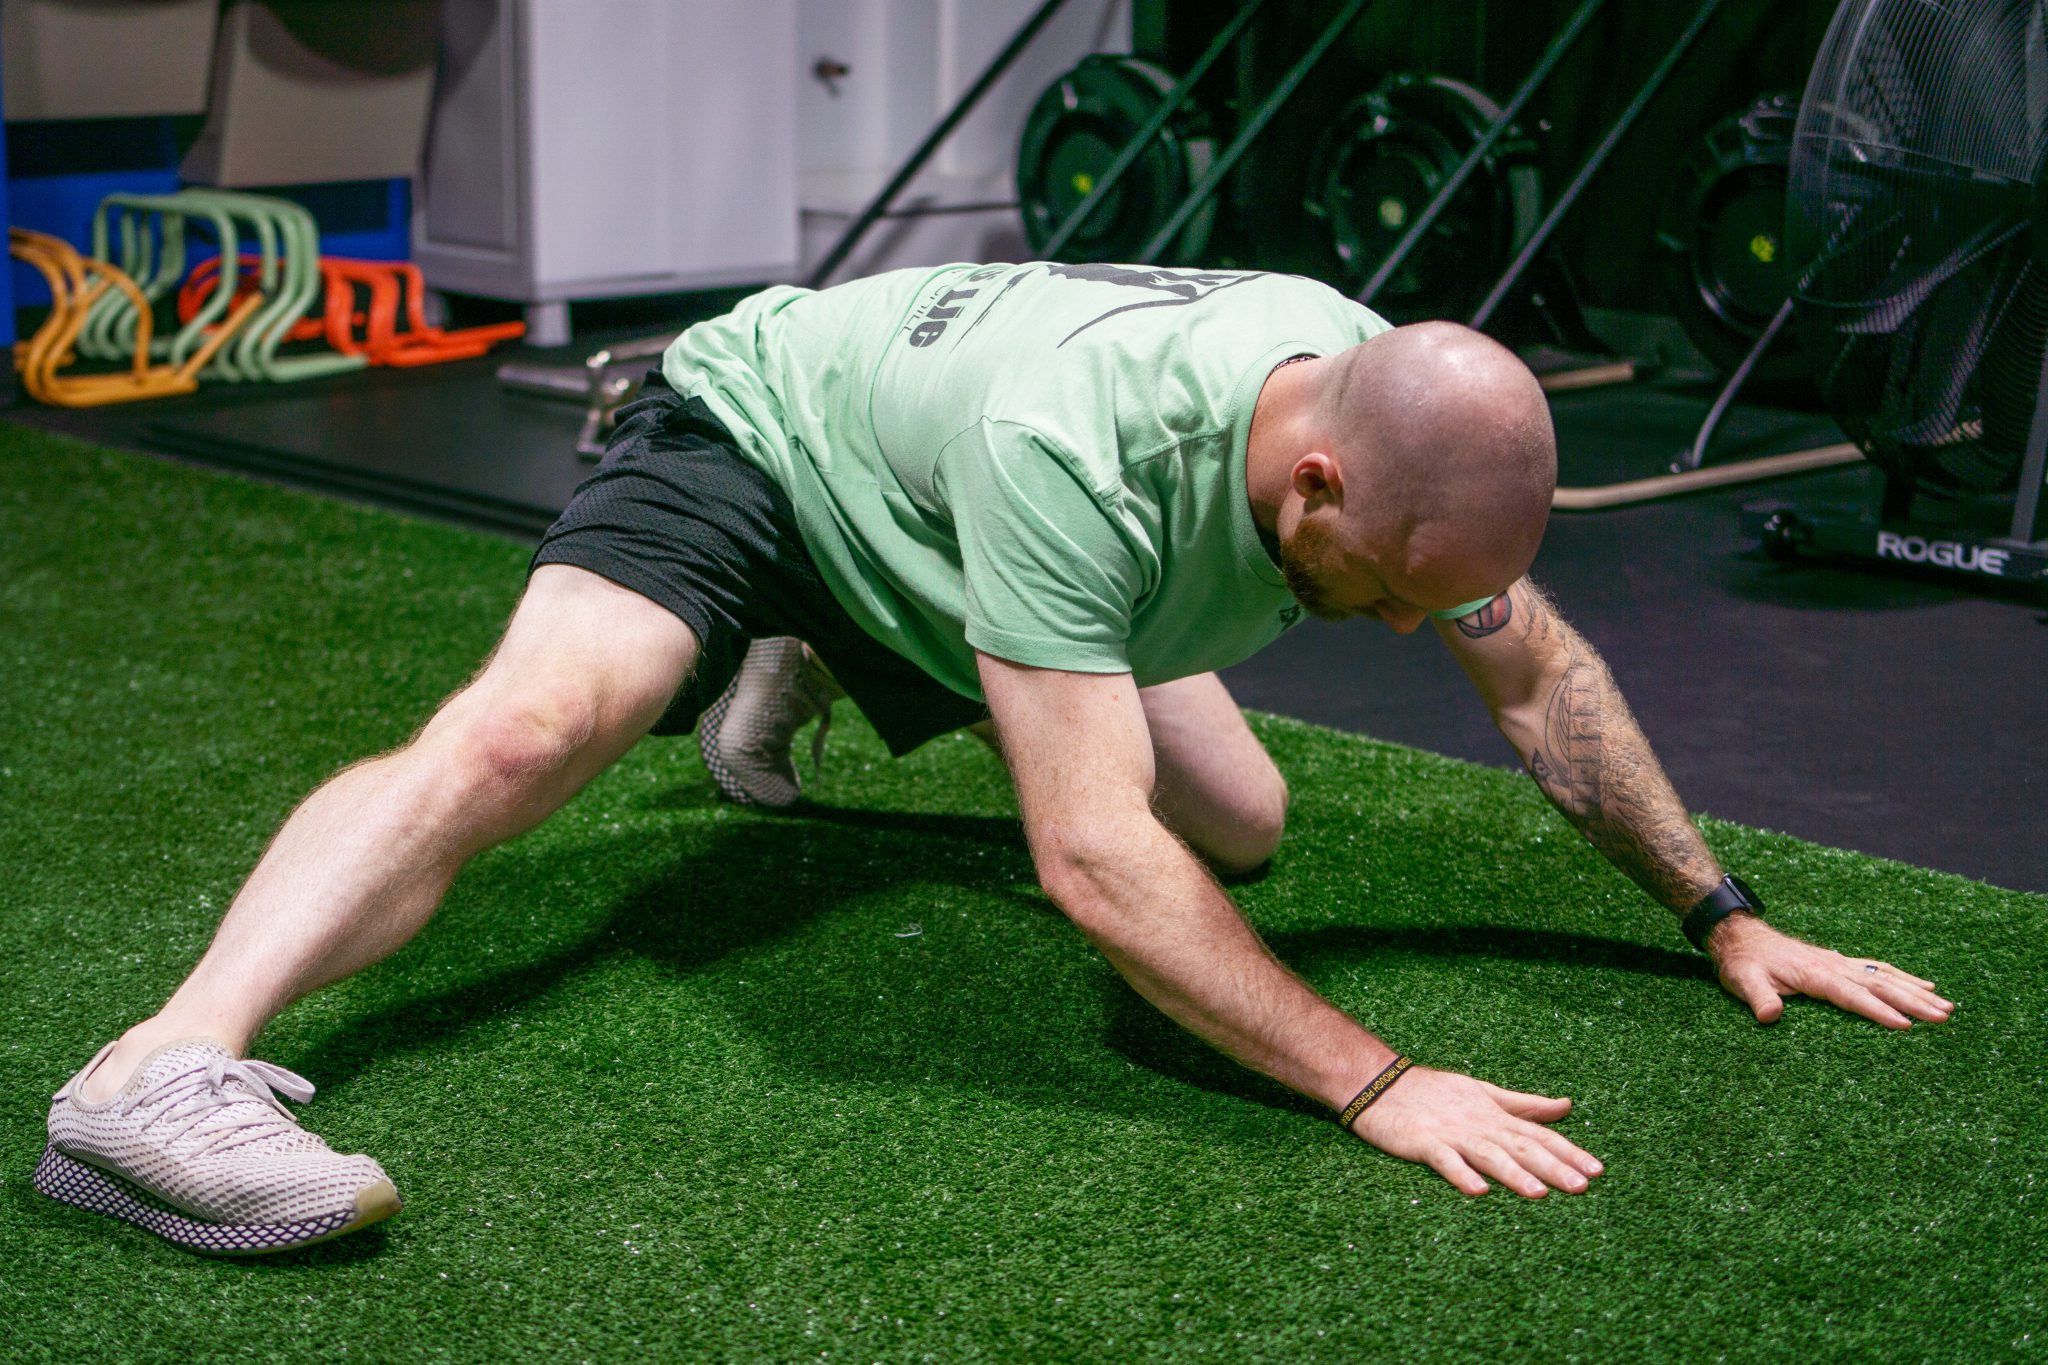
Hinging Active Adductor Stretch
1 to 2 sets of 5 to 8 reps per side
Watch the video above for the demonstration, but here’s how to make sure you’re doing this one the right way. Be sure the extended leg is perpendicular to your body. Perform a good hip hinge by folding at the hips without rounding your spine: Maintain a good plank position with your upper body.
Standing Hip CARs
1 to 2 sets of 3 reps per side
The goal here is to draw the biggest circle with your hip that you possibly can while keeping every other part of your body still. Start by using support, and then you can progress to the unsupported version demonstrated in the video above.
Now let’s move on to some spinal mobility drills.
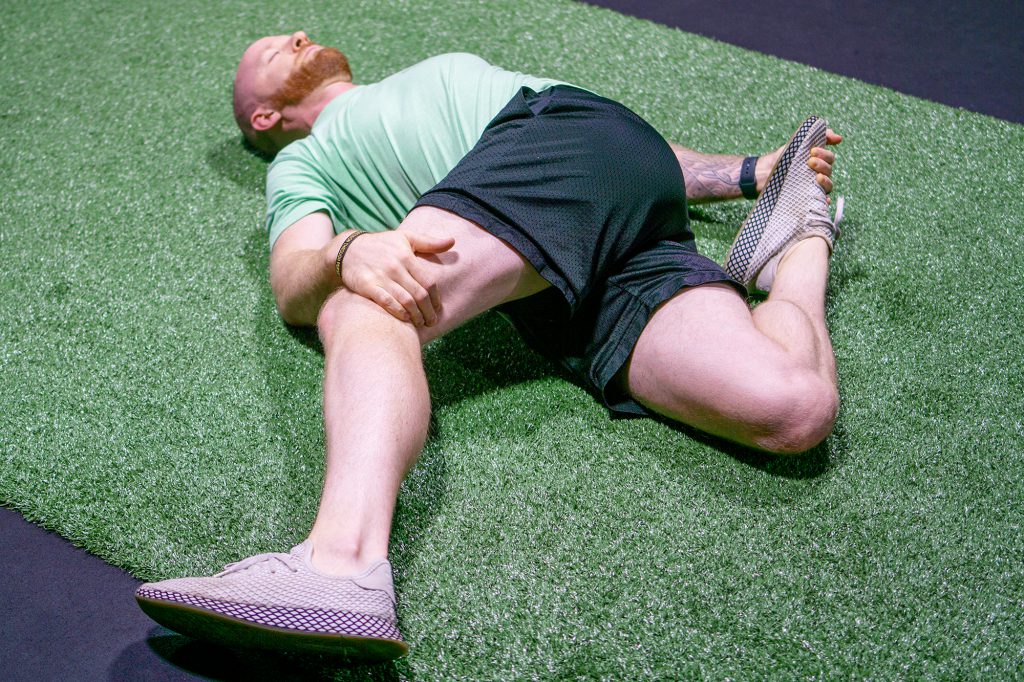
Rib Grab T-spine Rotation
1 to 2 sets of 5 breaths per side
It’s important to use a pad to support your neck at all times and to keep your legs stacked. If you can’t keep your knees together or your legs start pulling out of alignment, you’re going too far. All motion should be coming from the upper back, not the lower back.
Brettzel
1 to 2 sets of 5 breaths per side
Make sure that your front leg is flexed to above 90 degrees and that your body is in a straight line from the knee of your back leg through the top of your head. Only rotate as far as you can breathe easily. You’ll know what that means when you try it.
Cat-Cow
1 to 2 sets of 3 to 5 reps
The cat is the beginning of the motion where you have a rounded spine like a scared cat, and the cow is the reverse and the end of the motion because it makes you look like a cow with udders from the side. It’s a little goofy, but you’re not going to forget it now are you? This is a simple but useful spinal mobility drill.
Hanging
1 to 2 sets of 15 seconds to 1 minute
Be sure to keep your ribs from flaring so that your lower back doesn’t arch. Notice how in the video, he keeps his legs slightly in front of him. From there, breathe slowly and evenly.
This may not necessarily look like a mobility drill, but hanging helps keep your lats “long,” which contributes to overall spinal, hip, and shoulder health.
90/90 Breathing
1 to 2 sets of 5 breaths
Breathing mechanics have a strong influence on the overall stability and mobility of the body. The 90/90 position also helps keep the hips and back in good alignment. Follow the instructions in my video above.
When To Do These Drills
All the damn time. Seriously, though, do these drills throughout your day to break the patterns of overuse that Dr. Rabinowitz mentioned.
They are also great for the front end of a warmup before a strength or conditioning session, and they work well as a cool-down after training.
Read Next: Hitting Half-Marathon Goals: 13.1 Good Reasons To Run With a Playlist


Comments