“I bet you guys have never done pushups.”
I get a chuckle out of guys every time I say it. And I say it every time I start with a new group of operators. These dudes have braved multiple selection courses while spending their careers in the military and law enforcement. They’ve done a few pushups.
But that doesn’t change the truth – their pushup form often sucks. It turns out that doing something wrong a lot of times doesn’t make a person better at it. So, I cover pushup form even with the gentlemen at the tip of this country’s spear. With a few simple fixes, they nail the form.
Chances are, your pushup form also leaves a lot to be desired. But that’s alright. Just like with the operators, after some simple tweaks, you’ll crush pushups the right way.
RELATED – Ditch the Situps: Better Core Training for Hunters
Pushup Setup
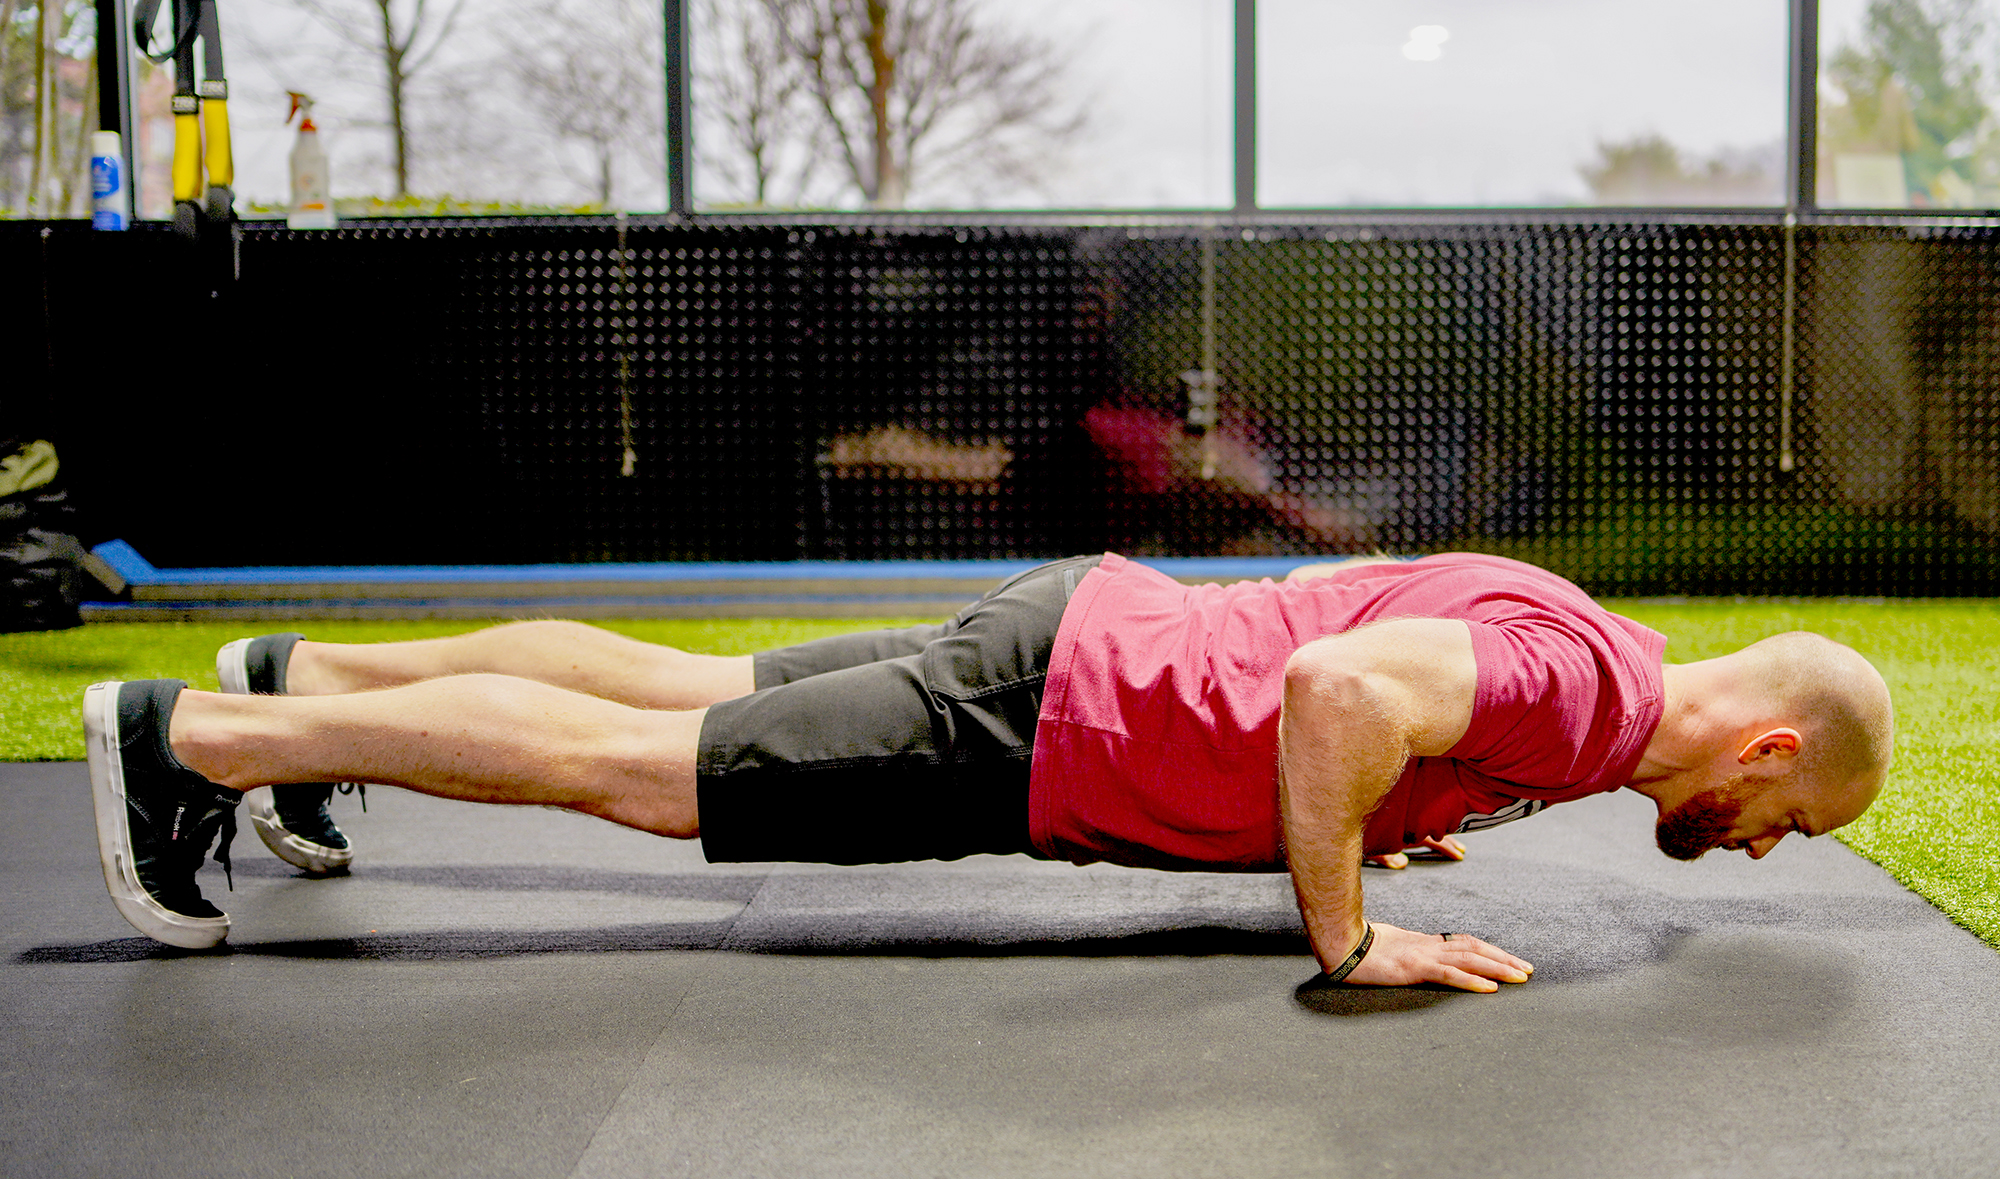
The biggest mistakes are made during setup. (And when people follow advice like this.)
It all starts with hand placement. Most of us learned to place our hands directly beneath the shoulders in gym class or the military. But this is what I like to call “wrong.”
Placing the hands directly under the shoulders messes up the glenohumeral rhythm, the relationship between the main shoulder joint and the shoulder blade. As you descend from the starting position, the elbows dive too close to the body, limiting the available range of motion at the glenohumeral (shoulder) joint. In an attempt to make up for this mess, the shoulder blades elevate (like during a shrug) and then make the mess worse instead of wrapping around the rib cage as they should.
This improper setup unevenly distributes the load through the shoulders and neck, and “shrugging” the shoulders puts stress on the neck. Plus, the limited range of motion stresses the front capsule of the shoulder joint.
“Get yourself as far away from the floor as your body will allow while maintaining the tall and tight position.”
It’s simple to avoid all this. After you set your hands directly under your shoulders, pull yourself forward by 1 inch. This puts the bulk of your hand behind your shoulder and in line with your shoulder blade. During descent, the elbows find the proper angle (more on that in a second), and the shoulder blades wrap smoothly around the rib cage.
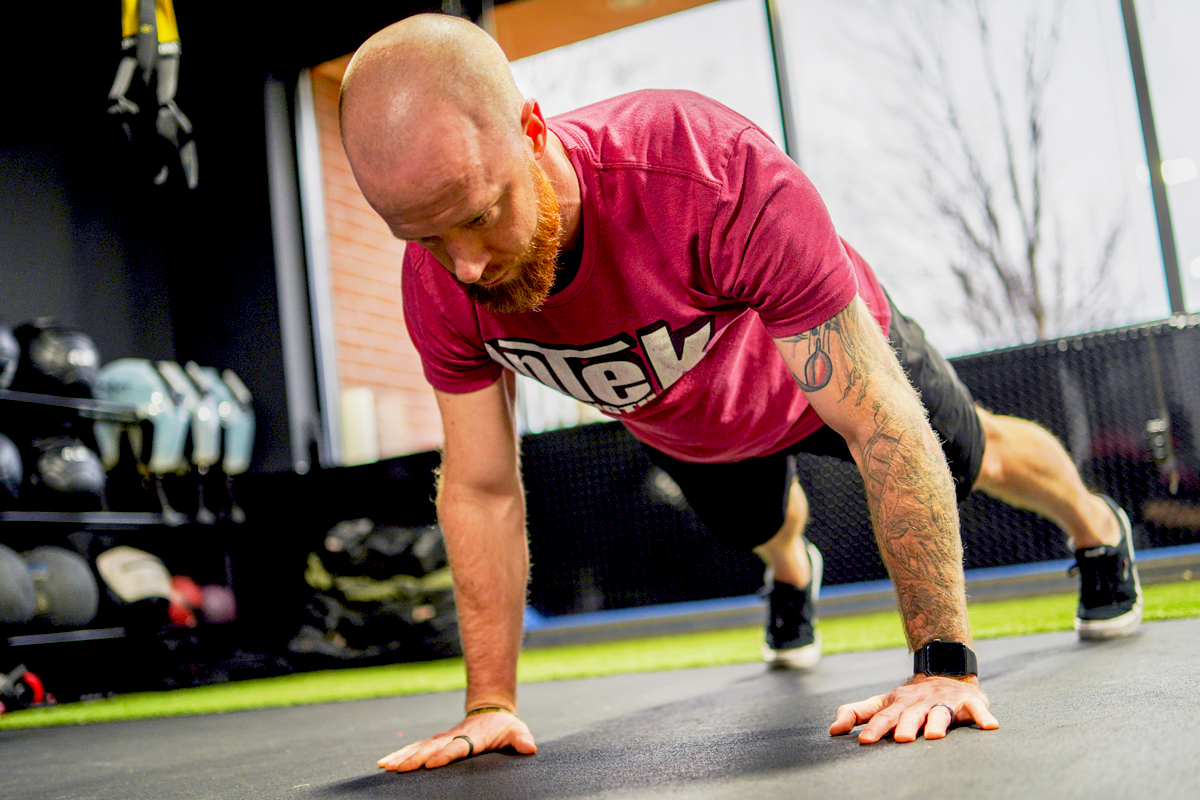
The second component of a proper pushup setup is locking in a solid plank position, also known as the tall and tight position. Your body should form a straight line from head to toe. To find this position, push yourself away from the floor as far as possible. Then, “tilt your belt buckle toward your chin.” This aligns the spine while engaging the glutes and abs.
A few final setup notes: stack your toes below your ankles and lockout your legs. Otherwise, you’ll end up looking like a flaccid worm.
RELATED – Upper Body Strength: Presses That Will Get You in Hunting Shape
Pushup Performance: Descent and Ascent
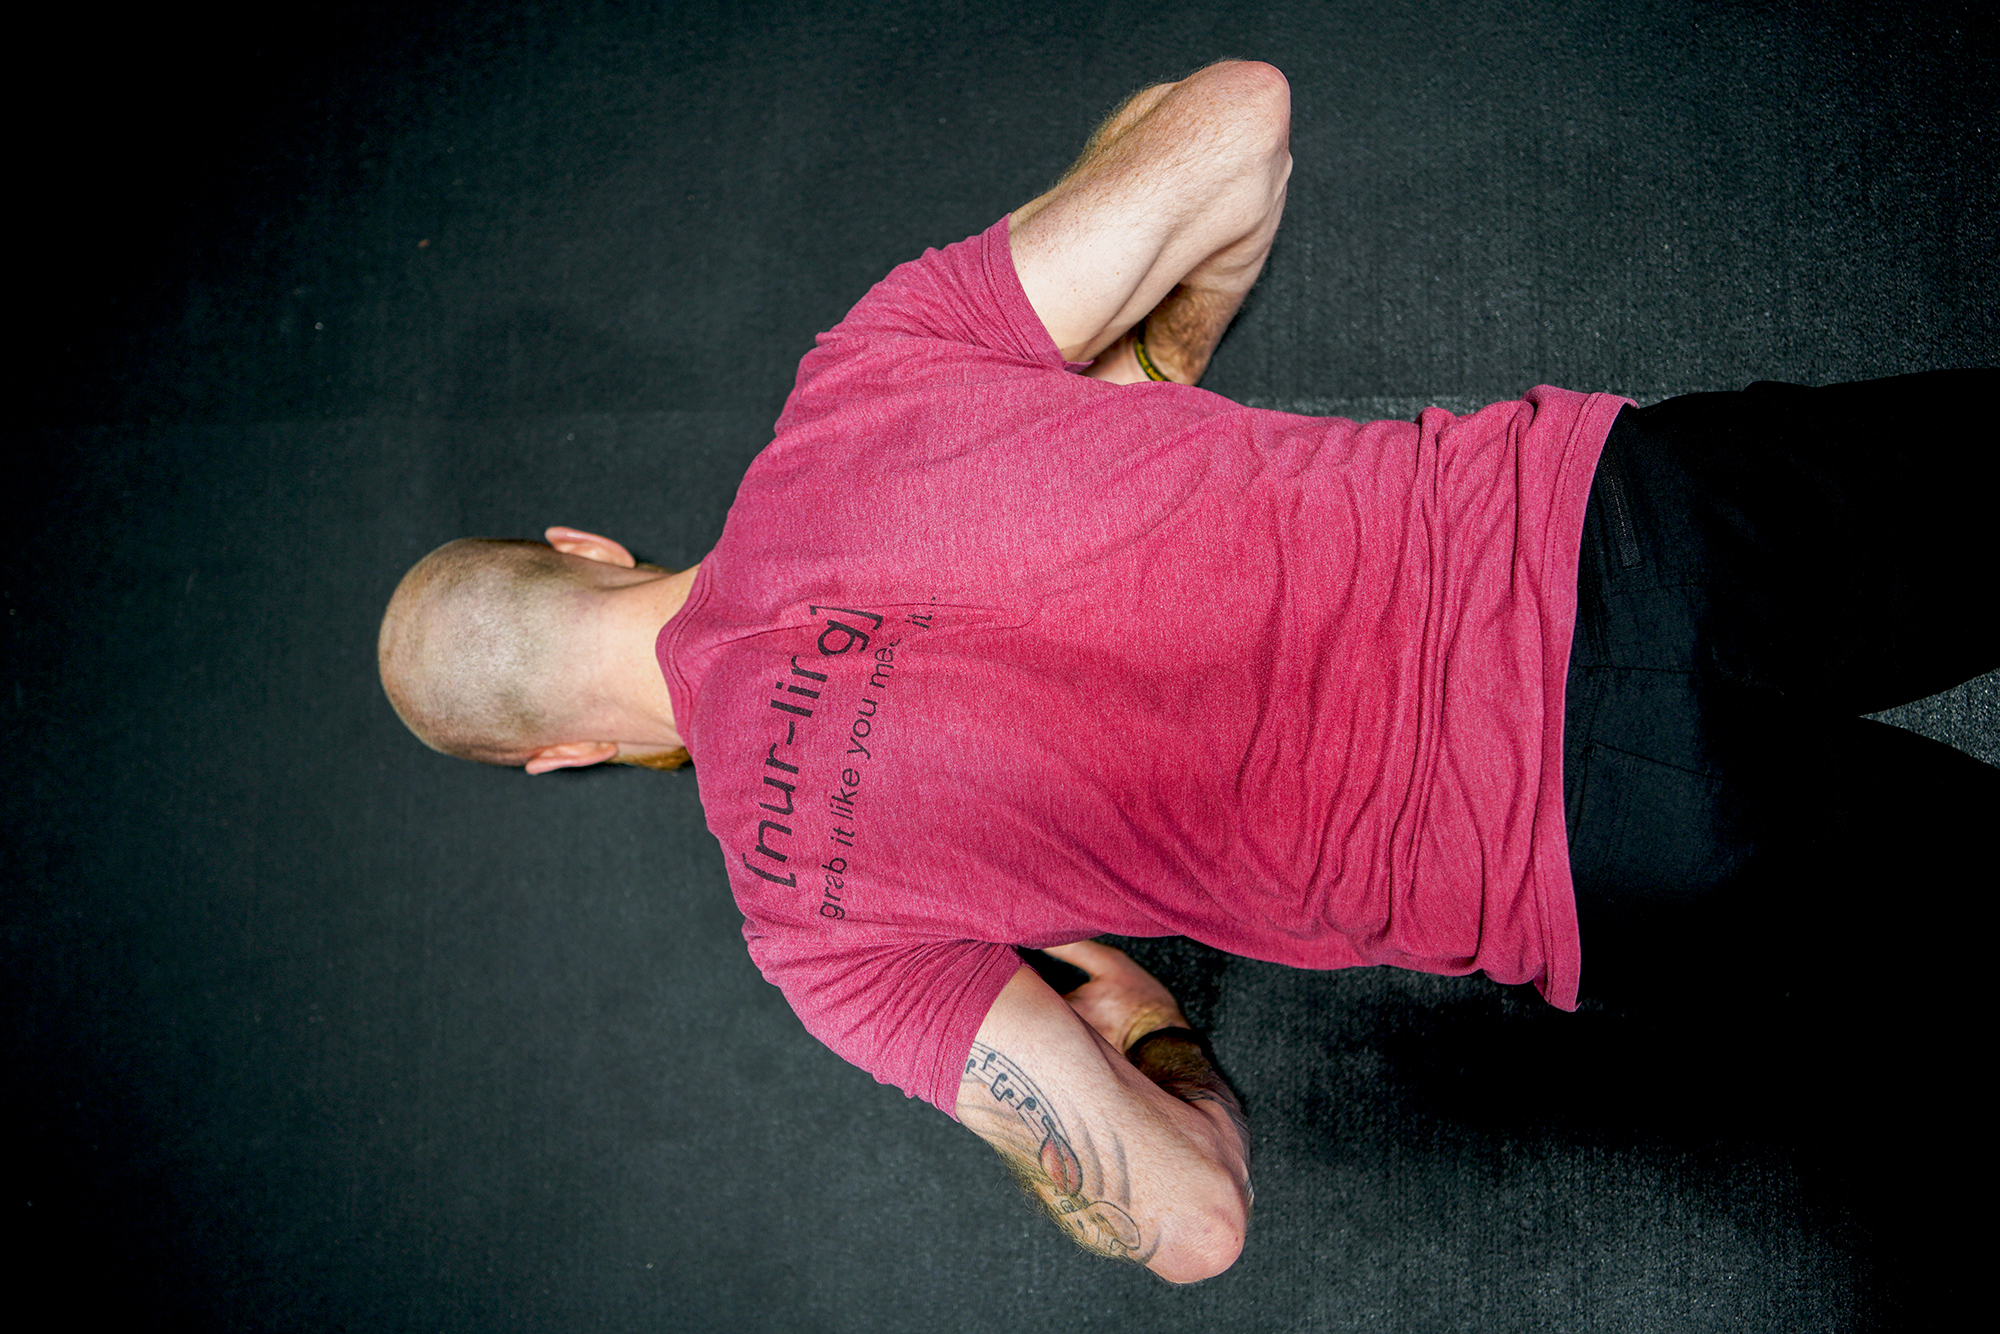
Most folks are inclined to kamikaze their way to the bottom pushup position. But the descent isn’t a passive free fall. It is an engaged “pull” to the bottom. To descend, engage your upper-back muscle as you would while rowing. This maintains proper arm and shoulder alignment. It also keeps the rest of your body tight throughout the movement.
When you reach the bottom, your arms should be at a 45-degree angle in relation to your body. You’ll form an “arrow,” not the “T” you would form if your arms were too far from your body or the “I” you’d form if they were too close. Goldilocks those suckers halfway between “T” and “I.”
Ascend by pressing yourself away from the floor through the middle of your palms. You should feel your weight distributed evenly from your fingertips to the heels of your hands. If you don’t, you likely didn’t pull yourself forward. Go on back to the top and get your setup right.
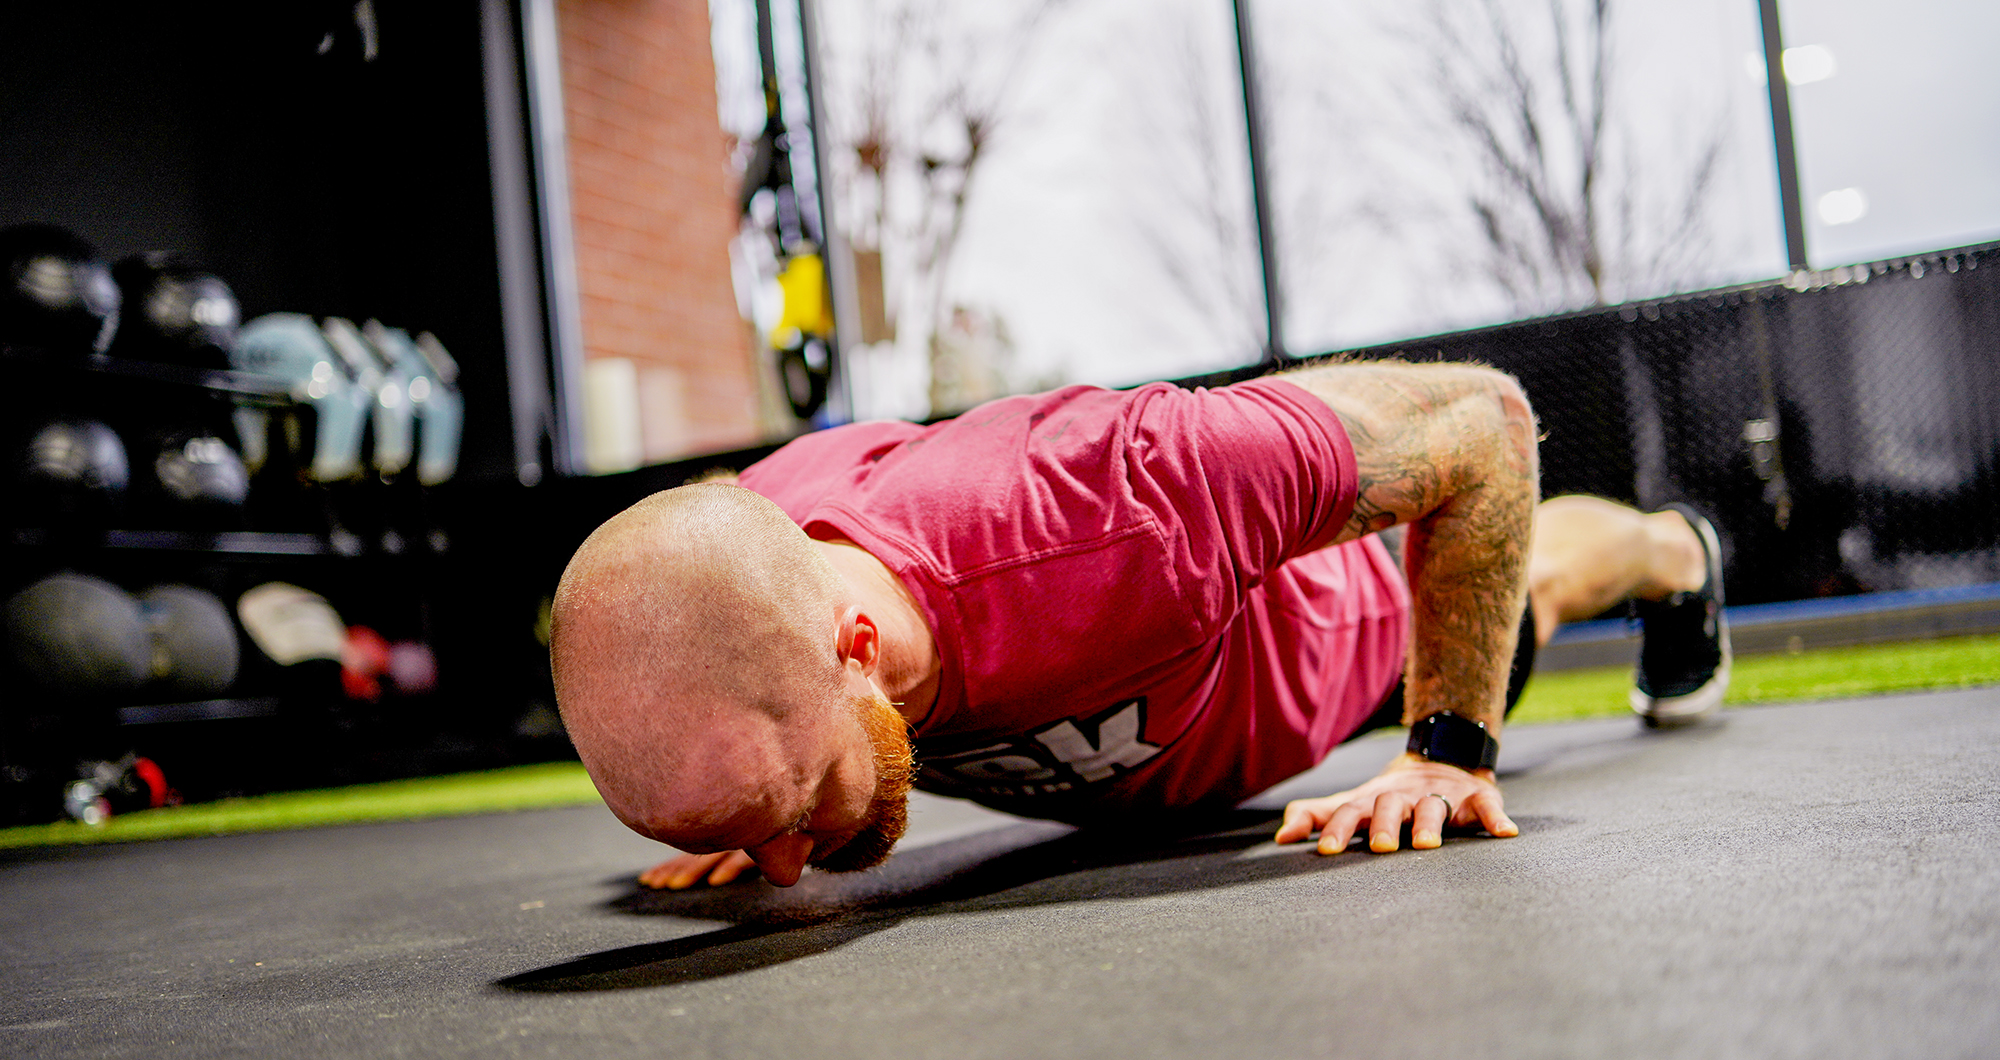
Speaking of the top, you’re not finished with a rep until your shoulder blades wrap fully around your rib cage. That means they are as far away from your spine as possible. If there’s a dip between your blades and your shirt is slack across your back, you didn’t finish the rep. Get yourself as far away from the floor as your body will allow while maintaining the tall and tight position.
RELATED – 4 Ways to Get Back in the Gym and Stay Motivated
Pushup Form Modifications
What should you do if you can’t maintain proper form, or if you can’t do a pushup from the floor at all?
The classic move is to drop to your knees and do pushups from there, but pushups from the knees don’t teach solid core positioning. They also don’t build the strength or skill necessary for progressing to full-fledged pushups.
Instead, elevate your hands on a barbell in a squat rack or on a bench. You can practice good form and progressively build the strength necessary to do pushups from the floor.
Proper Pushup Form: The Checklist
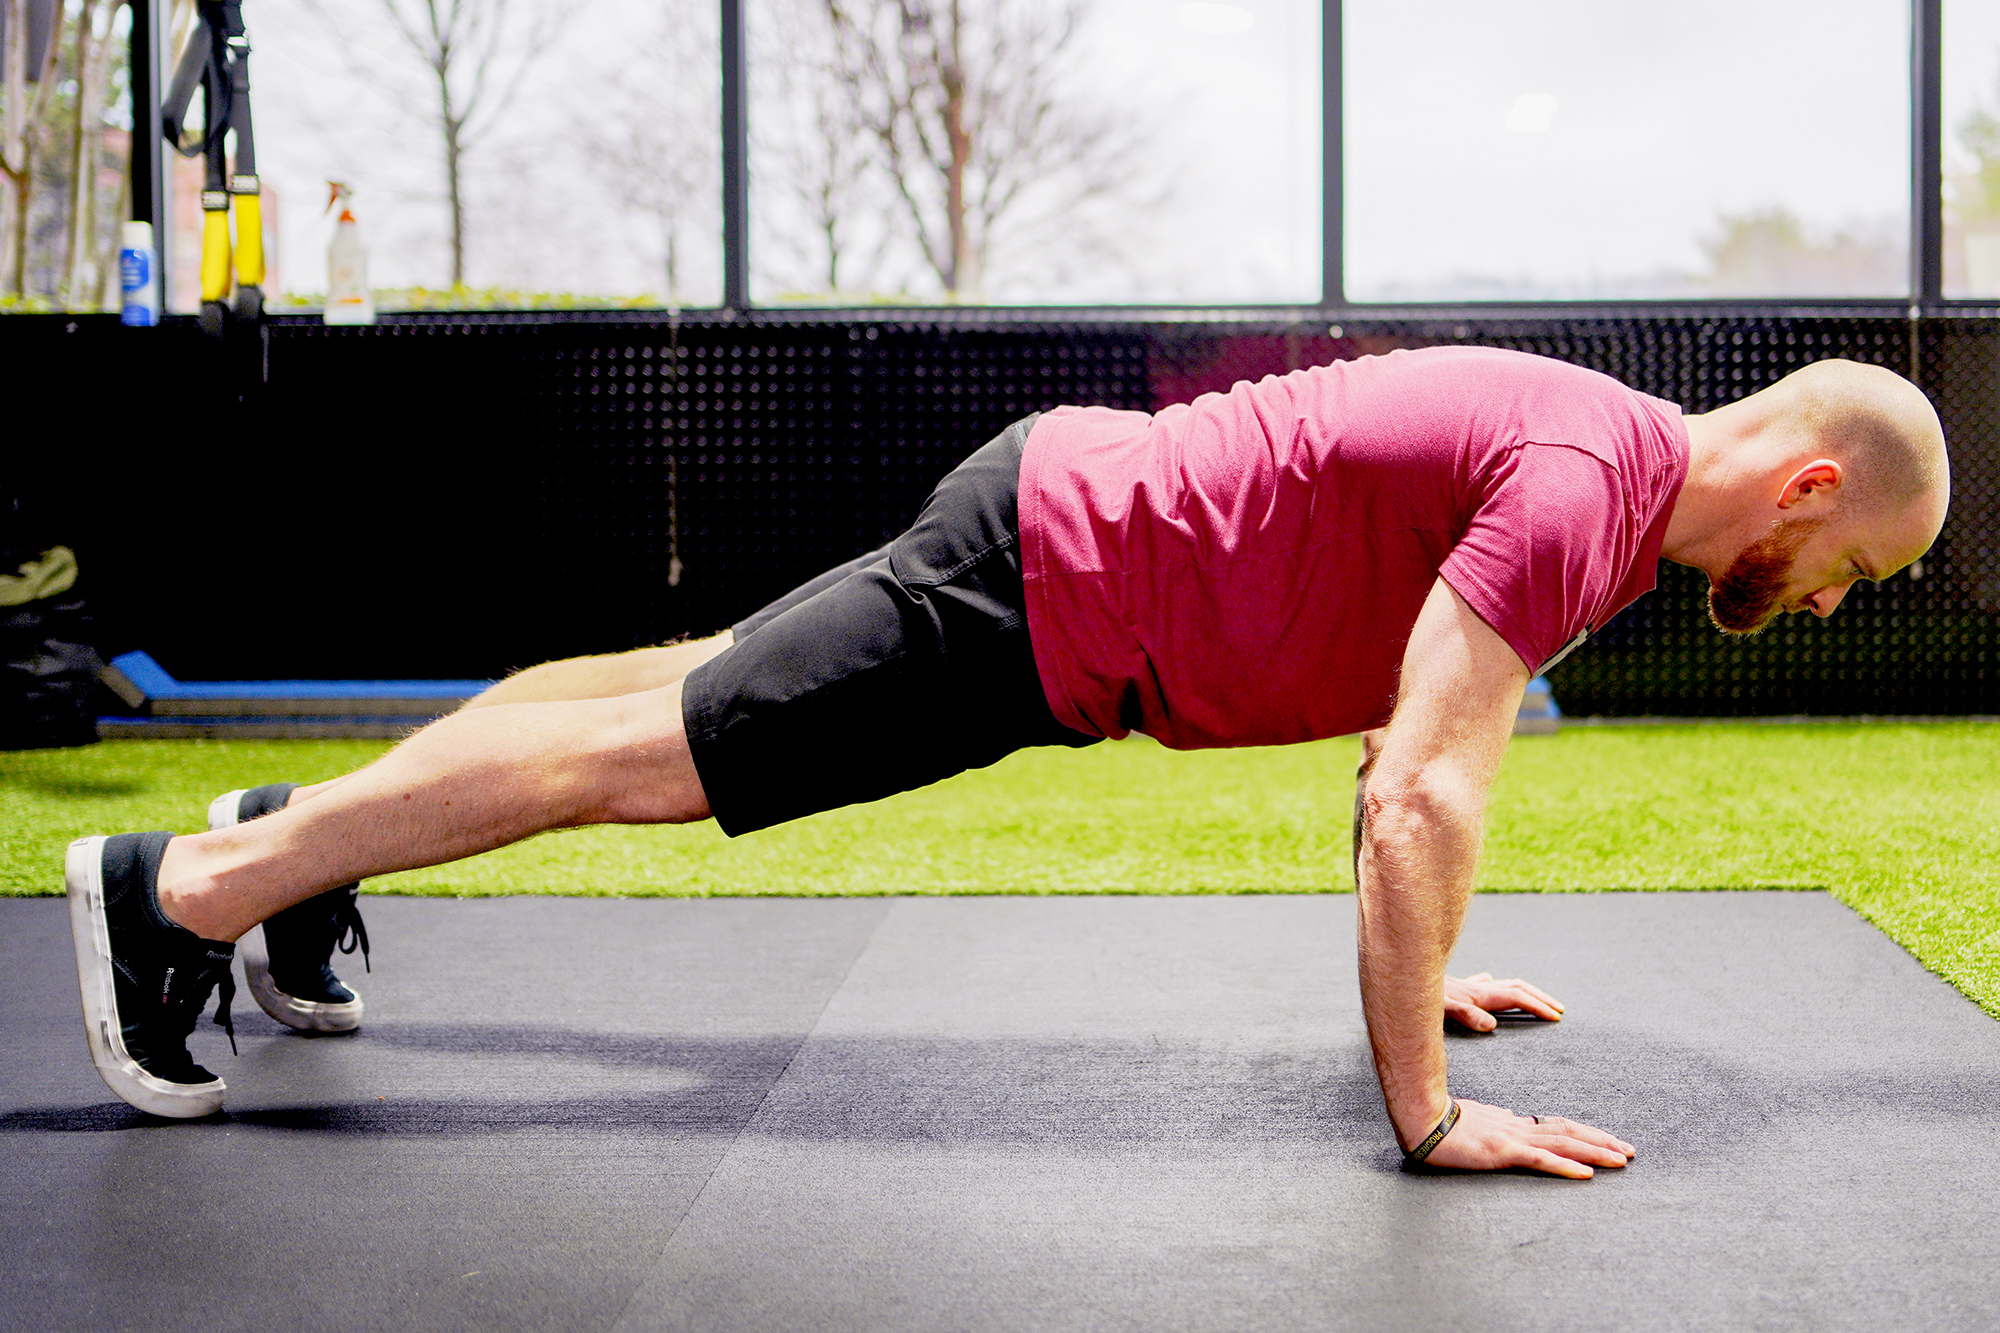
Here’s your quick and dirty pushup form checklist:
- Place hand beneath shoulders and then pull yourself an inch forward so that your hands are slightly behind your shoulders.
- Lock in a good plank position by tilting your belt buckle toward your chin and forming your body into a straight line.
- Lockout your legs and stack your toes under your ankles.
- Row yourself into the bottom position by engaging your upper-back muscles.
- Maintain your arms at a 45-degree angle to your body at all times.
- Press yourself away from the floor to ascend with your weight distributed evenly throughout your hands.
- Finish by pressing yourself as far away from the floor as possible so that your shoulder blades wrap around your rib cage.
READ NEXT – How to Crush Pushups: A Simple, Effective Training Plan



Comments