Learning a basic fly cast is probably the coolest part of the process aside from actually catching a fish. Fly casts are inherently beautiful, for sure. But when you drop a fly on the water above a fish and it happily grabs that fly and puts a great big bend in your rod, the fish won’t be the only thing hooked. There are a dozen different casts and at least that many styles in fly fishing. The good news is that you only need to learn a couple, and you can practice in any open area — your backyard, a park, or even a parking lot. Water isn’t a requirement to get the hang of casting. Here are some basics that’ll get you started.
Let’s start with some definitions
There’s nothing worse than a bunch of words being thrown at you that you’ve never heard before. Here are some terms and definitions that will help you understand and speak the language:
Reel foot: The part of the fly reel that anchors the reel to the fly rod.
Reel seat: The space at the butt of the fly rod where the reel foot is secured.
Back cast: The path that fly line travels behind the angler. Generally a mirror of where the line will go on the front cast.
Front cast: The path that fly line travels in front of the angler toward the target.
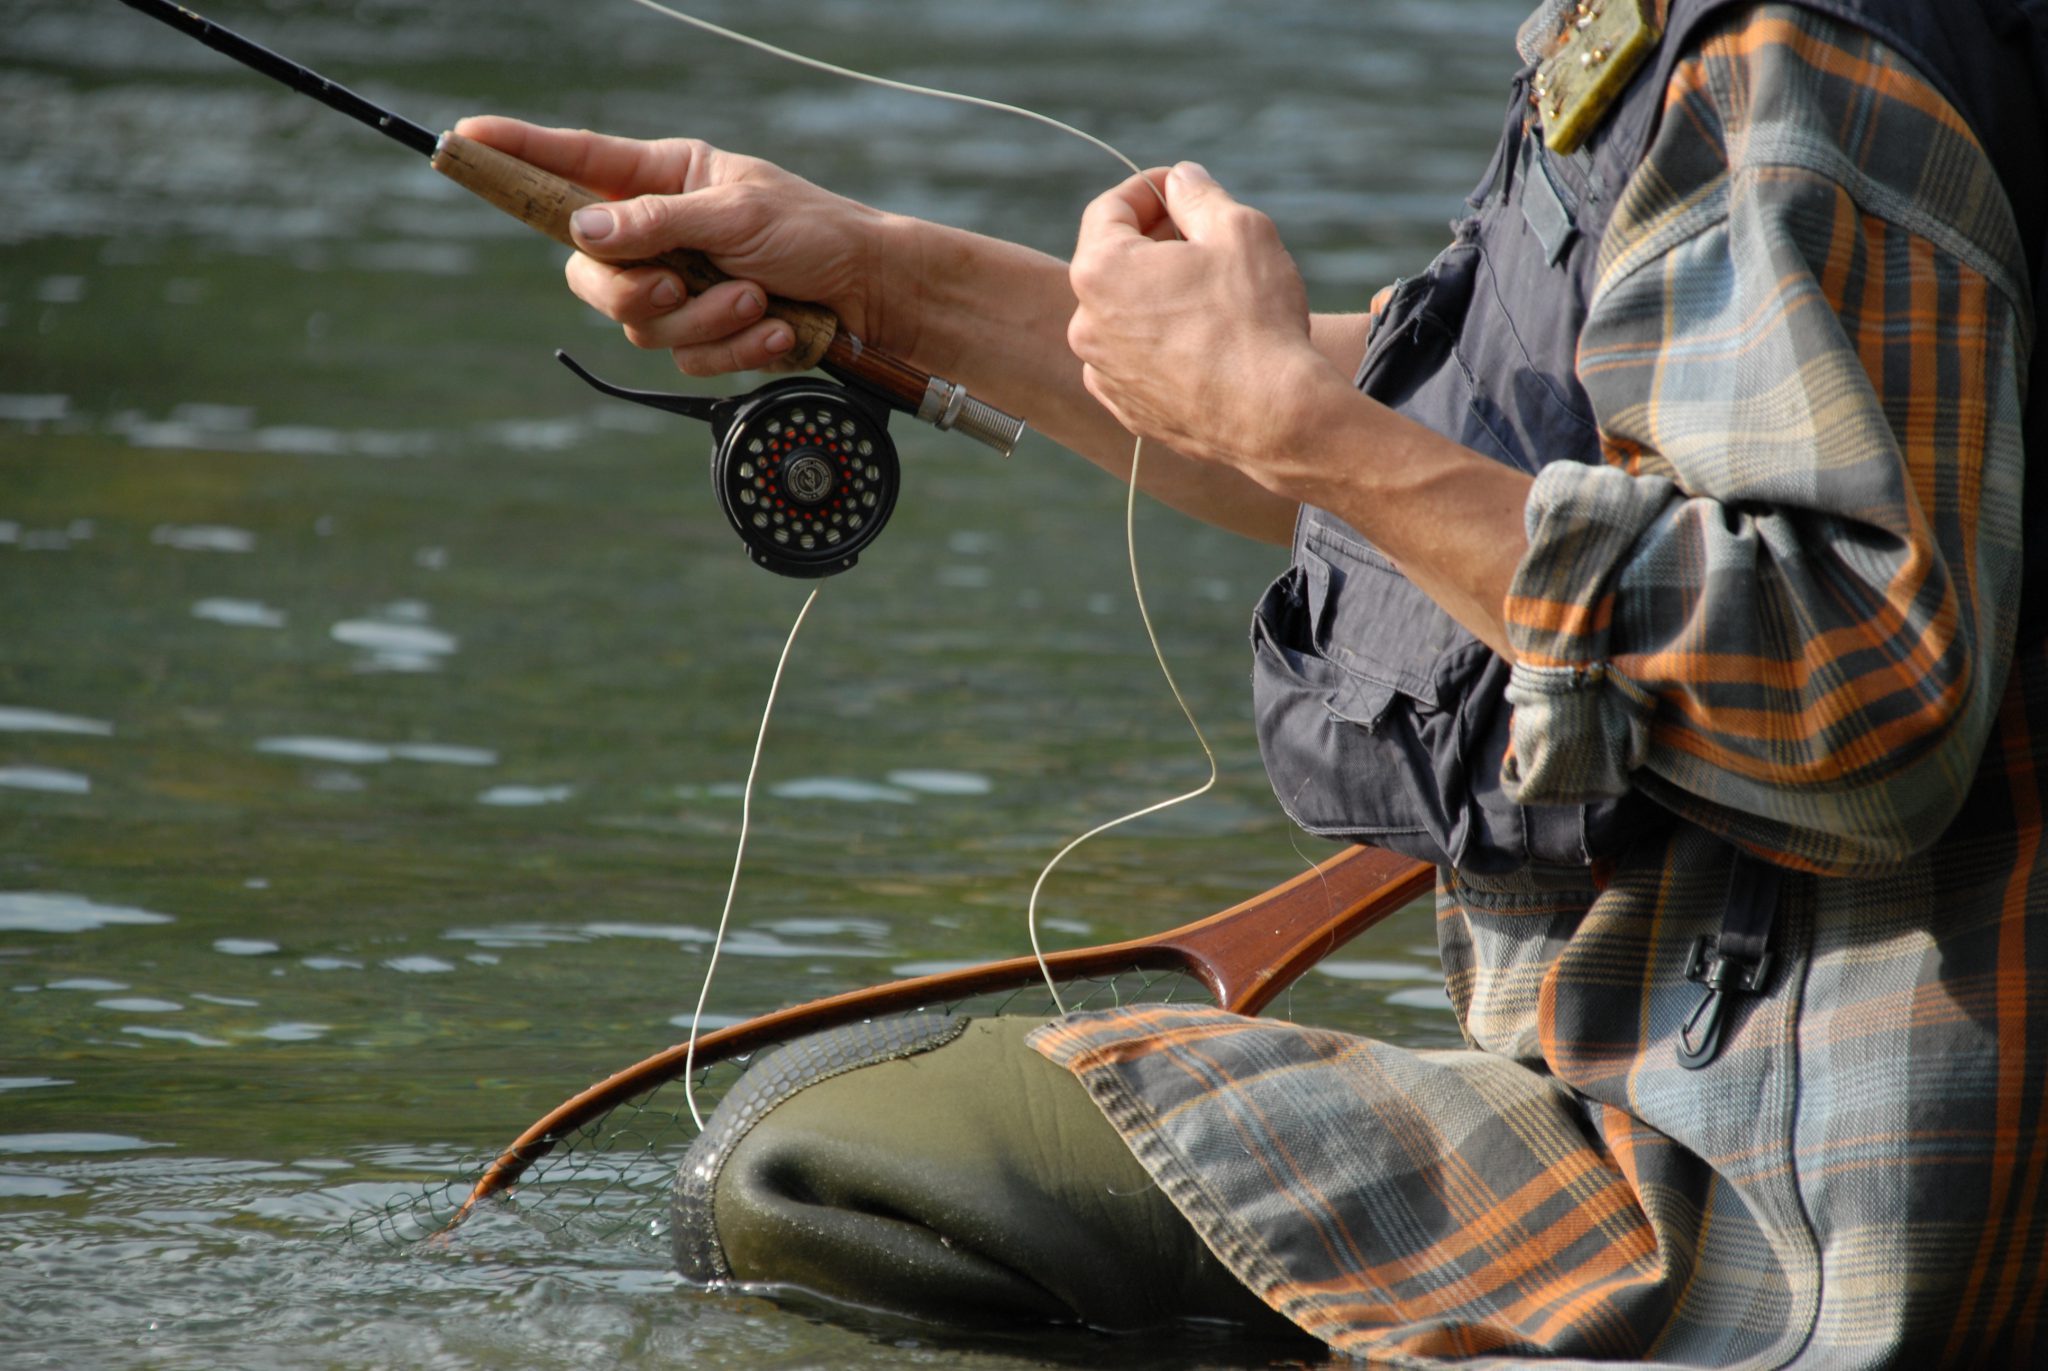
False cast: The act of casting line forward and back to increase distance or change direction without letting the line settle on the water.
Load: The bend in the fly rod in response to the weight of the fly line pulling against it. The fly rod transfers the load, or energy, to the fly line during the cast.
Loop: The shape of the fly line as it travels away from the angler. The loop carries the energy and momentum from the rod and carries the line, leader, and fly in the direction of the target.
Belly: The section at the front of fly line that has the most weight and allows for easier casting.
Ten and two, 10 o’clock, 2 o’clock: Two points in a four-point cast that correspond with the hour hands on a clock. Essentially reference points for the distance that a fly rod travels during the casting motion.
Strip or stripping line: The action of drawing fly line and fly back to you by hand. With the fly line pinched between the trigger finger of the rod hand and the cork grip, line is stripped in from behind the trigger finger with the free hand.
Rig up your rod
Sometimes it gets glossed over, but putting your fly rod, reel, and line put together correctly is an important part of the process. Zack Dalton from Rio products offers a thorough walk-through in the video above.
Reels generally come set up for right-hand casting, left-hand retrieve. Securely tighten the reel foot in the reel seat. The handle will be on the left side and the fly line should be coming off the bottom of the reel.
While keeping hold of the small loop at the front end, pull six or seven arm-lengths of fly line from your reel and let it fall at your feet. Feed that loop through each rod guide. Once the line has been strung, pull the rest of the slack line at your feet through the tip-top guide of your rod and attach your leader to the end of the fly line with the loop-to-loop connection. Now you’re ready to throw some line, as the cool kids say.
The roll cast
The first thing to understand about fly casting is that you’re not throwing the weight of the fly, like you would with a conventional lure. You are casting the weight of the fly line itself, and the fly is along for the ride. No amount of muscle will make that 1/16-ounce fly go farther. Relax and let the rod do the work.
As Pete Kutzer from Orvis demonstrates above, the roll cast is a simple way of getting your line on the water when there is not room behind you for a back cast. Start with roughly 25 feet of line outside the tip of your rod. Having the belly of the fly line out will make casting easier. Pinch the fly line between your trigger finger on your rod hand and the grip and slowly raise the rod above and just behind your shoulder, stopping at roughly 2 o’clock. Your rod hand should be about the same height as your shoulder. If you take a look back toward your raised rod, you’ll see the fly line hanging in the shape of a capital D with the rod as the backbone. You don’t have to take the rod back any farther than this.
Next, quickly swing the rod forward with your rod hand still at shoulder height, stopping sharply at 10 o’clock. The weight of the fly line will load the rod and the fly line will follow the tip of your rod and roll out a big loop away from you onto the water. You may need to repeat the steps a couple of times for the line to reach your target. Once it does, lower your rod tip to the water, strip in any slack line, and get ready for a strike.
The three-part overhead cast
You could ask 100 different anglers about the mechanics of a basic fly cast and you’ll get 100 variations on a theme. The three-part cast is about as distilled and digestible as you can get, as Rob Parkins, a Rio ambassador, discusses. Same as the roll cast, have roughly 25 feet of fly line outside the tip of your rod so that the belly is ready to cast.
Part One starts with your line in front of you and your rod tip pointed down. A roll cast or two will get the line out where you want to start. Raise the rod in a smooth motion toward you and accelerate to a sharp stop at roughly the 2 o’clock position. Remember to keep your rod hand around the same height as your shoulder or chin. The fly line will lift from the water and glide in the air behind you. Count to one. This is your back cast.
After that one-second pause, start Part Two by swinging your rod forward and accelerating to a sharp stop at the 10 o’clock position, keeping your hand at shoulder/chin height. The fly line will unroll in the air in front of you following the loop that your rod formed. Count to one again. This is your front cast.
As the line unrolls toward your target, Part Three is to lower your rod tip with the line as it falls, strip in any slack line, and again, get ready for that strike. If your cast is not far enough to reach your target, you can use false casts to feed more line and hit the right distance.
Up Next: Starter Kit: Learn to Fly Fish — Flies
Previous:





Comments