Shutter speed, aperture, exposure, focal length, depth of field, composition. There’s a lot to take in if you want to up your photo game. Whether you’re using an iPhone, a point-and-shoot digital camera, or the latest and greatest Sony Alpha, putting in the time to understand the mechanics and philosophy of a well-executed shot can’t be skipped. So to help you capture better outdoor photography from the get-go, we asked six pros to offer some advice. Here’s what they said:
Bryan Gregson,@bryangregsonphotography
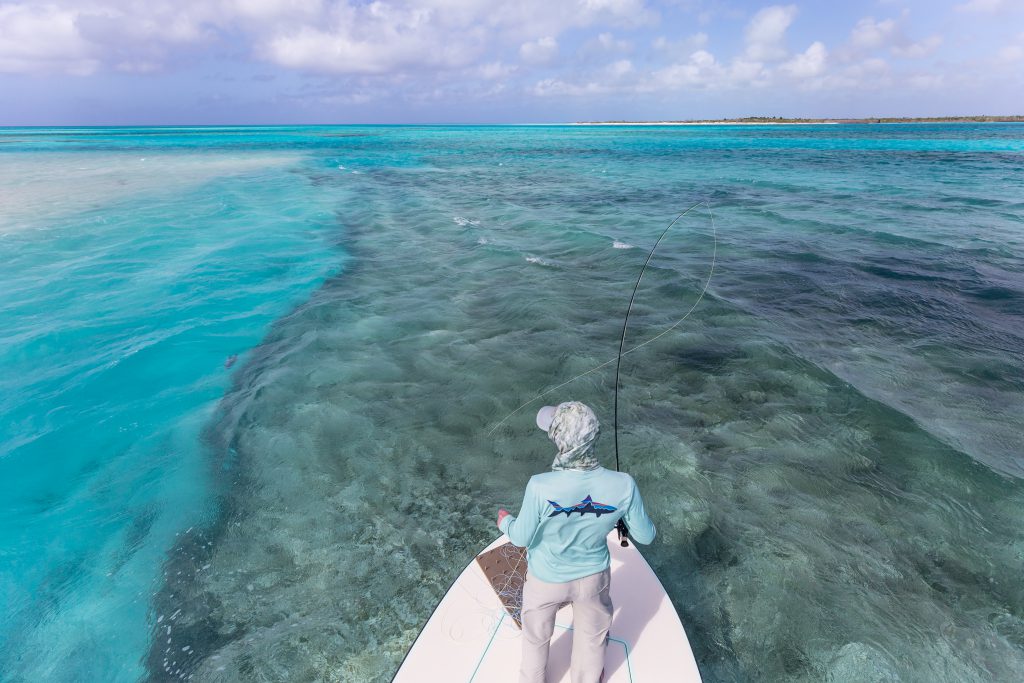
“A circular polarizing filter can help you overcome glare. Just like your eyes, your camera is sensitive to light and can’t see through the glare. A polarizing filter is the same thing as polarized sunglasses, but for your camera. This filter also helps ‘pop’ color and light, which gives depth to an image.
“There are a few things to keep in mind when using a polarizing filter. Keep your lens at 90 degrees to the sun. Don’t shoot directly into the sun or with the sun directly behind you.
“When using a wide-angle lens and shooting with a big blue sky, you might see some vignetting or light-fall-off. These darker areas will be around the edges of your frame, or you might get what looks like a darker area that looks like an upside-down half-circle in your sky. This issue doesn’t really register on your LCD screen very well. By the time you’ve realized what happened, it’s too late. Using a slim polarizing filter with a wide-angle is a good workaround or keeping your focal length at 35mm or higher.
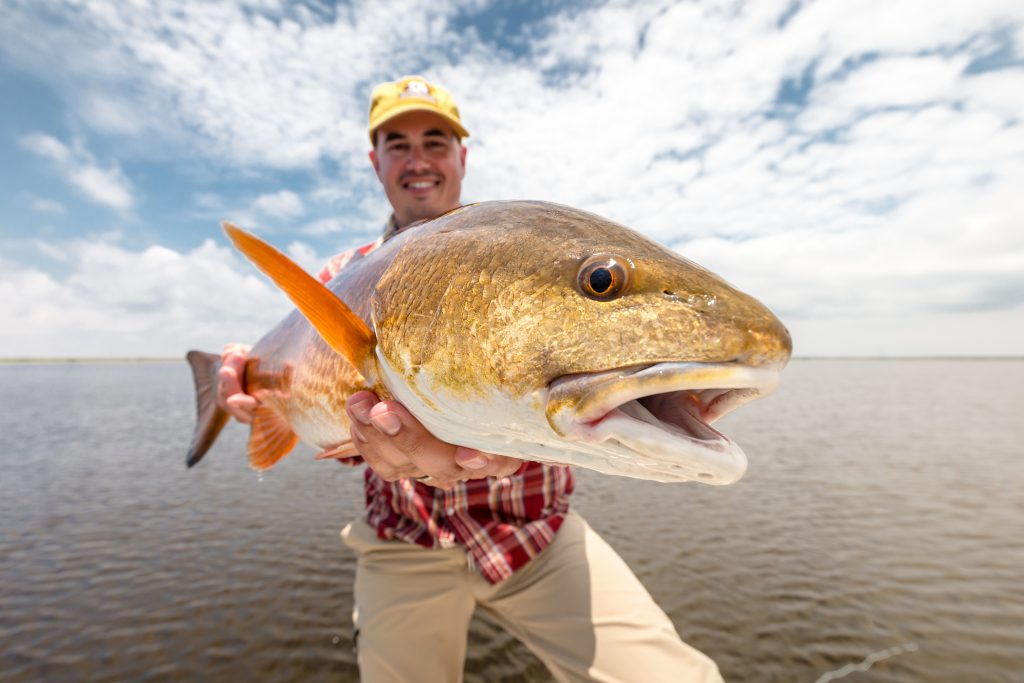
“Also, not all filters are the same. When purchasing a circular polarizing filter, you really get what you pay for, just like lenses. If you have an expensive lens and put a cheap filter (a piece of glass) in front of it, you have changed the expensive lens’s integrity. Spending $100 on a filter should get you a reasonably decent one. I would never leave home without one, or maybe two.
“When shooting an angler, keep the sun either behind you or off to one side. Use the natural sunlight to light your subject. If it’s too bright and harsh of light out, maybe find some shade to get an even exposure. Remember to expose for the skin tones.
“Frame pictures using the rule of thirds with part of the scenery in the frame. Think scenic with action. Don’t forget to add in the foreground, middle ground, and background. This type of composition will give your image more of a 3-dimensional feel.”
Earl Harper, @earl_harperstudios

“When out on a photo excursion, don’t forget to focus your camera on the people you meet or the people you are with. I have traveled to a number of countries in search of fish, and it seems that the portraits I take are the photos that, in the end, bring back the best memories.
“Taking a nice portrait outdoors is more than just snapping a quick pic and moving on. Take some time to think about the light, the location, and the feeling you want to communicate.
“This image [above] is of my friend Chiara who is the co-owner with her husband, Dane, of ESB Lodge in the Yucatan. This shot was planned in advance. I chose the spot, the time of day, and the feeling I hoped to convey. I had Chiara in the shade because I thought that if she was getting hit with the late afternoon light, she would have been too contrasty, and it would have been tough to fill in the shadow side. Once I get my subject into place, I rarely give much direction after that because I want their individual personalities to shine.

“This photo [above] of our guide, Noelle, was taken in Argentina fishing for Golden Dorado. A few things I really like about this photo are the golden light, due to photographing during the right time of the day, and just as importantly, the choice of lens. The use of wide-angle lenses when taking a portrait will allow you to make your subject the most prominent point of the photo and still be able to include an expansive view of the landscape in the back.
“Portraits like this can really help give the viewer a good sense of place, which would have been lost if I had taken the portrait with a longer lens focusing solely on Noelle.”
Jess McGlothlin, @jess_mcglothlin_media
Always keep your camera out and ready.
Photo by Jess McGlothlin.There is such a thing as wading too deep.
Photo by Jess McGlothlin.
“I’ve never had a picture published that I took while sitting on the couch. No matter how long or rough the day was, get outside. Great pictures are made when we step outside the front door, out of our comfort zones. Grab a cup of coffee, then load the gear and camera up. Even if you’re not even putting on the water, simply get to the river and the lake and look for a scene. There are always photos to be made, and your mental state will benefit from the simple act of getting outside.
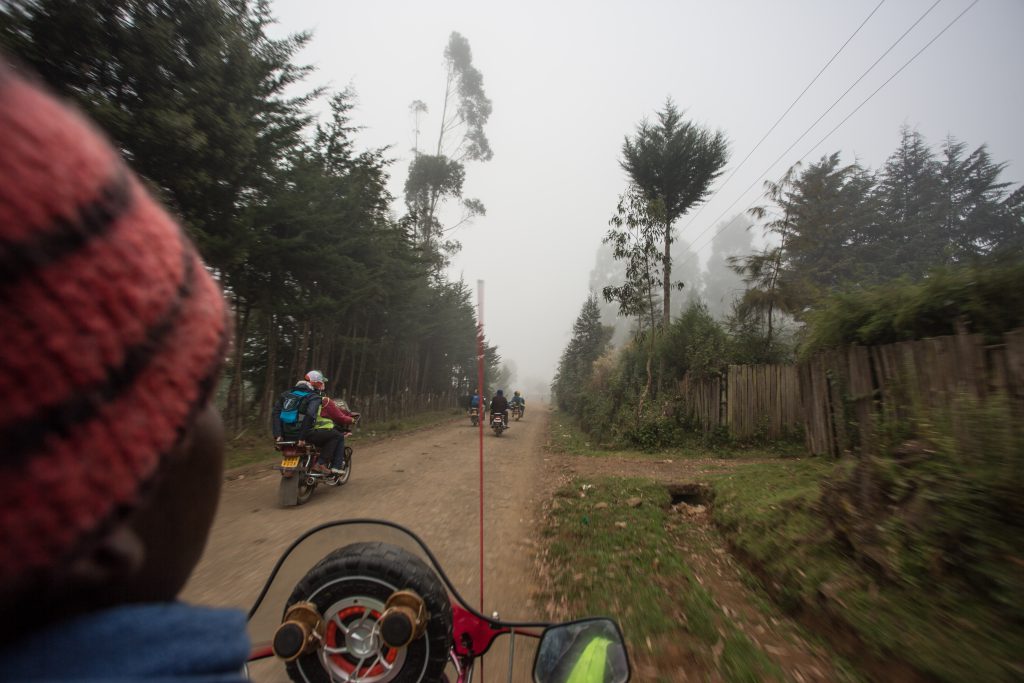
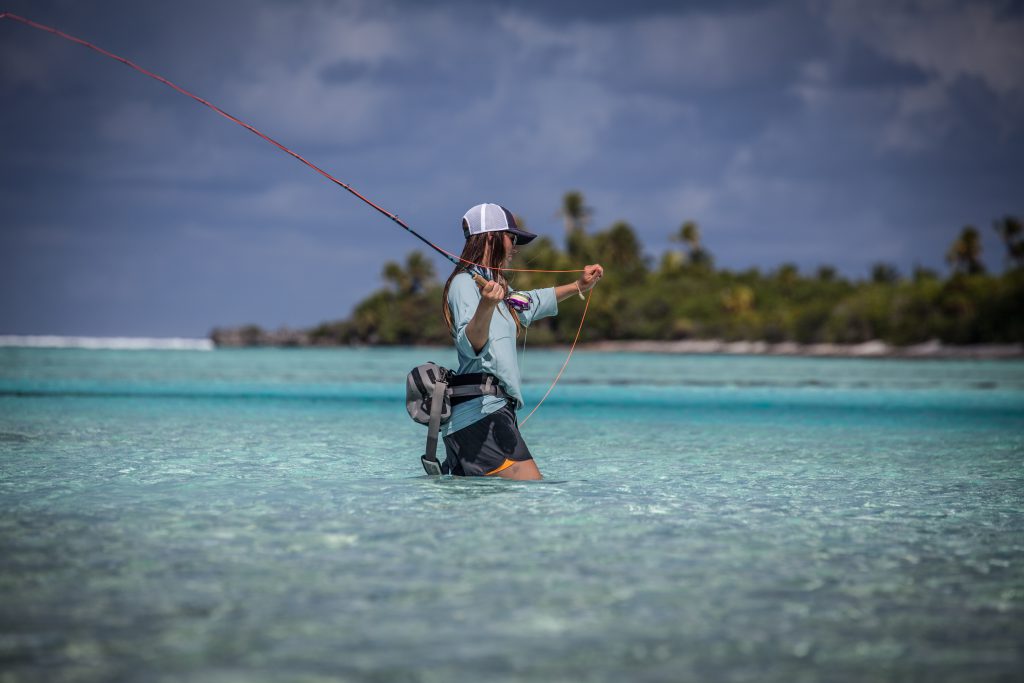
“It’s easy to argue that keeping gear out, instead of tucked away nicely in a bag, is harder on it. It’s true. I’m wicked-hard on my gear, but with proper cleaning and maintenance, it keeps up and gets the job done. Keep a bag nearby, so if conditions go south or you absolutely need to, you can stow the camera. But otherwise, keep it out. Keep it on your shoulder or cross-body, as I did while crossing Kenya’s Aberdare Mountains via Boda Boda motorbike [above left]. And maybe don’t wade deep enough that you’re swimming, which is what I did to get this shot of an angler in French Polynesia [above right]. Good images never come from inside the bag.”
Grant Taylor, @granttaylorphoto
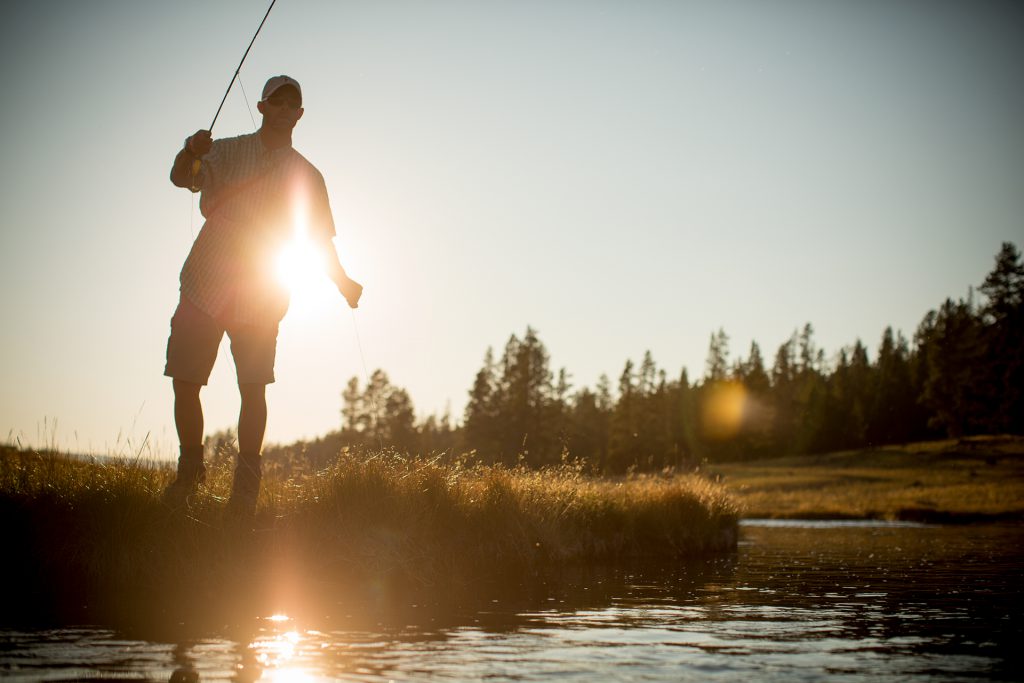
“There are a handful of things that you can keep in mind to level-up your image-making results, without the need for pricey gear. If I’m out shooting stills or video for a client or just for my own pleasure, there are a couple foundational things that I’m considering in each scenario.
“When the sun is at a lower angle, the early and late parts of the day, and the light is warmer, typically provide the nicest, most flattering light for your human subjects and the most texture in the landscape. Pay attention to how the light falls upon your subject, whether it’s a person, animal, or landscape feature, and think of positioning yourself and your subject at an angle to the light, so there’s a play of light and shadow that creates shape, texture and interest. Having a little high, thin overcast in the sky is great when photographing people. It softens the shadows that can be so harsh in direct sun.
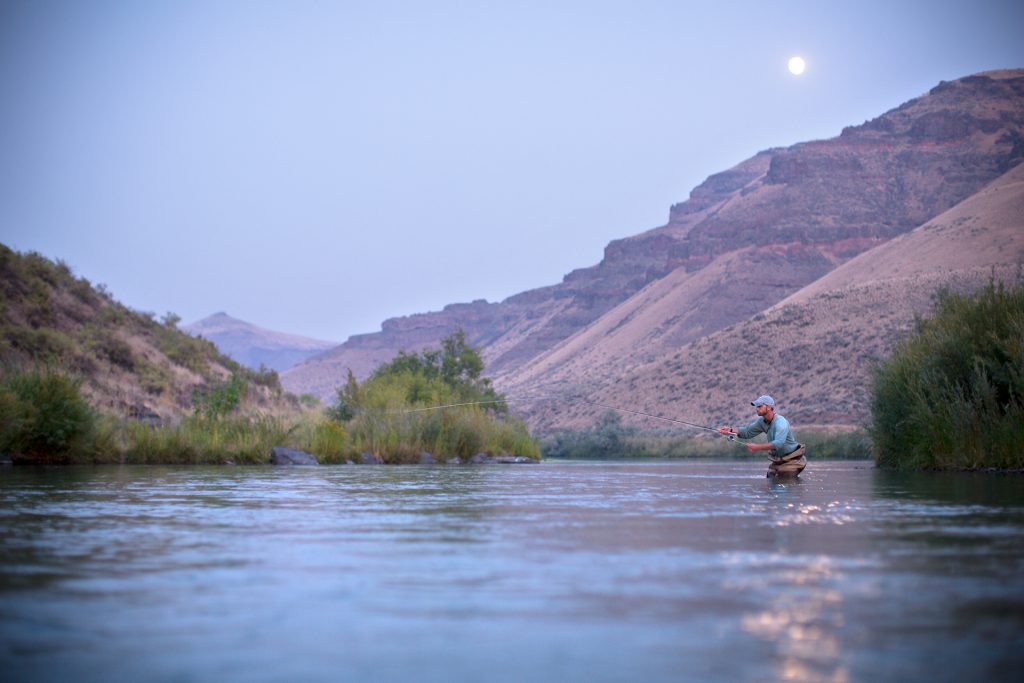
“While our knee-jerk reaction is often to just ‘stand there and shoot,’ try exploring other ways to position yourself, relative to your subject, in order to create a more dynamic image. I sometimes joke with my clients that with much of my photography, I eventually wind up laying on my side with my ear in the dirt.
“I love using an extremely low perspective. It can help convey an added sense of strength or power in your subject and might bring a layer of out-of-focus elements into your foreground, creating added depth in your imagery.”
Tony Bynum, @huntphotos
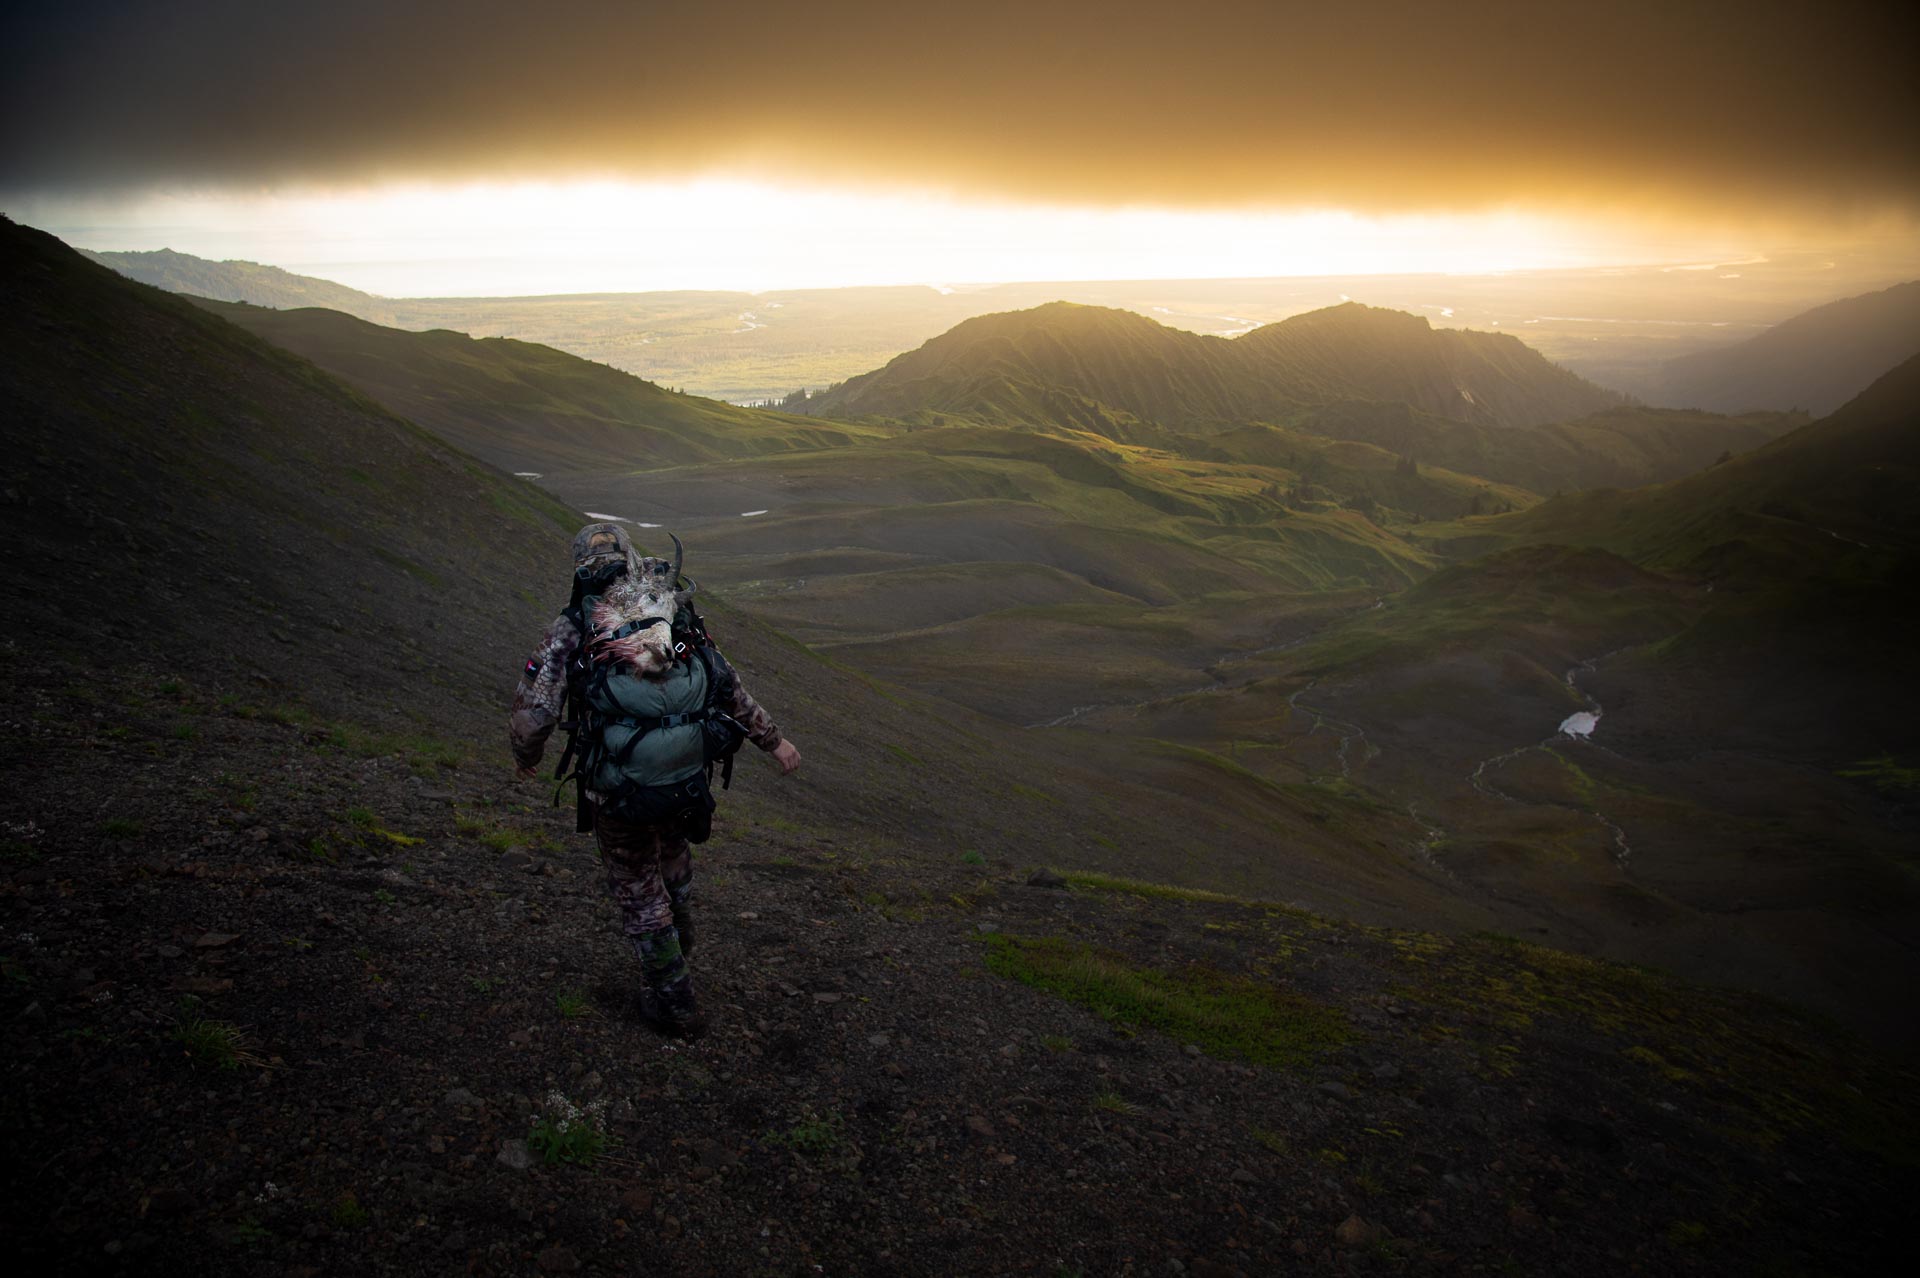
Literally ask yourself what you’re taking a photo of.
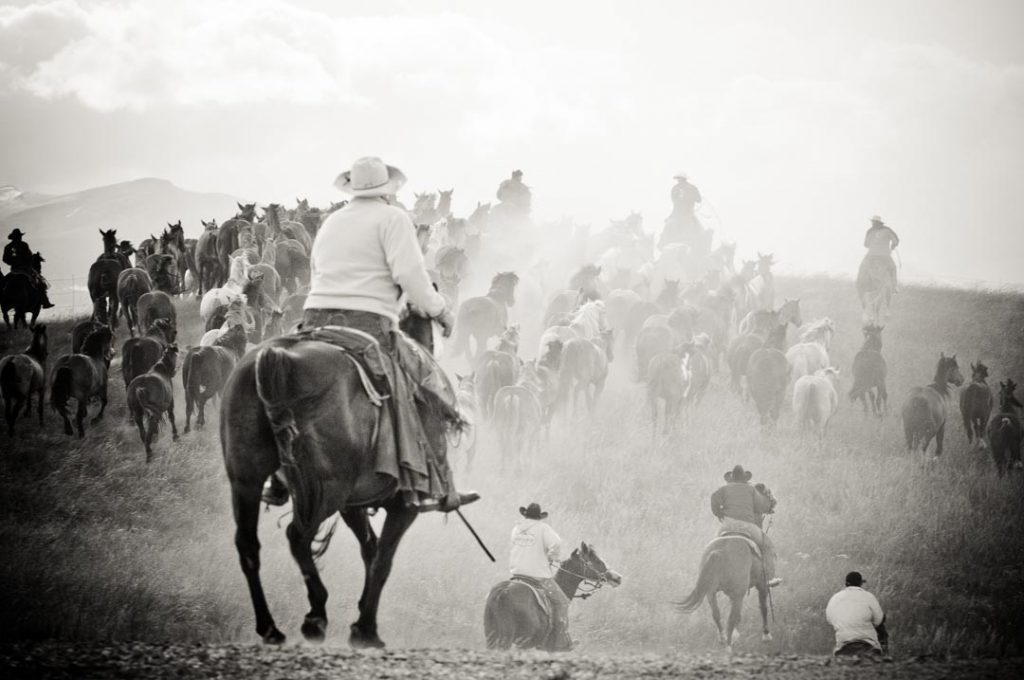
Photo by Tony Bynum.The rule of thirds will help immediately.
Photo by Tony Bynum.
“Photography, the craft of creating a photograph, is a process. The single best way to improve your outdoor photography is to do it more often. Proficiency comes with practice. One of the best ways to improve the quality of your images is to think clearly about what you’re taking a photograph of. Literally, stop and ask yourself, What am I taking a photograph of? When you do this, you will begin to focus on the real purpose or main subject of the image. Whether you have a smartphone or a larger dedicated camera and some lenses, thinking clearly about why you’re taking a photograph or what you want to show someone with it will swiftly improve your results.
“I also believe there is one tool that can help you quickly develop your skills. Turn on the digital grid and let it show you the rule of thirds. Trust me. It works.”
Adam Phillips, @phill.photo
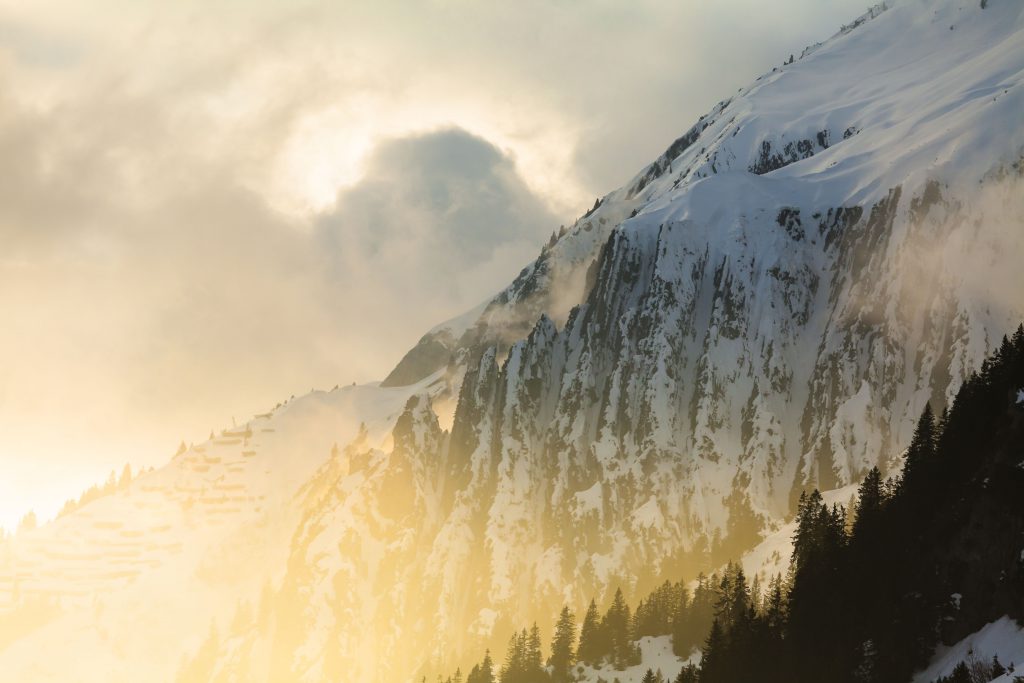
“My advice for getting better outdoor photography is to go out and use your camera. I know you probably paid a lot for it. It’s your baby. That’s okay, but remember it is also a tool, and you won’t create anything if it’s collecting dust or stays in your camera bag.
“Try to go out with only one lens — a wide, telephoto, or a prime especially. Whichever you choose or have, even if that’s your phone, limit yourself to that one lens for the day or week. You’ll be forced to get creative with how you start to capture and make your images.
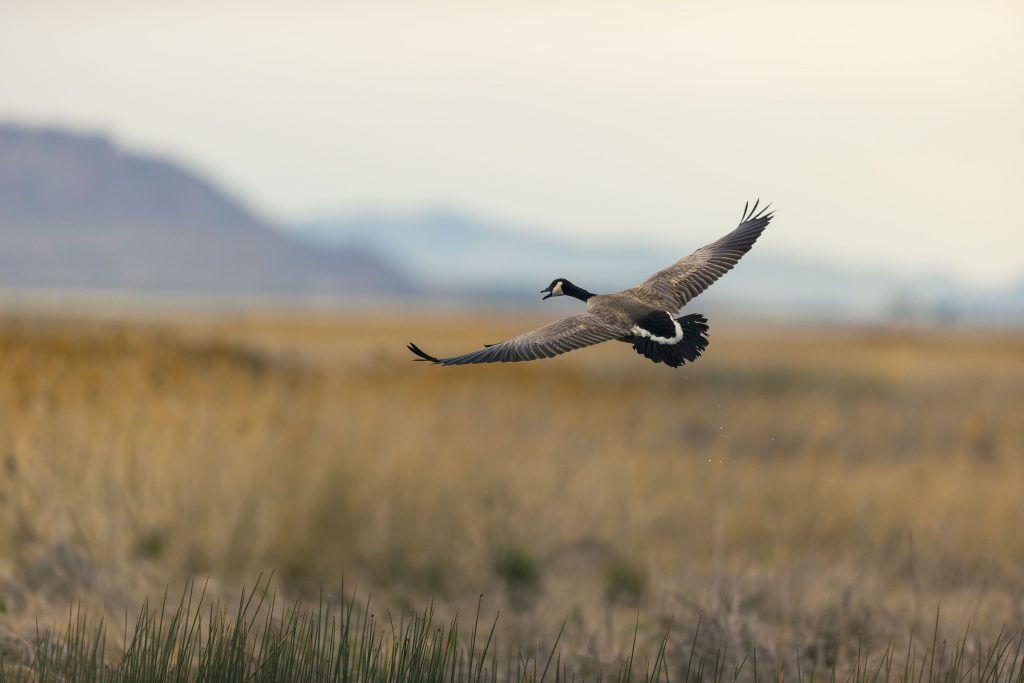
“This will also help you learn more about light and your camera’s settings than worrying about which lenses you want to use. It will force you to change your perspective. Try to avoid shooting your images at eye level. If you can get at ground- or knee-level or shoot from higher, do it. If you feel awkward or if people are giving you weird looks, you’re bound to come out with some amazing images.
“Lastly, be patient, learn to sit still, wait for good lighting, and take a moment to look around while everyone else might have their camera fixated in the same direction; take a moment to look around you to see if there isn’t something else worth capturing. Most importantly, make sure you’re having fun.”
Read next: Married To Adventure: Martin & Osa Johnson’s Photography Escapades Across Two Continents

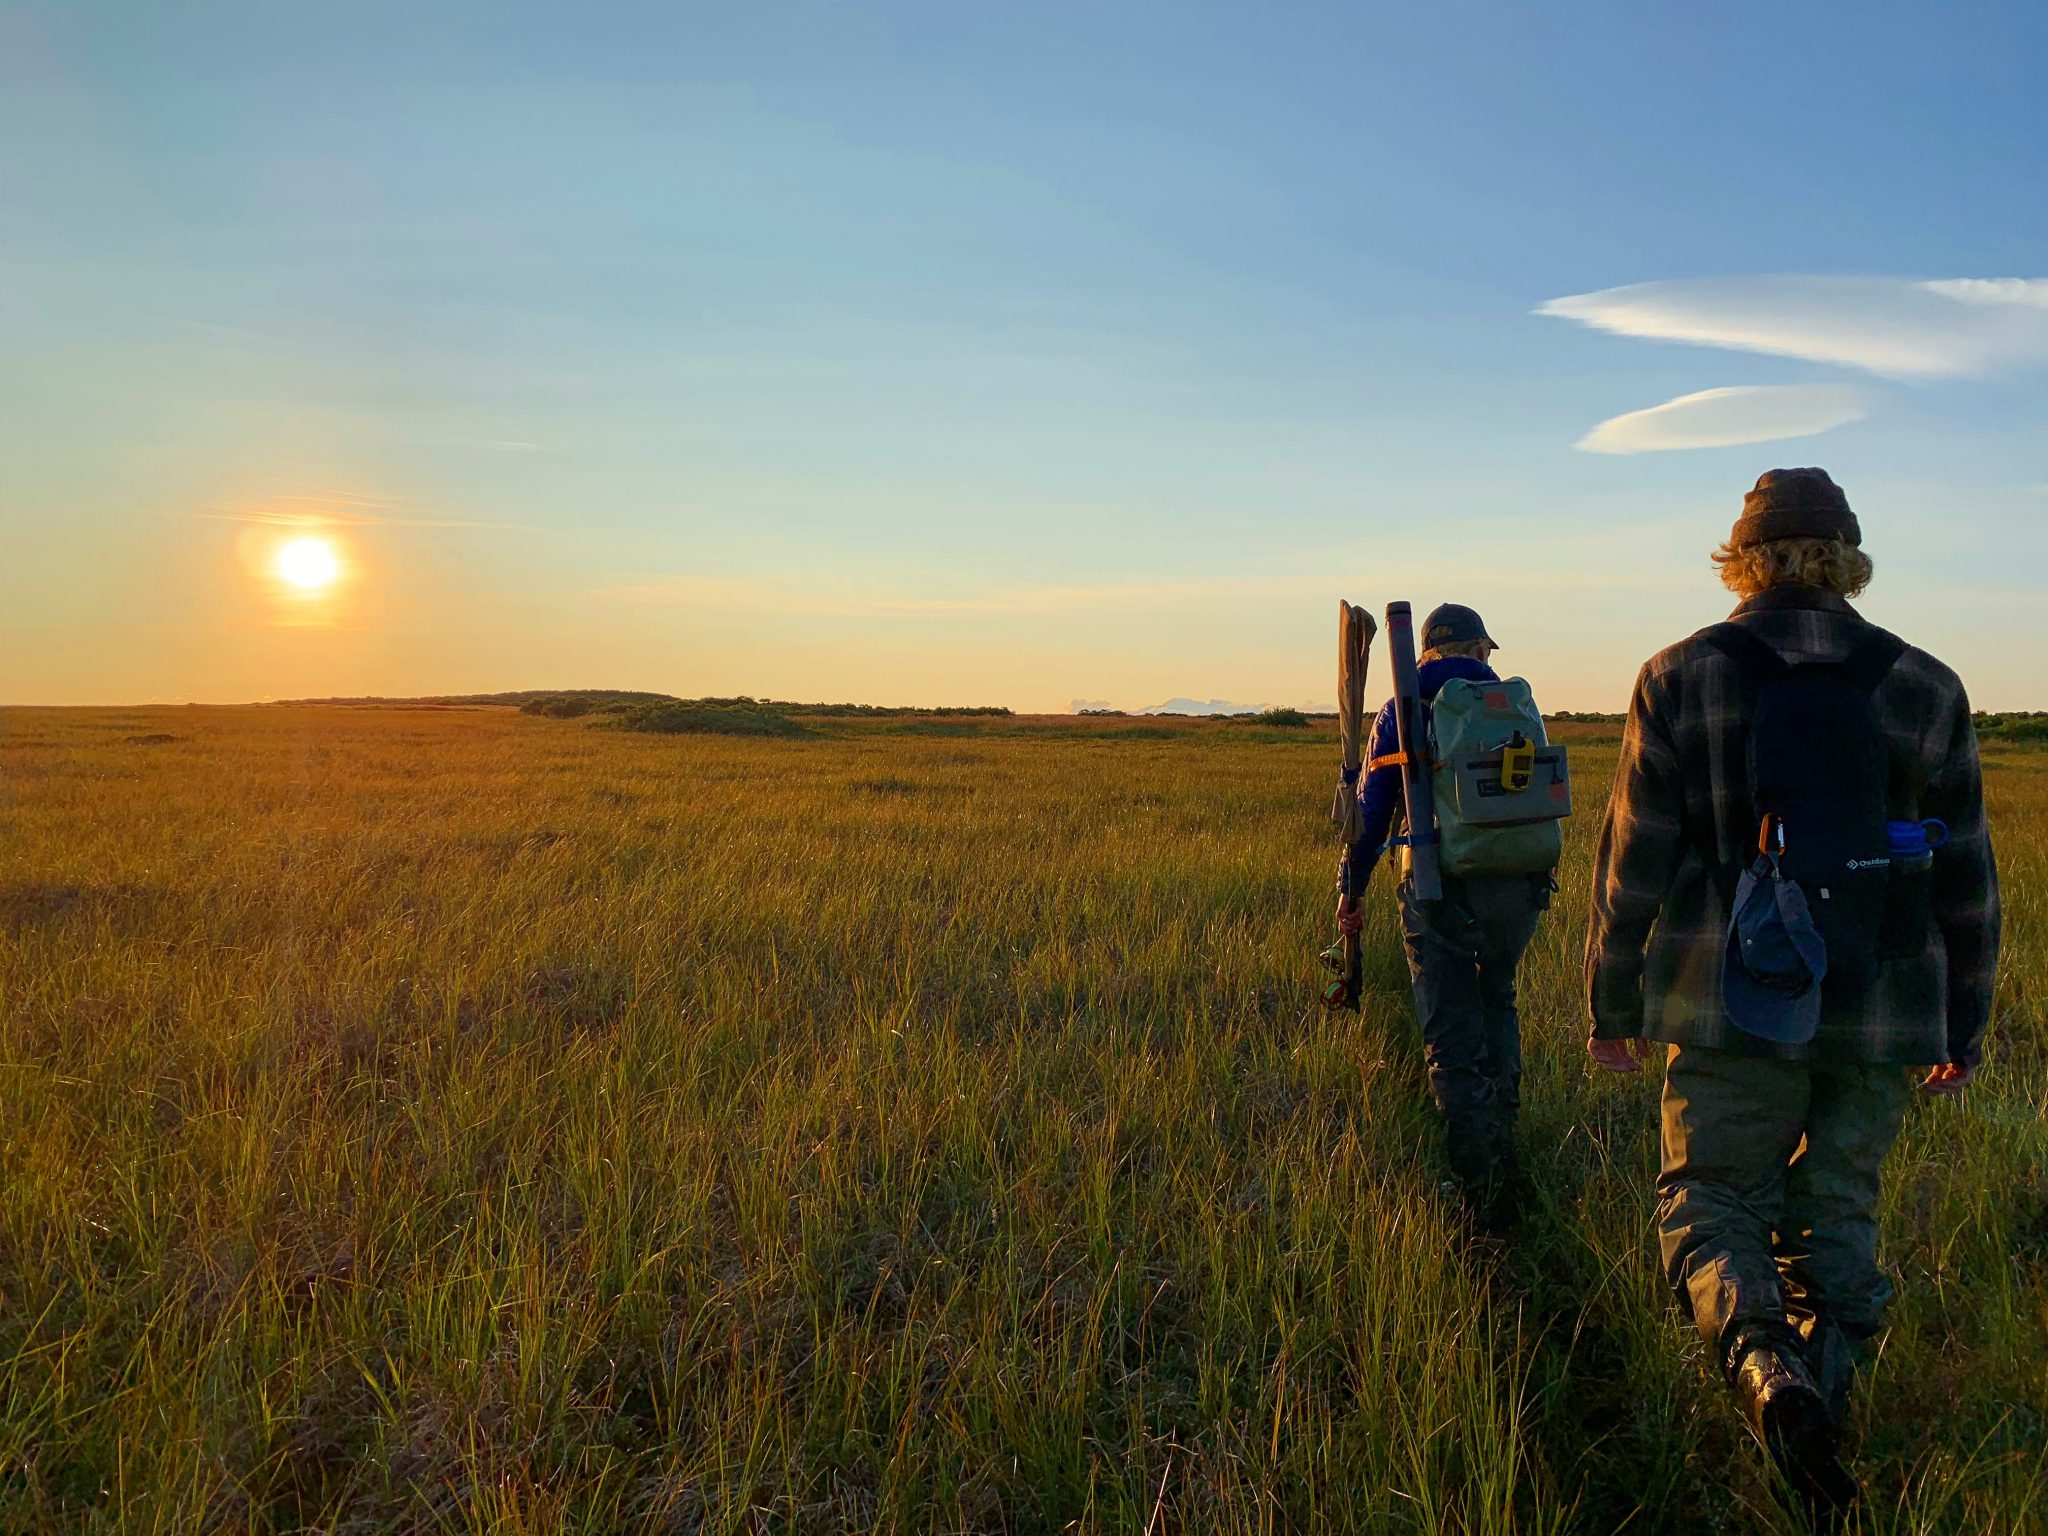


Comments