If you don’t take a purposeful approach to shooting your bow with a focus on bowhunting fundamentals, things will get worse before they get better. I used to track the number of arrows I shot per day on a calendar. After all, the more carbon you sling downrange, the better, right? Not really.
The truth is, shooting piles and piles of arrows doesn’t guarantee you a thing. Only purposeful arrows lead to perfection, which leads to deflated lungs and backstraps on the grill. Let me explain.
As an ultramarathon runner, I don’t leave the house each day and run 50 miles. Instead, I have a running plan for the day. Wednesday may be a short mileage speed day. Saturday may be a long-run day where the focus is on keeping the heart rate in a controlled zone for 20 or 30 miles. It would help if you did the same as an archer.
Build a shooting journal and develop a weekly plan that you stick to no matter what, and focus on the following fundamentals.
Attain a Perfect Grip
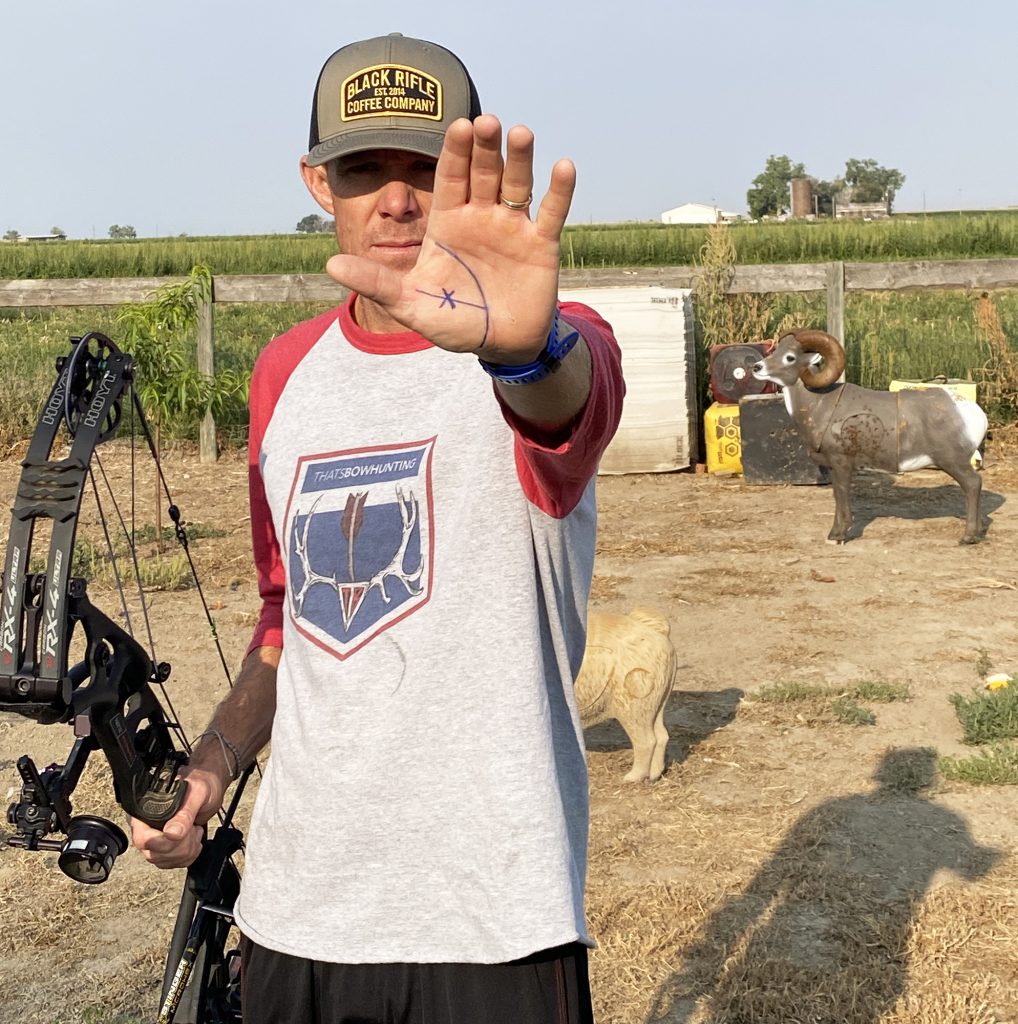
Once every few weeks you need to dedicate a single day to perfecting your grip. Few things will rob you of shooting confidence like an improper, or worse, inconsistent grip. Your bow’s grip should rest on the thumb side of your hand’s lifeline. The central pressure point should be on the palm pad. Draw a parallel line from the base of your thumb to your lifeline. Bow pressure at full draw should center on, slightly below, or slightly above this line.
Before getting into your bow’s grip, raise your bow hand in front of you. Your thumb will naturally fall at a 45-degree angle, and this is the perfect position to place your hand into the bow’s grip. Now, practice getting into your grip time and time again without drawing the bow.
Once hand placement has been established, it’s time to load an arrow, get into your exact, consistent grip, and come to full draw. Once you hit a full draw, focus on relaxing your bow arm from the elbow down. If you’re squeezing the life out of your grip, you’re applying accuracy-robbing torque to the riser. Plus, a tight grip will boost pre-shot anxiety. Developing a proper grip will save you a lot of headaches down the road.
Perfect a Repeatable Anchor
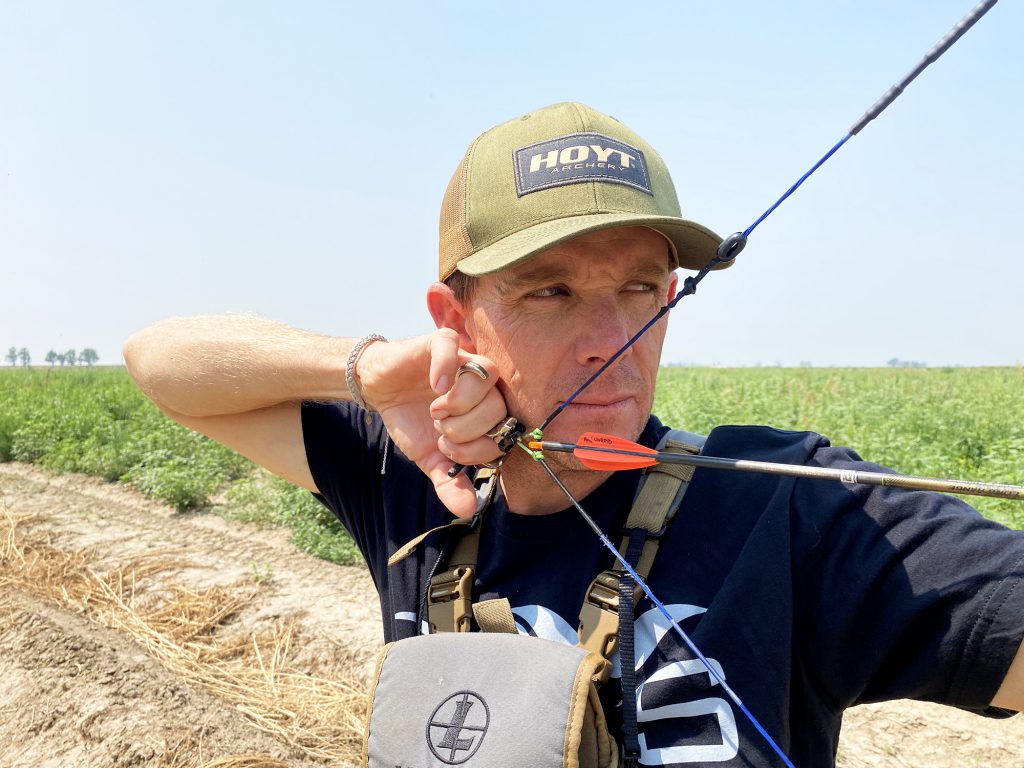
Just like your grip, you must spend time developing a repeatable two-point anchor. Due to draw length, comfort, and other physical features, every person will have slightly different anchor points. That’s fine. The goal should be to develop an anchor system that is repeatable regardless of body position, distance from the target, and the angle of the shot. Ideally, the tip of the nose should rest against the string, and the release hand, depending on release type, should rest on the bottom jawline. An exact anchor equals a perfect eye-to-peep-to-housing alignment, which leads to pinpoint accuracy.
One of the best ways to check for anchor consistency is to have someone film you or film yourself at full draw. Another excellent test is to apply some colored face paint to the release hand where it touches the jawline. If you have marks all over your jaw, you’re doing something wrong; if you have a bunch of marks in the same spot, you’re doing something right.
Hold at Full Draw, and Hold, and Hold
Cover any dots, spots, or aiming points on your target and stand 10 yards away. Get into your grip, crawl into your anchor, and let your pin float on the blank target face, but don’t fire the arrow. Instead, hold until exhaustion. There isn’t a week that goes by in my shooting routine that this exercise is ignored.
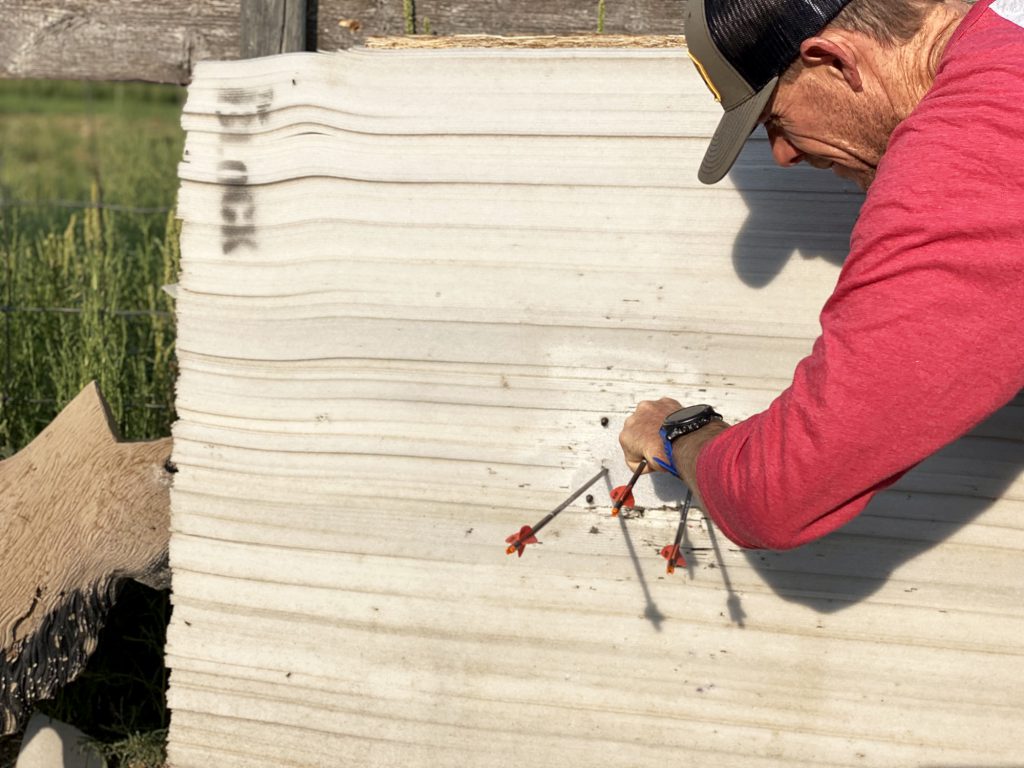
Not only does this shooting exercise help you learn to trust your pin float and keep fighting for center (more on this in a bit), but it also trains your muscles to hold at full draw. There have been times while hunting elk and rutting whitetail that I’ve had to hold my bow back for long periods of time. How can you prepare for this if you don’t train for it regularly?
The more you practice drawing and holding, the stronger your muscles will get and the longer you’ll be able to stay at full draw without having a mental breakdown, which will let you make a killing shot when it matters.
During these practice sessions, I like to have someone hit the record button on a smartphone the second I hit full draw and stop it the second I let down. This is an easy way to time myself and track my progress.
More importantly, this exercise also teaches you to trust your pin float. Pin float is natural. The best archer in the world can’t keep their pin dead steady on one spot. If you try to do this, you will fail and target panic will set in. The good news is your subconscious mind is constantly pulling that pin back and forth across the spot where you want the arrow to hit. Learn to trust your pin float.
Let the Release Fire the Bow
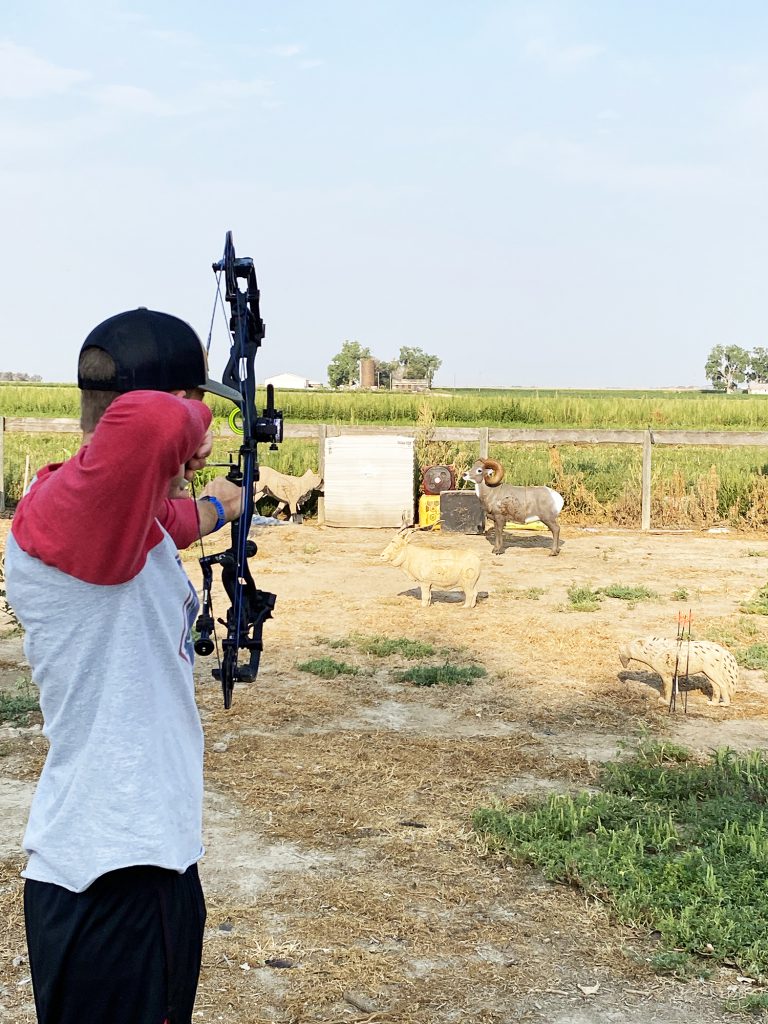
The job of your release, whether you shoot an index finger, thumb, tension, or hinge release is to fire the bow. You have to learn to trust your pin float and you also have to learn to let your release do its job. You can shoot 300 arrows every day, but if you’re actively triggering your release, you’ll never be as accurate as you can be.
Try this: Stand 10 yards from a blank target face. Obtain a perfect grip and then crawl into your two-point repeatable anchor. Now, just let your pin float on nothing. As your pin is floating and you’re relaxing your bow arm from the elbow down, start driving your bow arm into the riser. Pretend like you’re trying to push your pin through the target.
The release arm should be up and moving away from the target. Imagine your worst enemy standing behind you. When the release breaks, you want to pop them right in the nose with your elbow.
Do this for an entire shooting session. Get comfortable with giving up control and letting your release do what it was designed to do. With no aiming points, there is no anxiety. You can focus on your entire shooting system and aim, and aim some more, until the shot breaks. When you do it right, there isn’t a better feeling in the world.
Get 3D Targets and Use Them
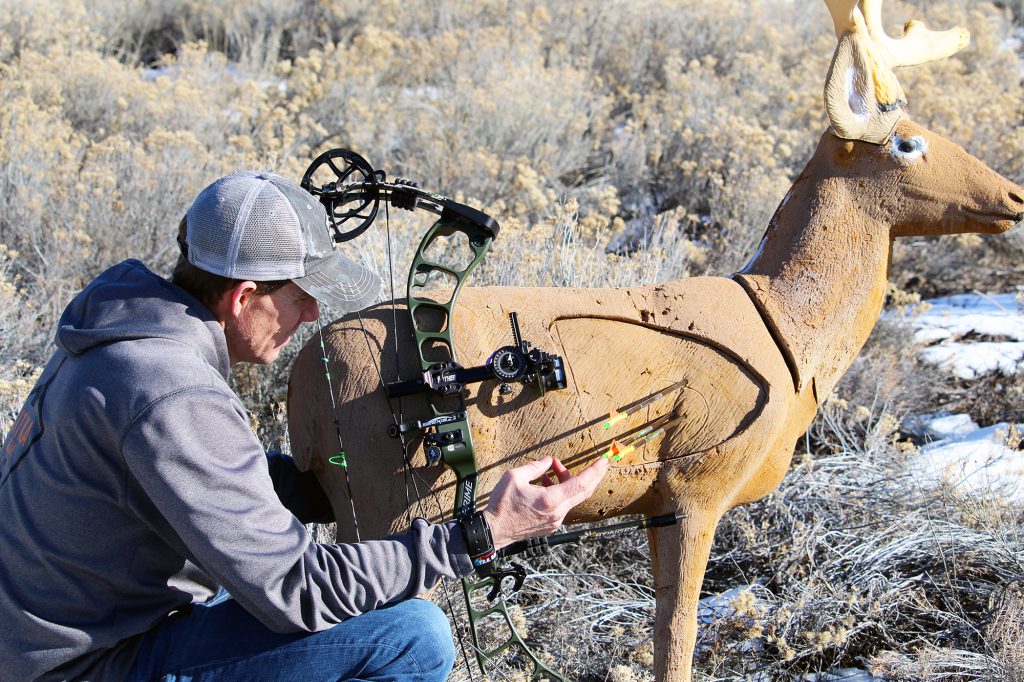
You should be feeling pretty good about yourself, and for a good reason. You’re doing things most bowhunters don’t. You’re preparing your mind and body for the moment of truth when you will punch lungs and stand over a fallen prize that will fill your freezer.
Be sure to spend several days shooting two or three dozen purposeful arrows at various distances. Be honest with yourself. If your pin hits foam and you punch the trigger, stop. Walk back up to your blank face target and fix the problem. Every arrow you fire should be perfect. That doesn’t mean every arrow should be a 12-ring shot. It means that regardless of wind speed, lighting conditions, or any other environmental factor, you executed to the best of your ability.
When you can perform shot after shot without jabbing the trigger while staying composed and letting your pin float until the shot breaks, you’re on your way to a season of success.
Practice Angled Shots at 3D Targets
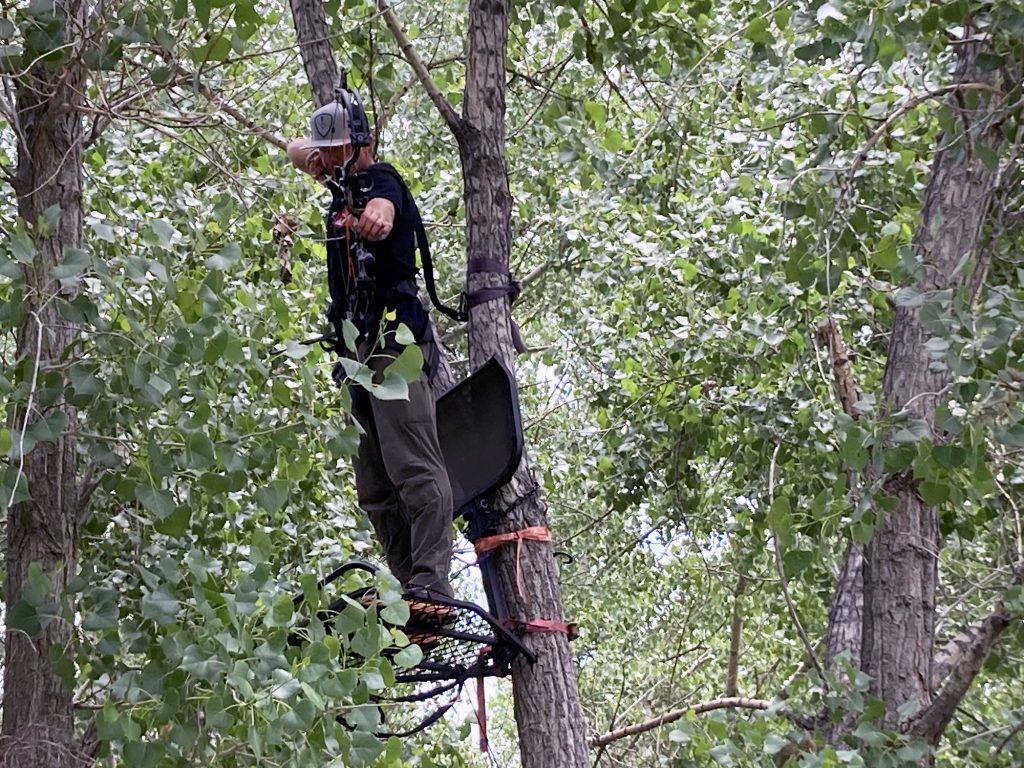
Keep in mind that as you practice and fill out your shooting log, you should schedule in days where you shoot at steep uphill and downhill angles. If you plan to hunt from a treestand, drag a target to the woods and simulate the types of shots you may have to take.
It’s also essential to set 3-D targets and quartering angles, both toward and away, and practice putting the arrow where you know it needs to go when presented with such targets.
If you shoot your bow with a purpose and keep a shooting journal, you’ll be shocked at just how good you get.
Read Next: Pronghorn Hunting – The 5 Best States for Speed Goats




Comments