Are you hitting high, low, or burying carbon in the dirt? Yup, I’ve been there. Shaking so bad that you struggle to bring your pin down on a patch of brown hair, and when you do, you jab the release like a prizefighter? I was president of that camp for a while. I’ve also wounded one or more critters in a season, which for a grip of time, made me think about putting the bow away for good.
I have pages in my journal filled with my archery doubts and fears.
Around this time of year, many of you tell yourself — as I used to do — “It’s December. It’s January. I have a lot of time to get better. Next year will be different. Next year is going to be my year.”
Will it, though?
Related: How to Be a Better Archer: Focus On These 5 Bowhunting Fundamentals
I’m not trying to be negative. I’m being a realist. I told myself this for years, and I was all show. I talked a great game but wasn’t good on the follow-through. Sure, I shot thousands of arrows aimlessly downrange, but shooting arrow after arrow doesn’t make you a better archer or bowhunter. It could make you worse.
I started doing my research, and here’s what I discovered: It takes 21 days to break a habit and build a new one — 21 days of planned, purposeful action without fail. So, I took action.
Right now, it’s December, and your work starts today. Stay with me, and I promise you’ll be a stone-cold killer in the bowhunting woods after 21 days. But to stay in tip-top form, you’ll need to continue your new regime through August, when big-game seasons kick off in the West!
Archery Lesson Plan Week 1 — Building a Foundation
The first 21 days of this program are the most important. You have to look at this plan like a diet, a serious exercise routine, or lifestyle change, if you will. You have to commit. Shortcuts will lead to bad things.
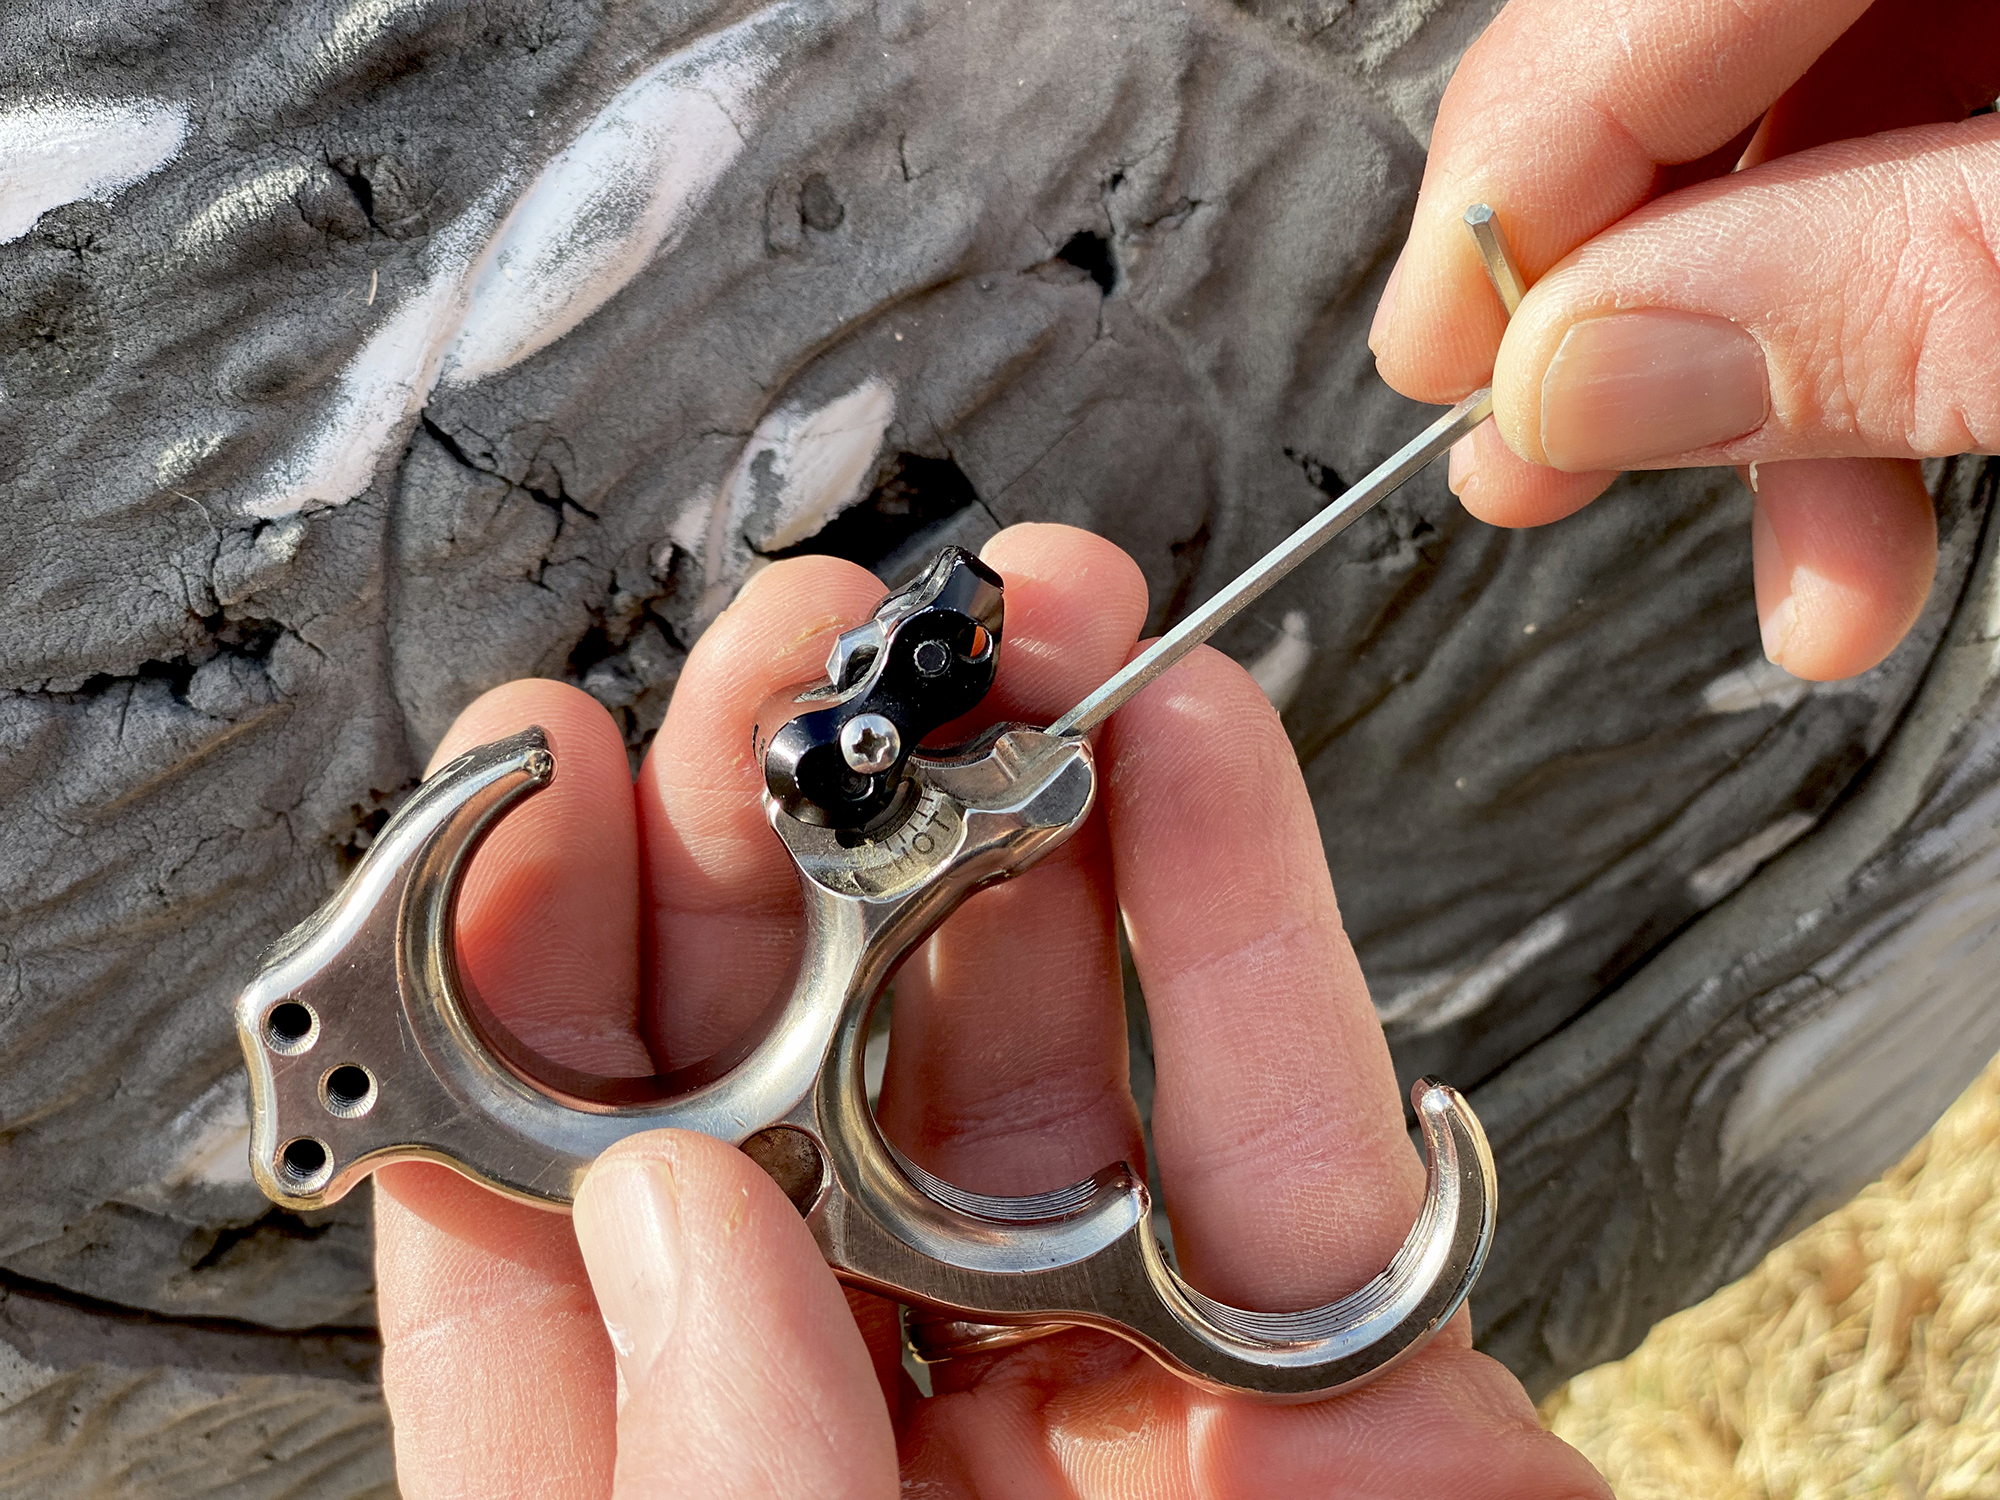
I also recommend, and this is, of course, up to you, that you purchase a hinge-style release before starting this program. If you don’t, it’s not a deal-breaker, but 21 days of running hinge will change how you look at shooting a bow.
Related: Bowhunting Elk: 7 Last-Minute Efforts That Can Improve Your Chances
Day 1: Block It All Out
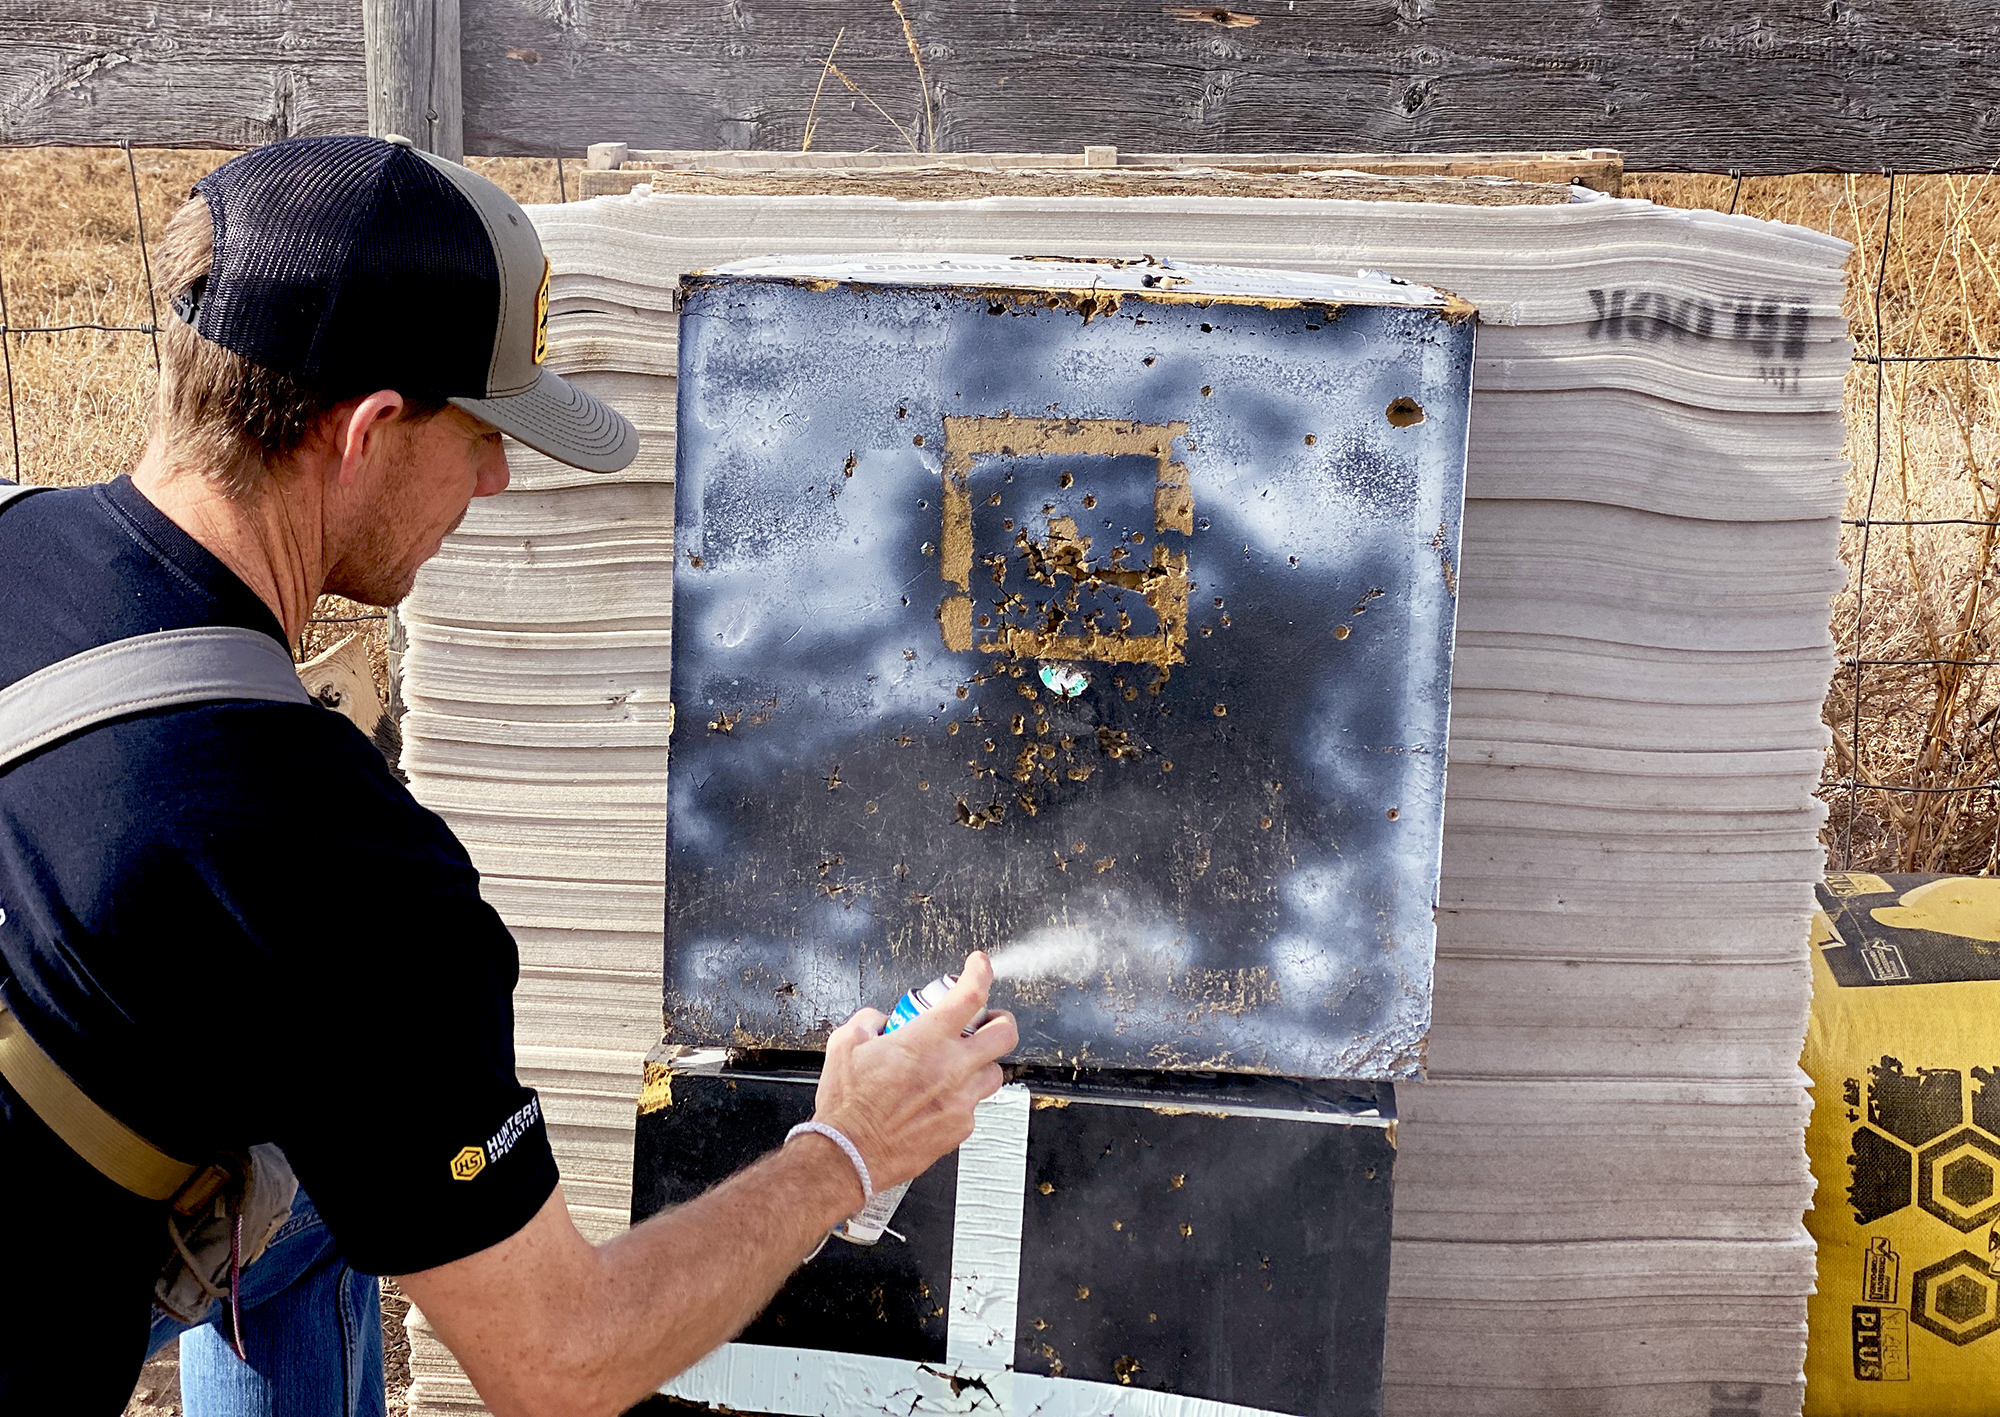
First, drop the poundage on your bow; we don’t want any shoulder injuries. Then, take a foam target and paint one face of the target a solid color. You need to eliminate any aiming points on the target. Aiming points create anxiety, and shooting anxiety is what we are trying to get rid of.
Before drawing back on the target with your bow, set your hinge, thumb, tension, or index finger release to the ultra-heavy setting. If you can set it so that it won’t fire, all the better. At a distance of 5 yards (no farther), develop a routine.
The routine starts with getting into your grip — place your bow hand at a 45-degree angle and the bow’s grip on the inside of your hand’s lifeline. Once you establish your grip, see the target and visualize making the shot before taking it. This routine should never change.
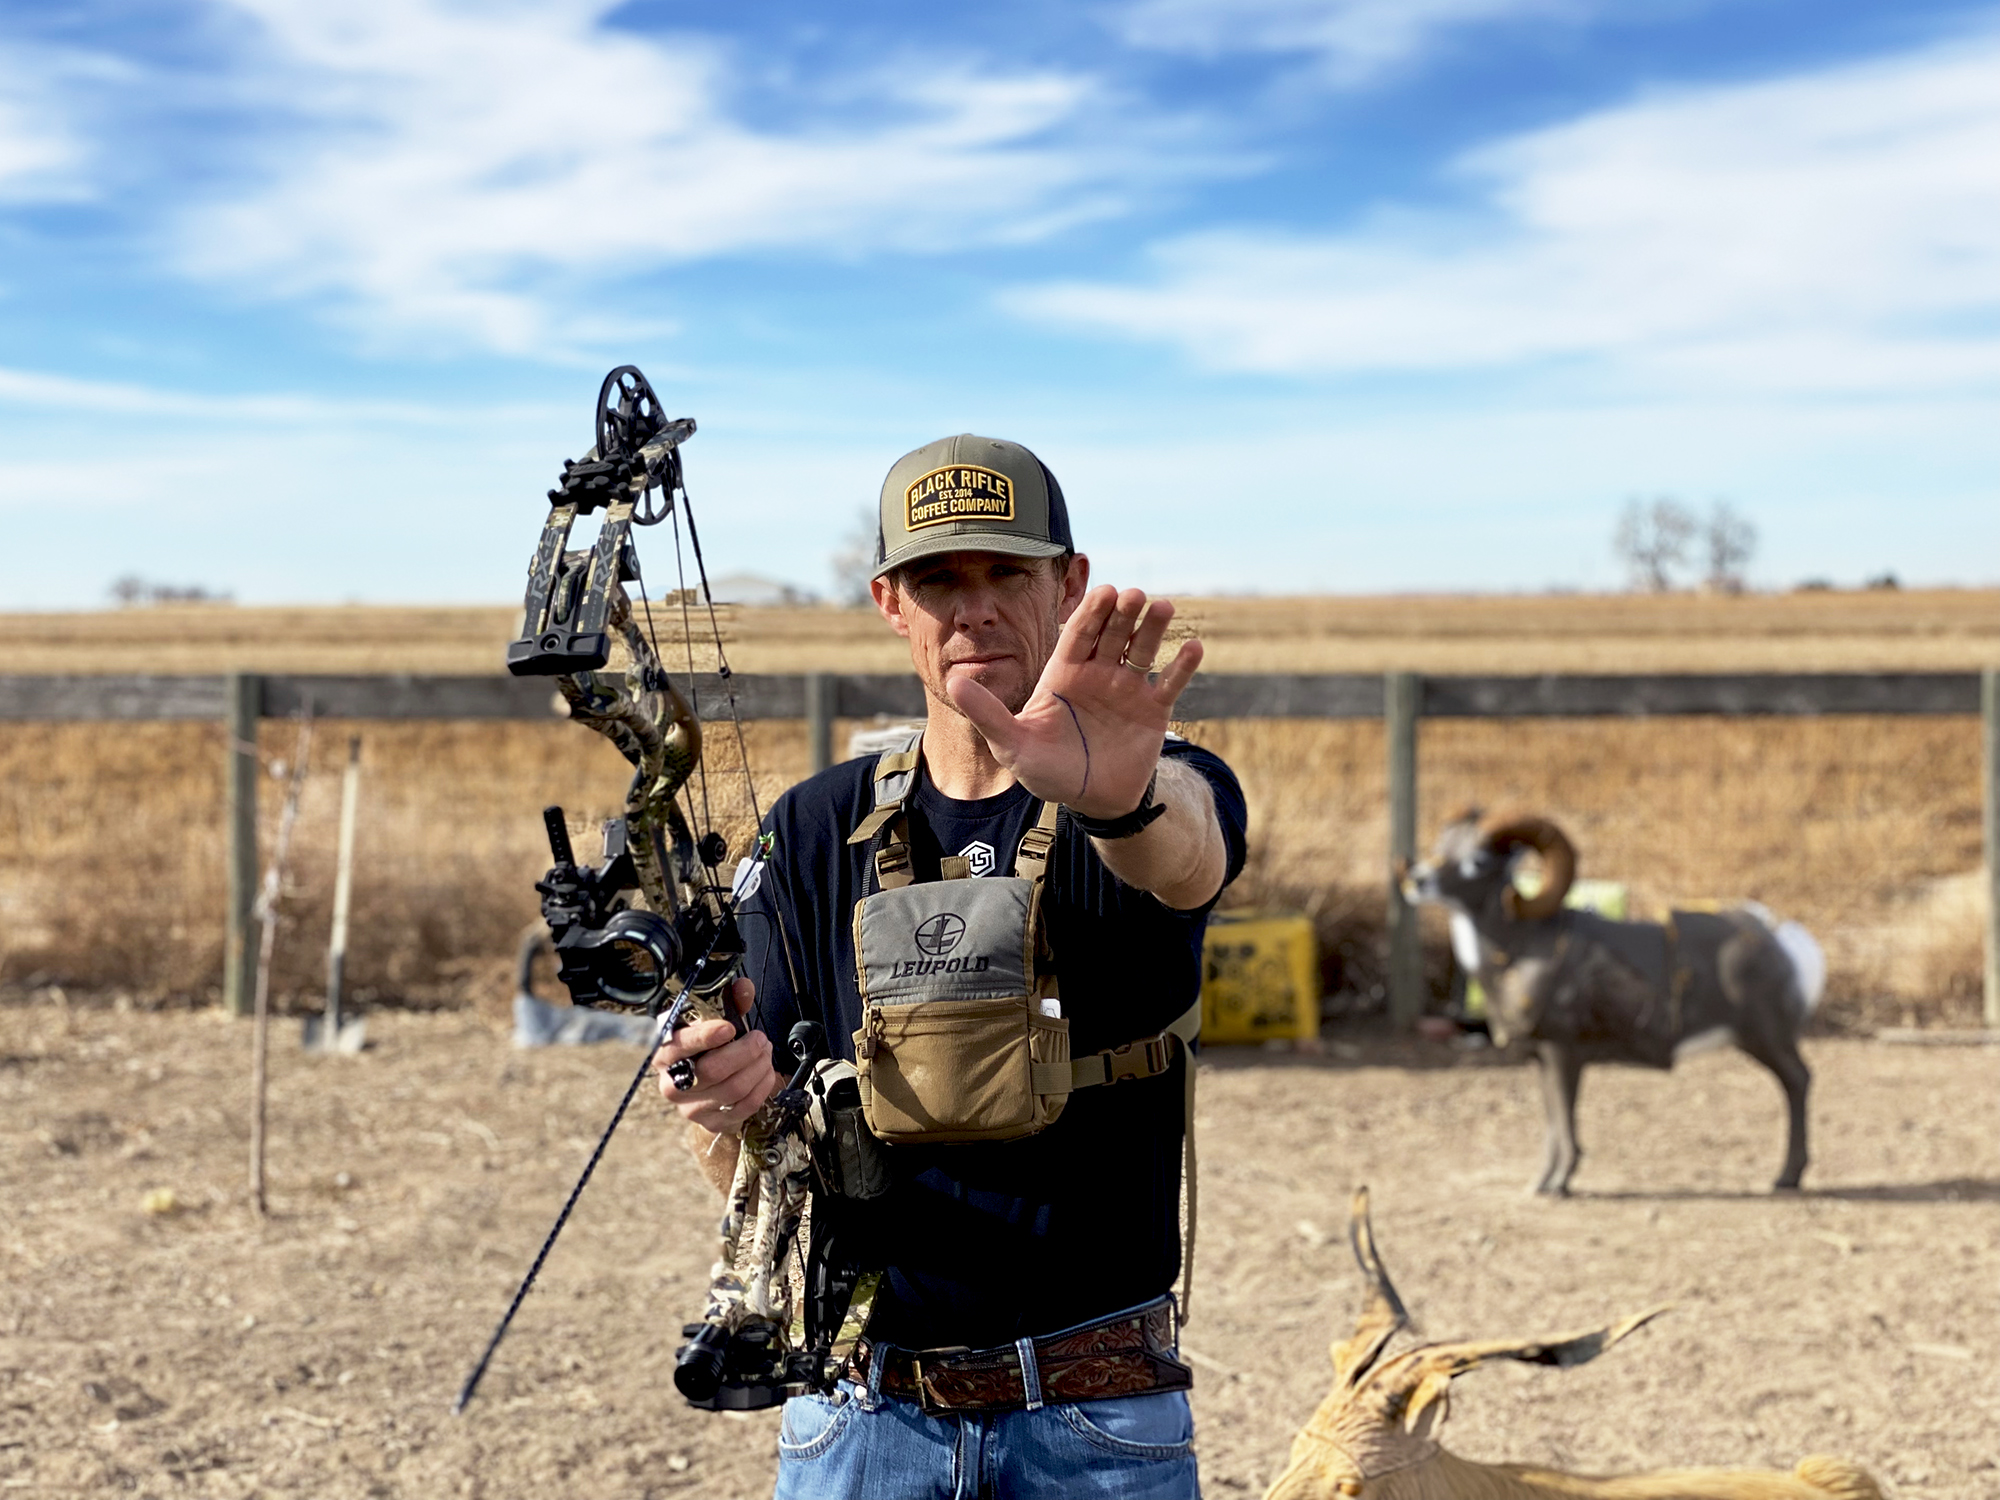
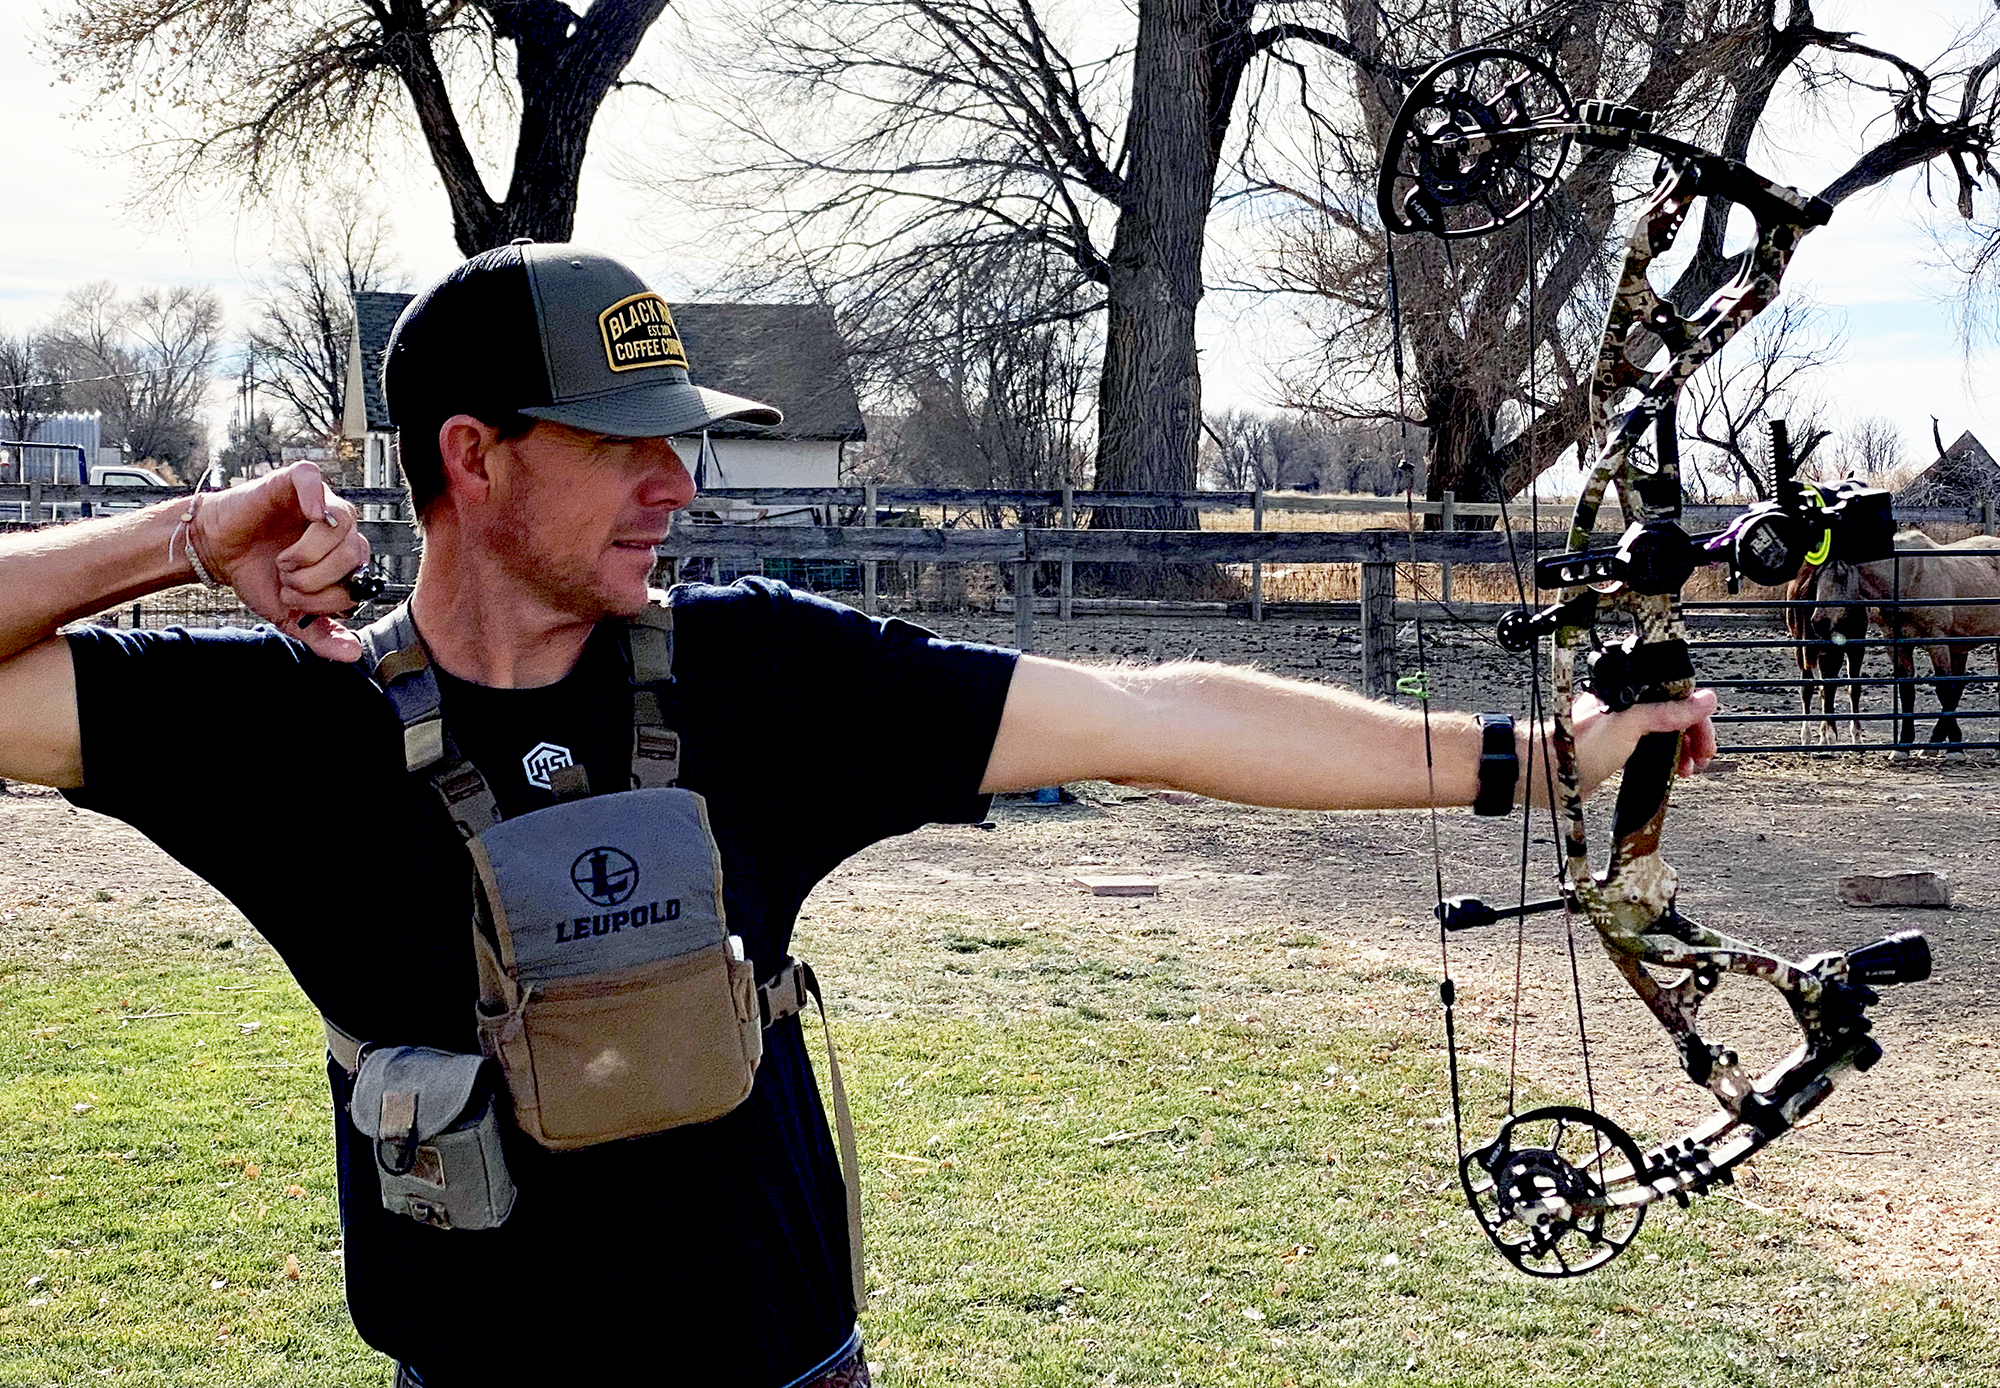
As you crawl into your two-point anchor, which will vary based on your shooting style and release choice, bring your sight pin(s) down on the blank target face. Be sure your finger is not on the trigger. Hold your sight on the target to the point of exhaustion, and then let the bow down.
Do 4 sets of 10, and be sure to keep everything the same. This gets your shooting muscles in shape and fine-tunes the draw-and-hold process. Remember to drink water. FYI, my two-point anchor is the tip of the string lightly touching the end of my nose and the V created by my ring and middle fingers (CAPTION SAYS INDEX FINGER) buried in my jawline.
Days 2 – 3: Stretch and Focus
Chances are, your shoulders are a bit stiff at the start of Day 2. Before every shooting session, I use a stretch band to loosen up and prevent any shoulder or back injuries. Today and tomorrow, you will simply repeat the exercises you did on Day 1. The only difference is, you’ll stand 10 yards from the target on Day 2 and 20 yards on Day 3.
You must not shoot a single arrow.
Related: Bowhunting Starter Kit: Everything You Need to Archery Hunt This Year
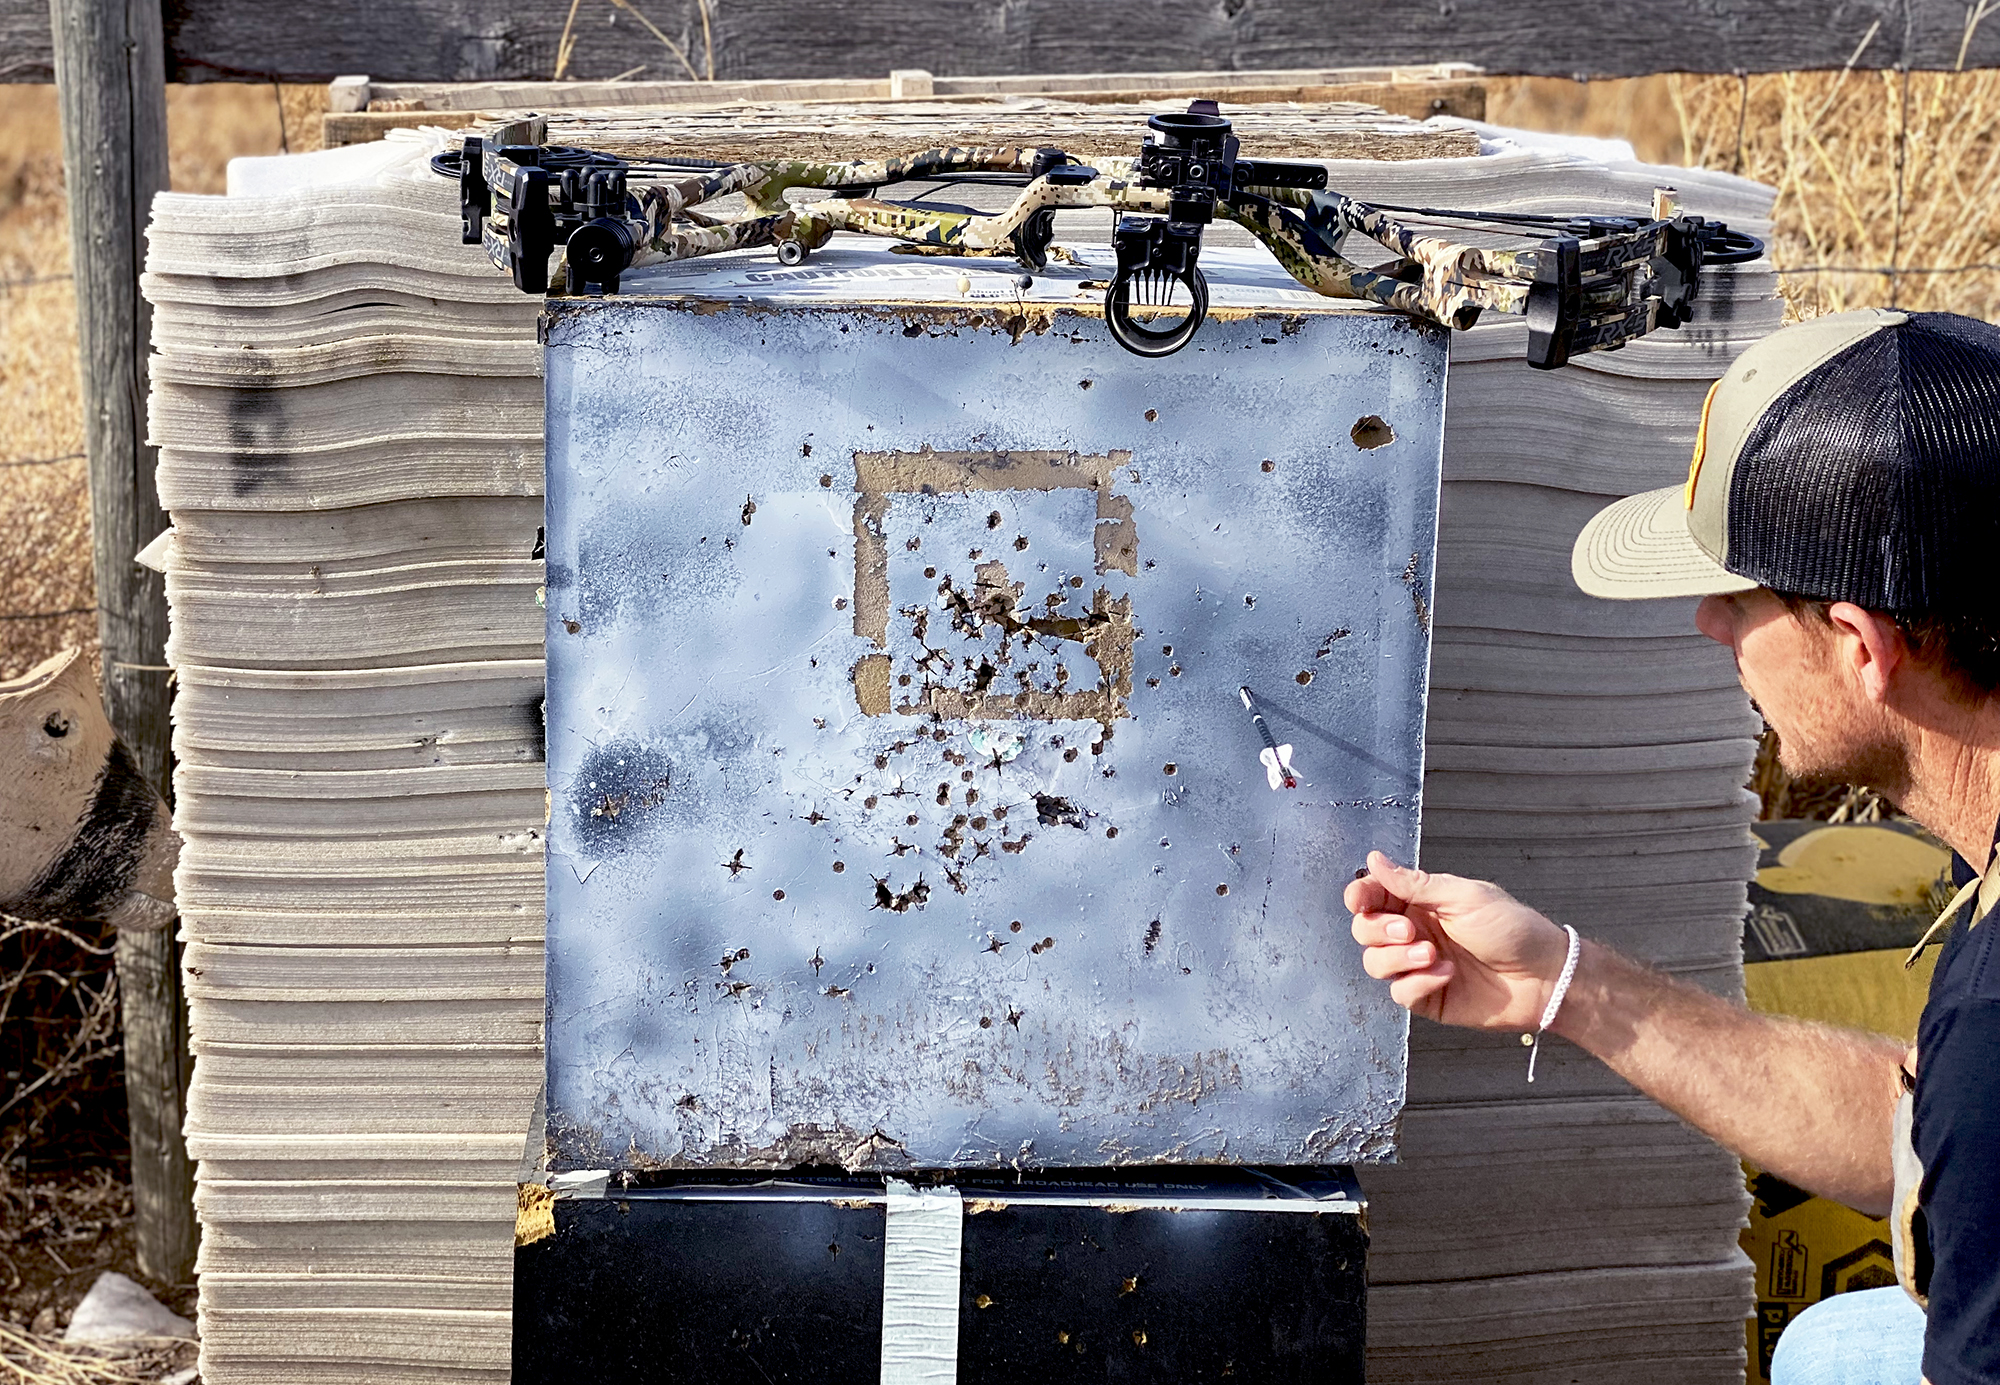
Instead, focus on blocking everything out and watching your pin float up, down, right, and left on the target face. There should be no nerves, only focus. You have to learn to trust your pin float — the best archer in the world can’t hold their pin dead still on target.
Days 4 – 5: Let the Release Fire the Bow
I made a bold promise that this program would work for you, and it will. But you can’t skimp on what I’m asking you to do on Days 4 and 5 — not one little bit.
Stand 5 yards from your blank-face target and go through 1 set of 5 reps: draw, hold, focus on the pin, and letdown. After this set, repeat the process, only this time, as your pin is floating across the target, focus on the act of aiming while pushing into the riser with your bow arm, driving your release arm backward, and relaxing your release hand.
This is why a hinge, tension, or thumb trigger release is better for this course of training. Index-finger releases are too easy to manipulate, and you want to learn to let the release fire the bow. Remember, you don’t fire the bow; the release does.
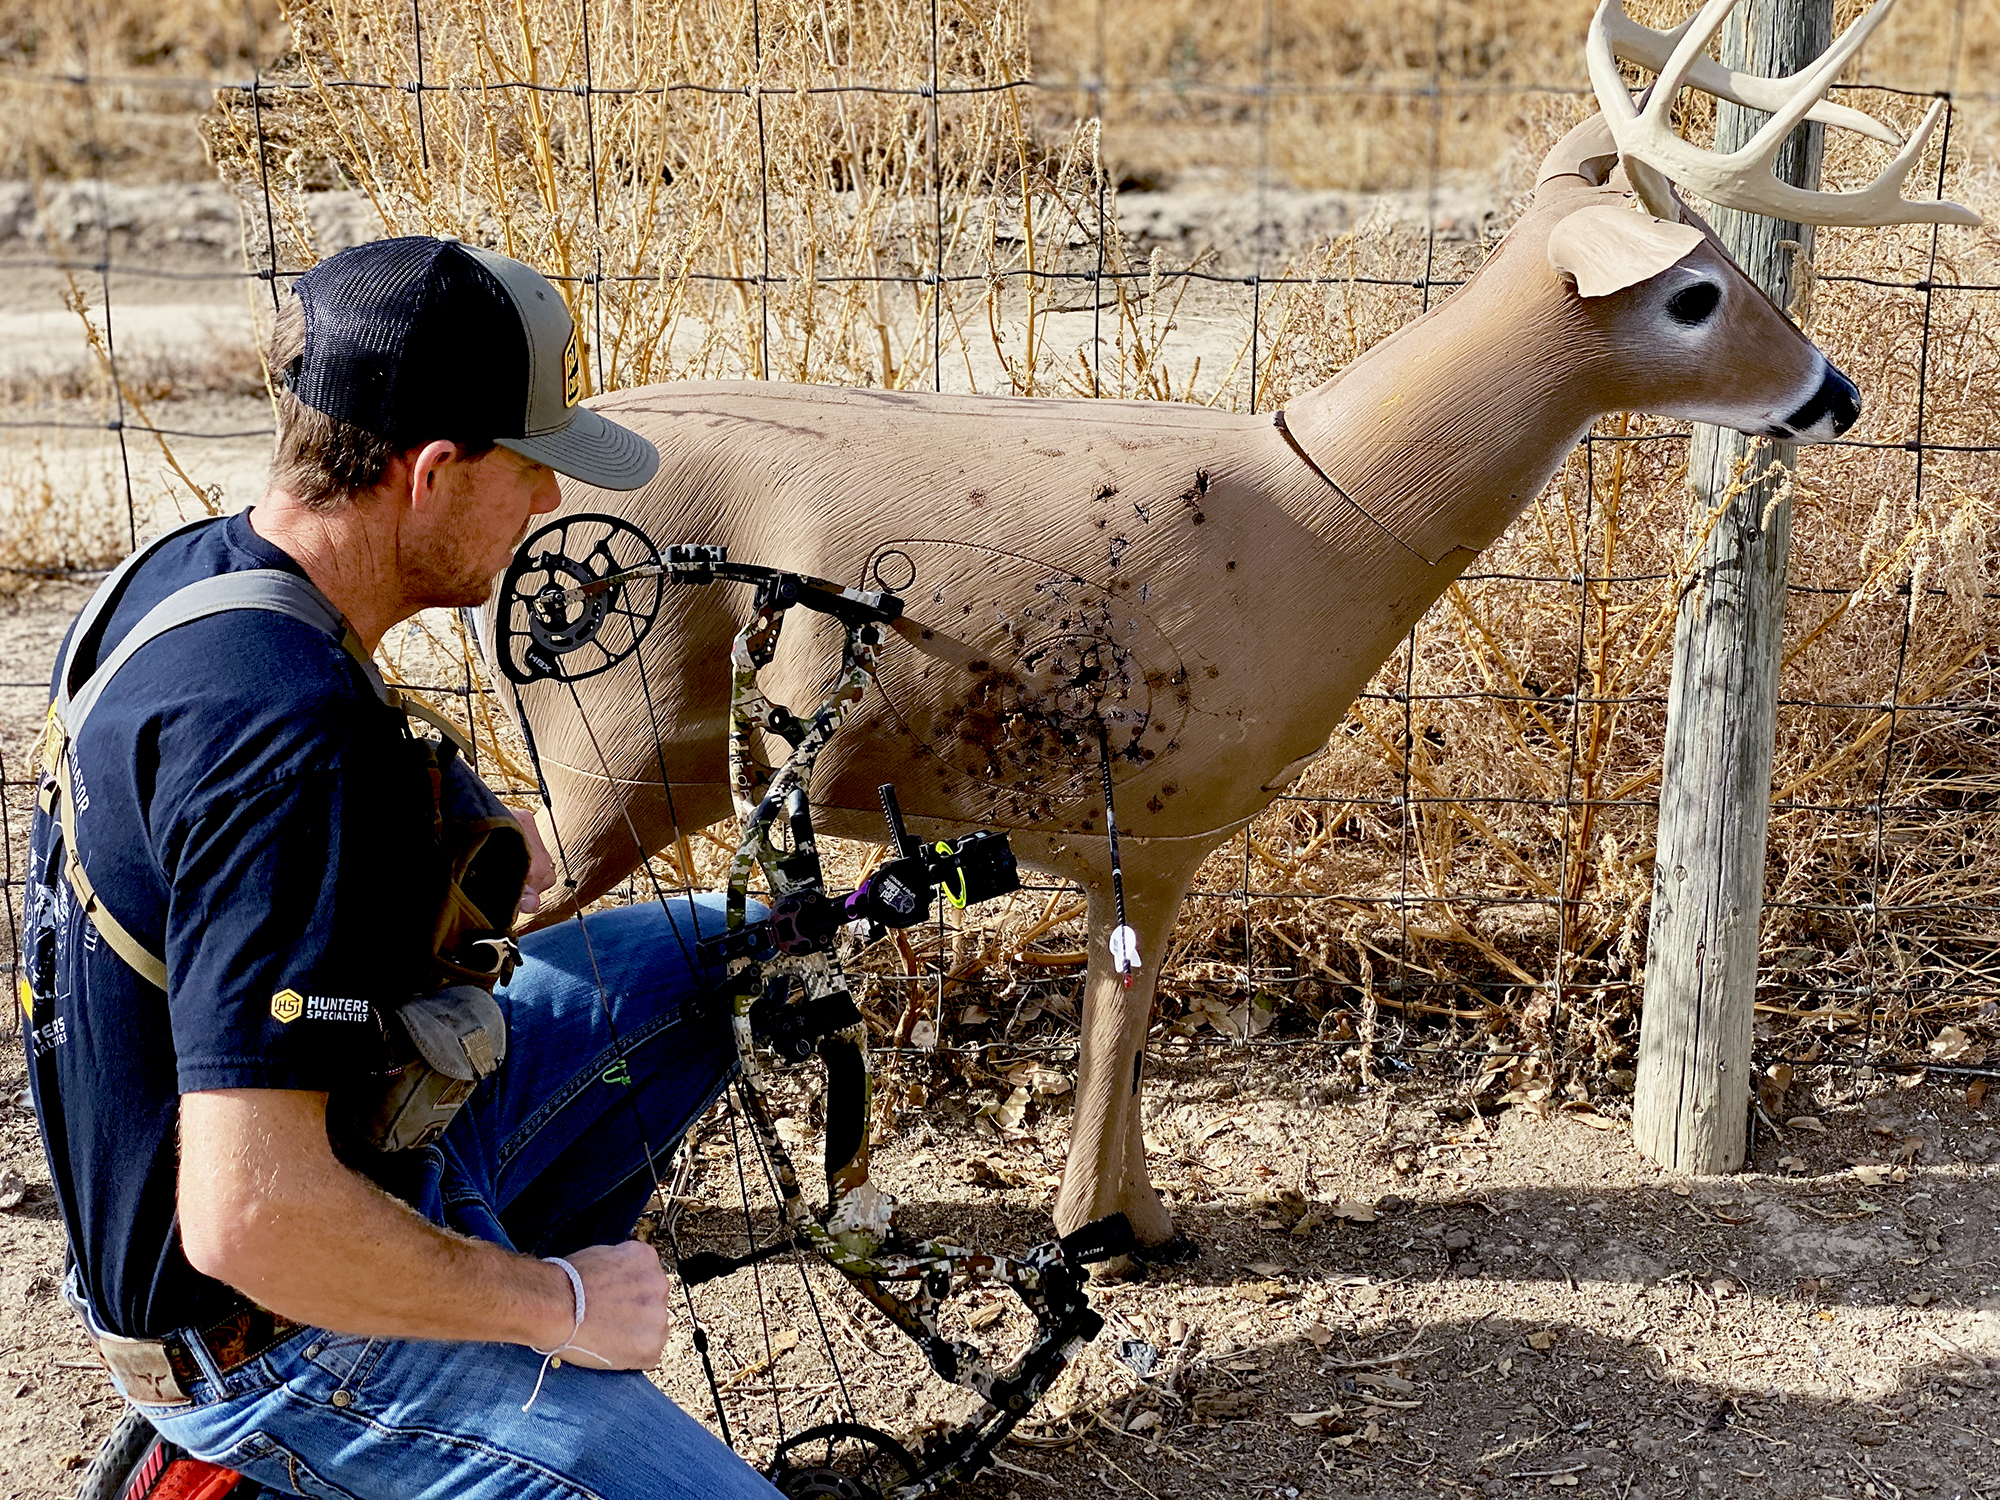
The first time you fire a surprise arrow, it will feel awkward, even though you did everything right, but that’s okay. You shouldn’t concentrate on aiming because there’s nothing to aim at. Your focus should be on fighting for the center of the target and pushing and pulling through the shot until the release breaks. Stop trying to control each shot; put all your confidence into the process. It doesn’t matter where the arrow hits. Your job is to trust the process and execute. Be honest with yourself.
If you know you did it right, take a minute break and pull the arrow. Don’t leave any arrows in your target. They will become aiming points, and you don’t want aiming points. If you did everything right, you’ll get a surge of adrenaline and want to do it again, which you should. If you start to feel anxious or punch the trigger, go back to the draw, hold, and letdown process.
How many times you execute a perfect shot during Days 3 and 4 doesn’t matter. The deal is: Each shot must be perfect. No shortcuts. No trigger punches or trying to stack arrows in a group, or moving back from the target. Stay at 5 yards. If you do, you’ll notice shots are starting to break perfectly, and though your pin may look like it’s dancing across the face of the target, your arrows are always around the center.
Related: Ishi, Pope, and Young: The History of Modern Bowhunting
Days 5 – 6: Perfecting Your Form
Start Days 5 and 6 by again standing 5 yards from the same blank-face target and executing five perfect shots. By perfect, I don’t mean the arrow lands in the center of the target. It doesn’t matter where the arrow ends up. Perfect means having perfect form, trusting the process, and letting the release fire the bow.
Next, step back to 10 yards and execute five more perfect shots. After those five arrows, repeat the process at 20 and 30 yards. Stay at 10 yards if you feel you didn’t execute your shots perfectly.
End both days with one set (5 reps) of draw, hold, and letdown before calling it a day.
Day 7: One Perfect Shot
You’re one week in — 14 days from being cured. Today, grab a single arrow, walk out to 20 yards, visualize the spot on the target you expect the arrow to impact, and execute one perfect shot. Regardless of where the arrow hits the target, if you went through your developed routine and the shot broke perfectly, you’re done for the day.
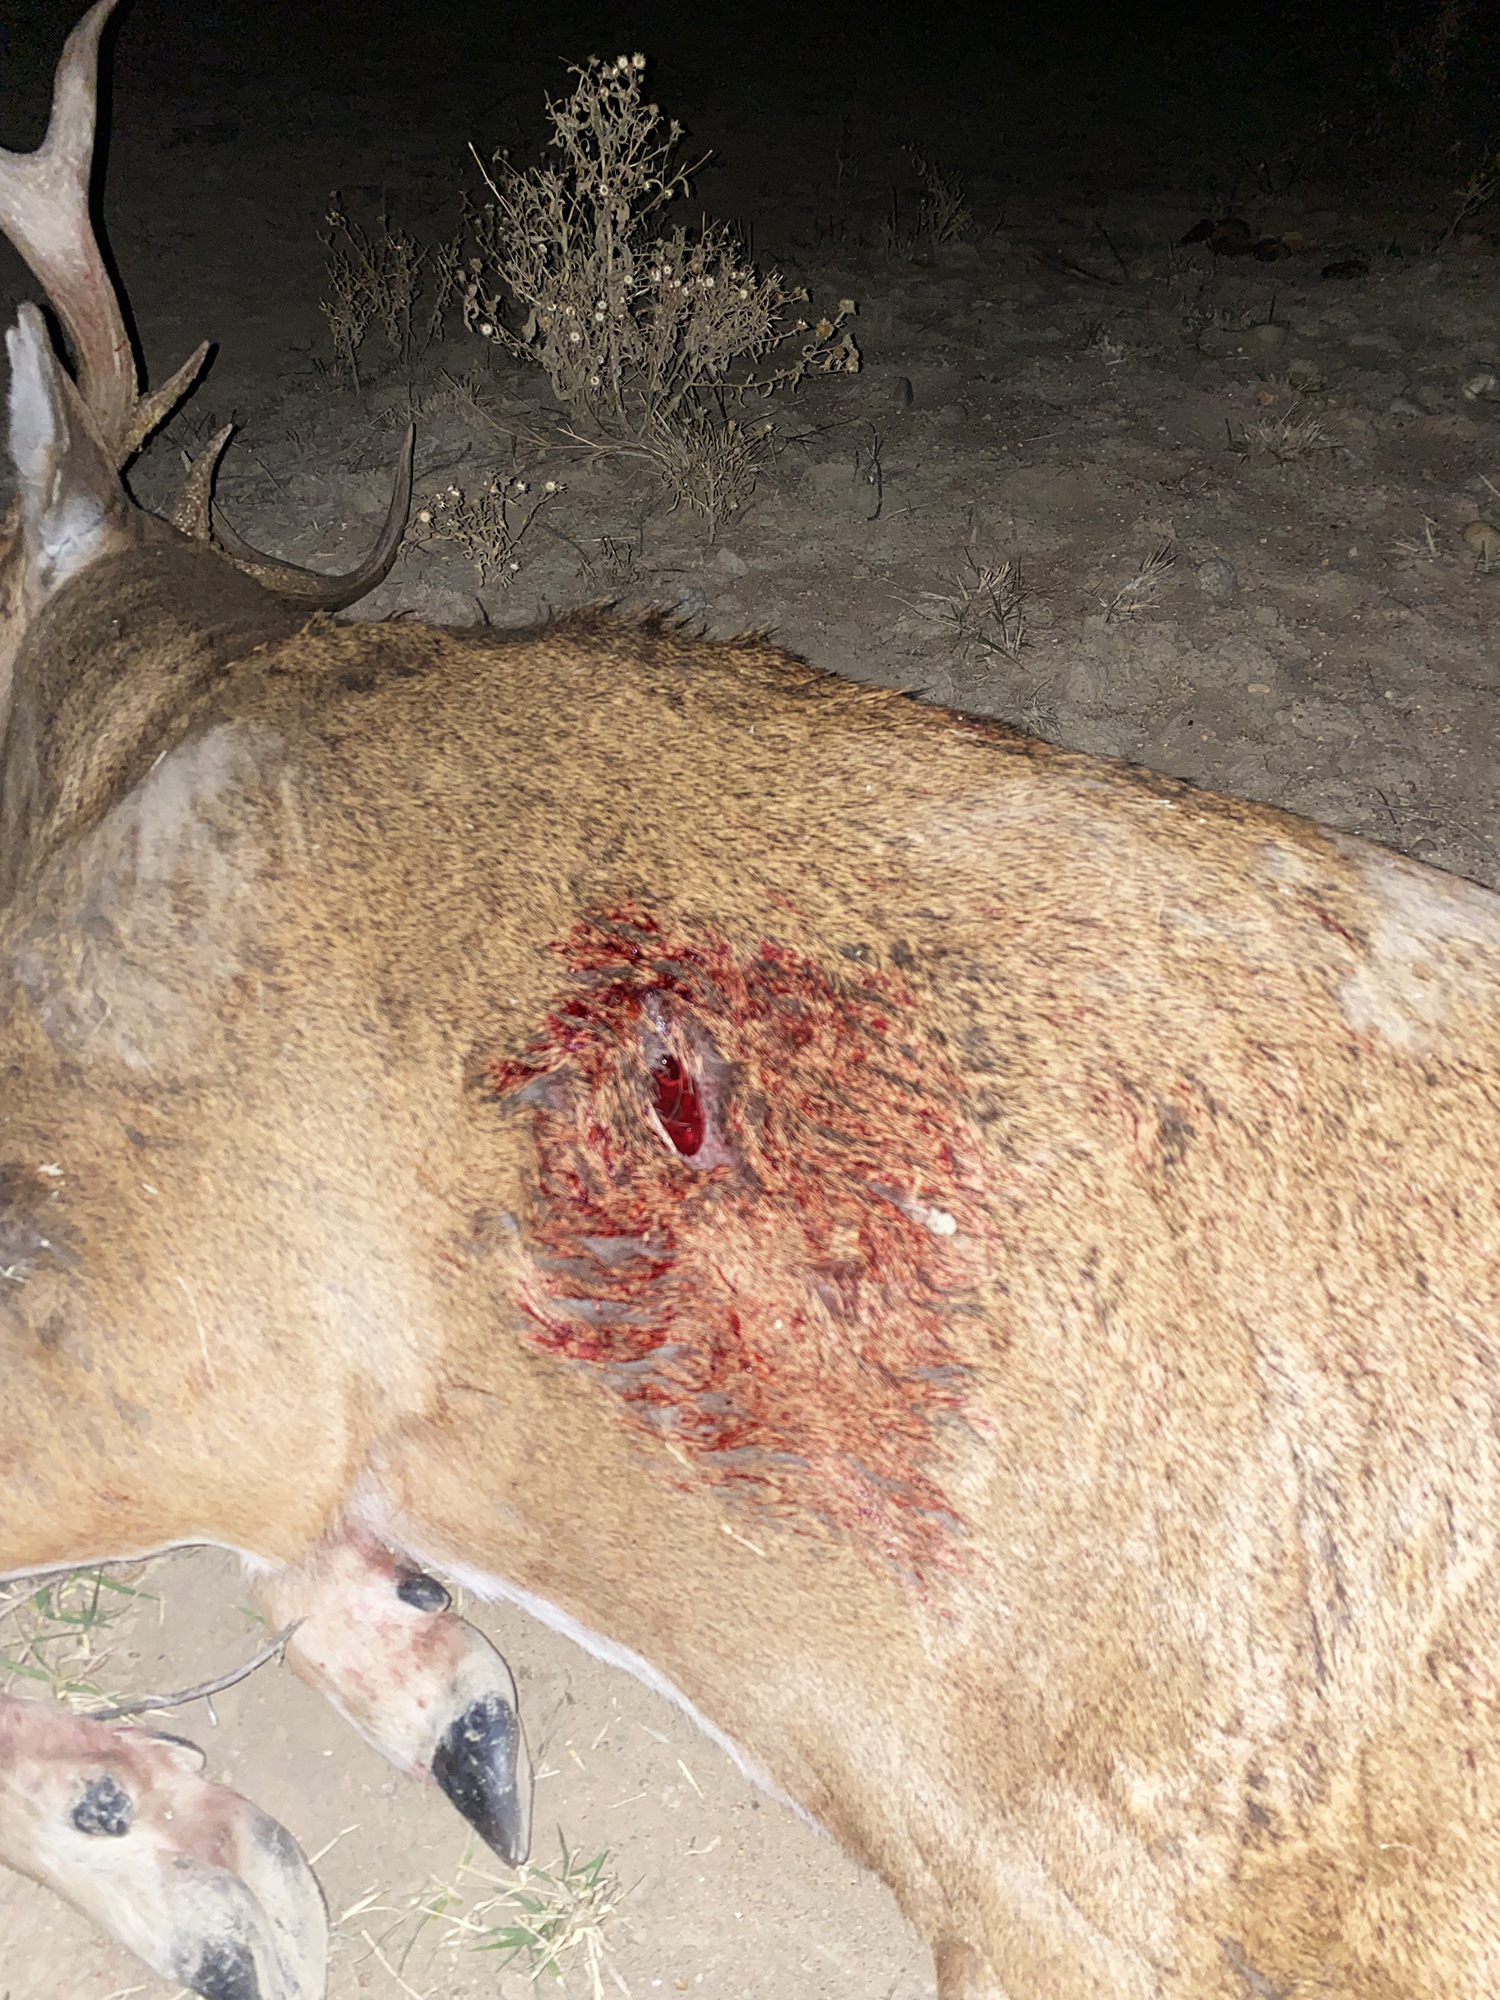
Hang up the bow and know that you’ve conquered your first week. If you don’t execute the shot properly, and by now you know when you do or don’t, stand 5 yards from the target and do 1 set (5 reps) of drawing, holding, and letting down.
Archery Lesson Plan Week 2 — Keep the Momentum Going
Chances are you’re feeling terrific about how things are going and want to keep that positive momentum going.
Days 8 – 10: Maintaining Consistency
Consistency is crucial, and for this reason, these three days will mirror one another. Start by standing 10 yards from the blank-face target. Put particular emphasis on getting into your grip, acquiring the target, and visualizing the shot. Then, draw in one smooth, fluid motion, crawl into your two-point anchor, and hold on target until exhaustion. Do not fire an arrow. Repeat this process three times with a two-minute break in between.
Next, do the same thing but as you feel your form starting to break down from holding so long, focus hard and execute a surprise release. Stay strong in the front (bow arm pushing into the riser) and strong in the back (back elbow driving straight back), and relax your release hand from the wrist down. Do this three times with a three-minute break between each arrow.
To finish each day, you’re going to shoot five perfect shots from distances of 10, 20, 25, 30, 35, and 40 yards. In total, you’ll shoot 30 arrows at the blank-face target, and you’ll pull each arrow after each shot. Why? There should be no aiming references on the target. As you walk down to retrieve each arrow, evaluate each shot. If you start to rush or feel anxious at any time, go back to the target and do five draw, hold, and letdowns.
Related: Hunting Big Air and Big Game: Meet Olympic Gold Medal Skier David Wise
Days 11 – 14: Mark Your Progress
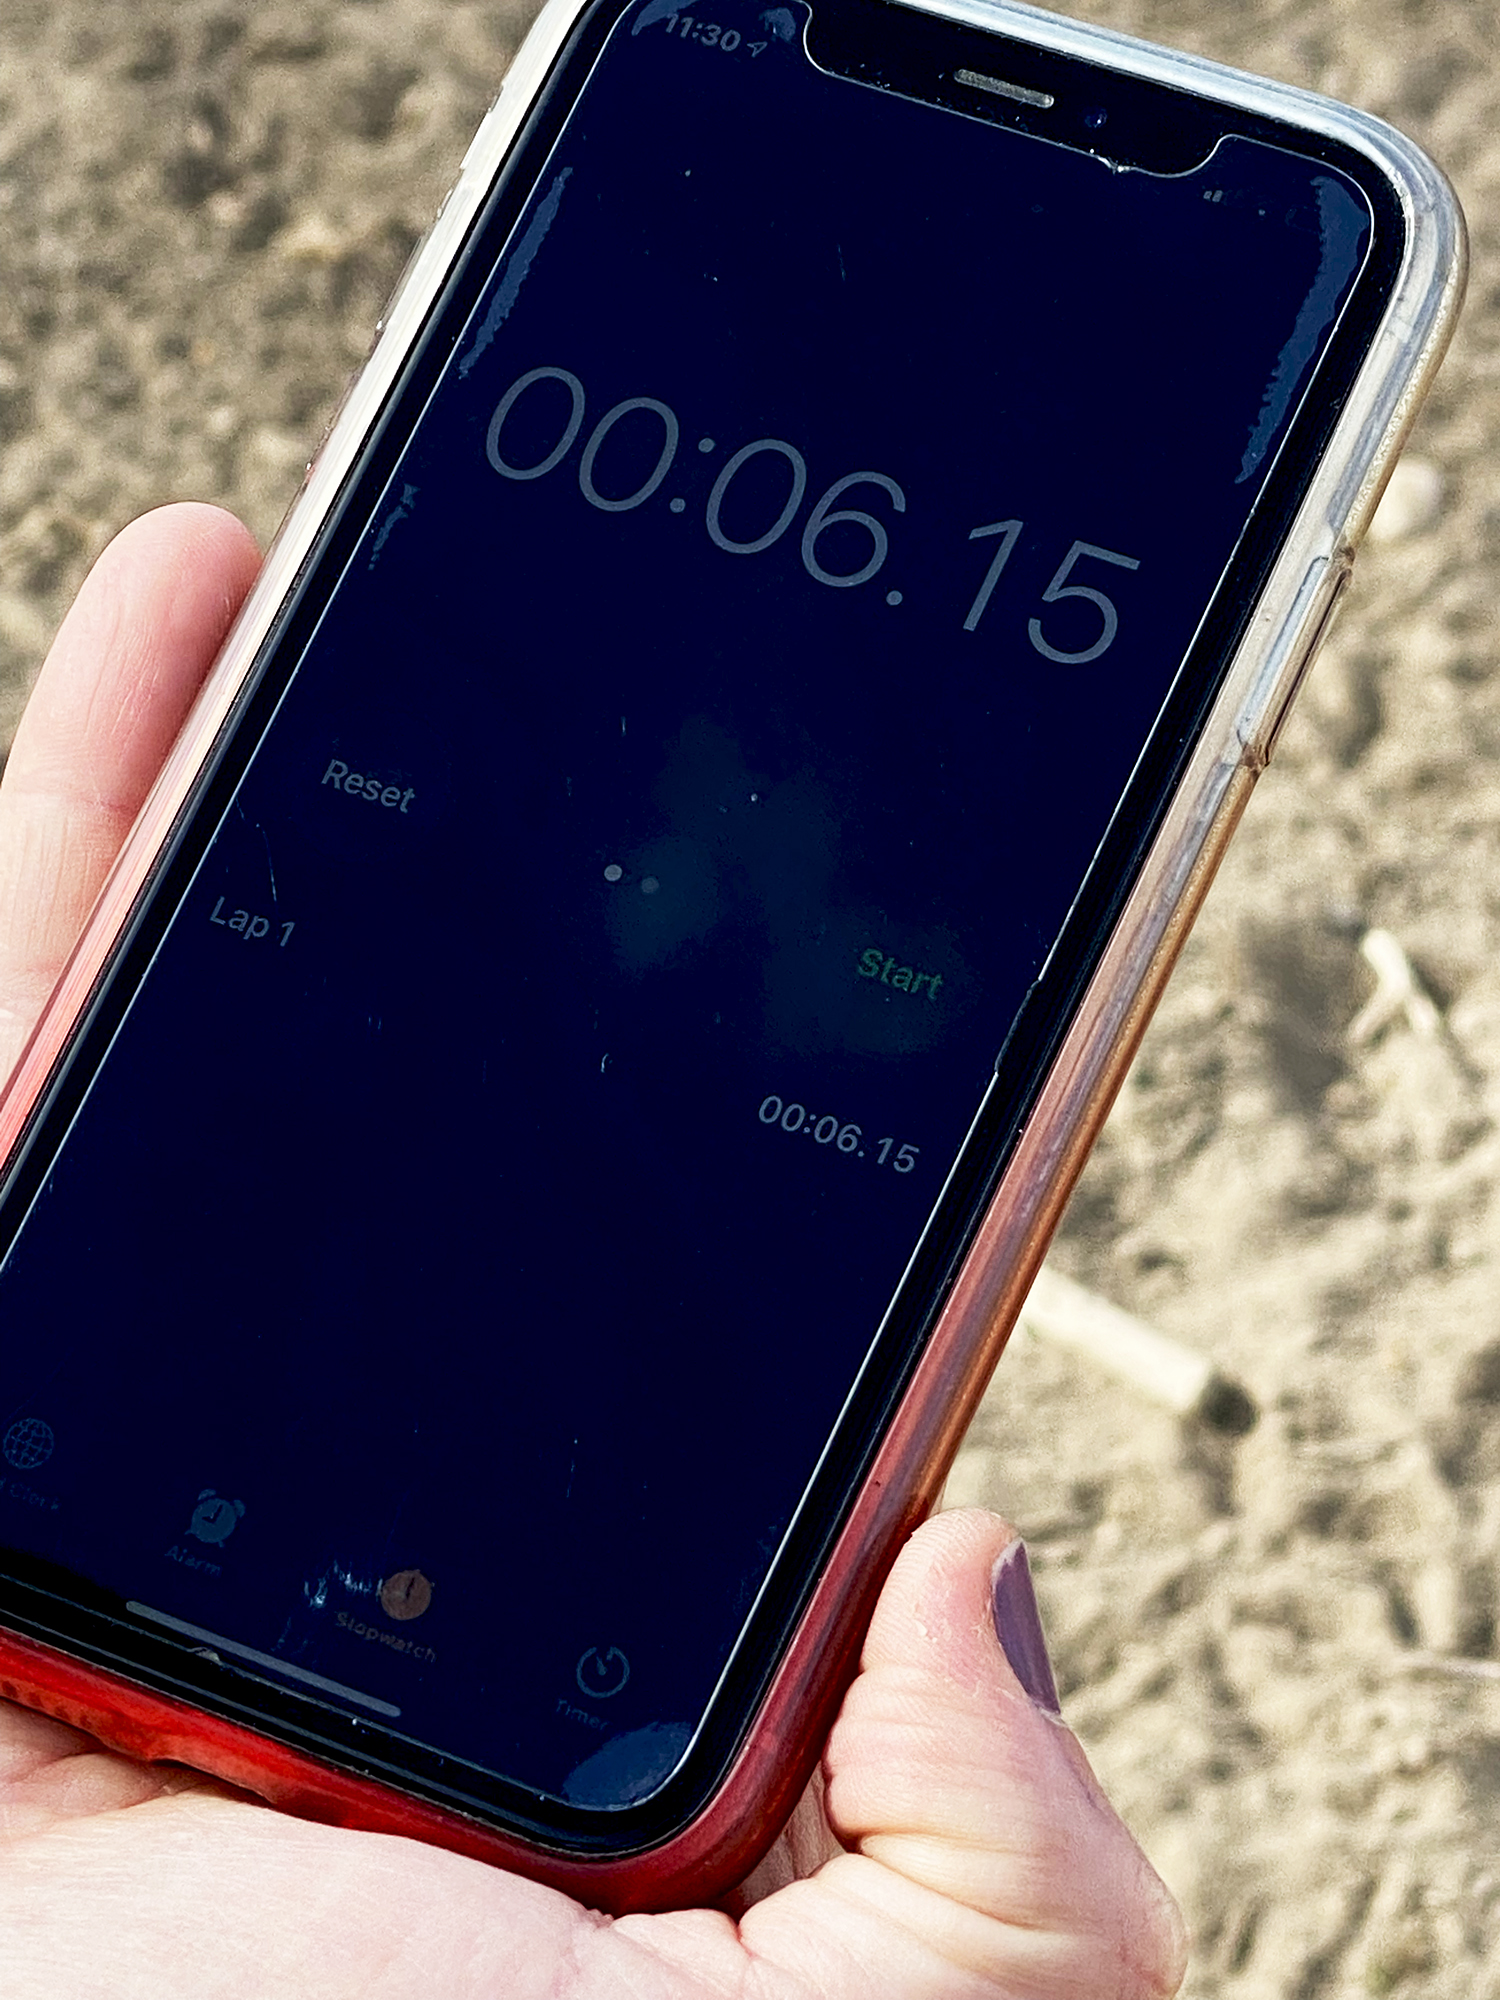
Each day starts with 1 set (5 reps) of draw, hold to exhaustion, and letdown. After that, go straight back to 40 yards and have someone film your entire shot routine from start to finish. Again, pull each arrow as you shoot it and stay on the blank-face target. After shooting five arrows, watch each of your videos and look for any flaws in your form. I also like to use a stopwatch to see how much time passes from when I hit full draw until the arrow is gone. I shoot a hinge, and my average time from anchor to release is between 5 and 8 seconds.
Finish each day with solid execution from 40 yards — no closer and no farther. Shoot as many arrows as you want on these days from 40 yards. However, don’t just start slinging carbon. Every shot should be executed with a purpose, and each shot should be the very best you can make.
The Final Week — Start Shooting Longer
You’re almost there. You’ve put in the work, and if you’ve followed the program, you’re shooting better than ever. Your confidence is through the roof, and that’s what we want.
Days 15 – 18: Increasing Your Range
At some point during each of these days, find time to shoot a single 40-yard arrow — no warmup, and nothing closer than 40. Take a two-hour break before moving on. Later in the day, shoot one arrow at 20, 25, 30, 35, and 40 yards. Take another break after shooting these five arrows.
Related: Chuck Adams, Archery Legend, Tells the Story of His New World Record Sitka Buck
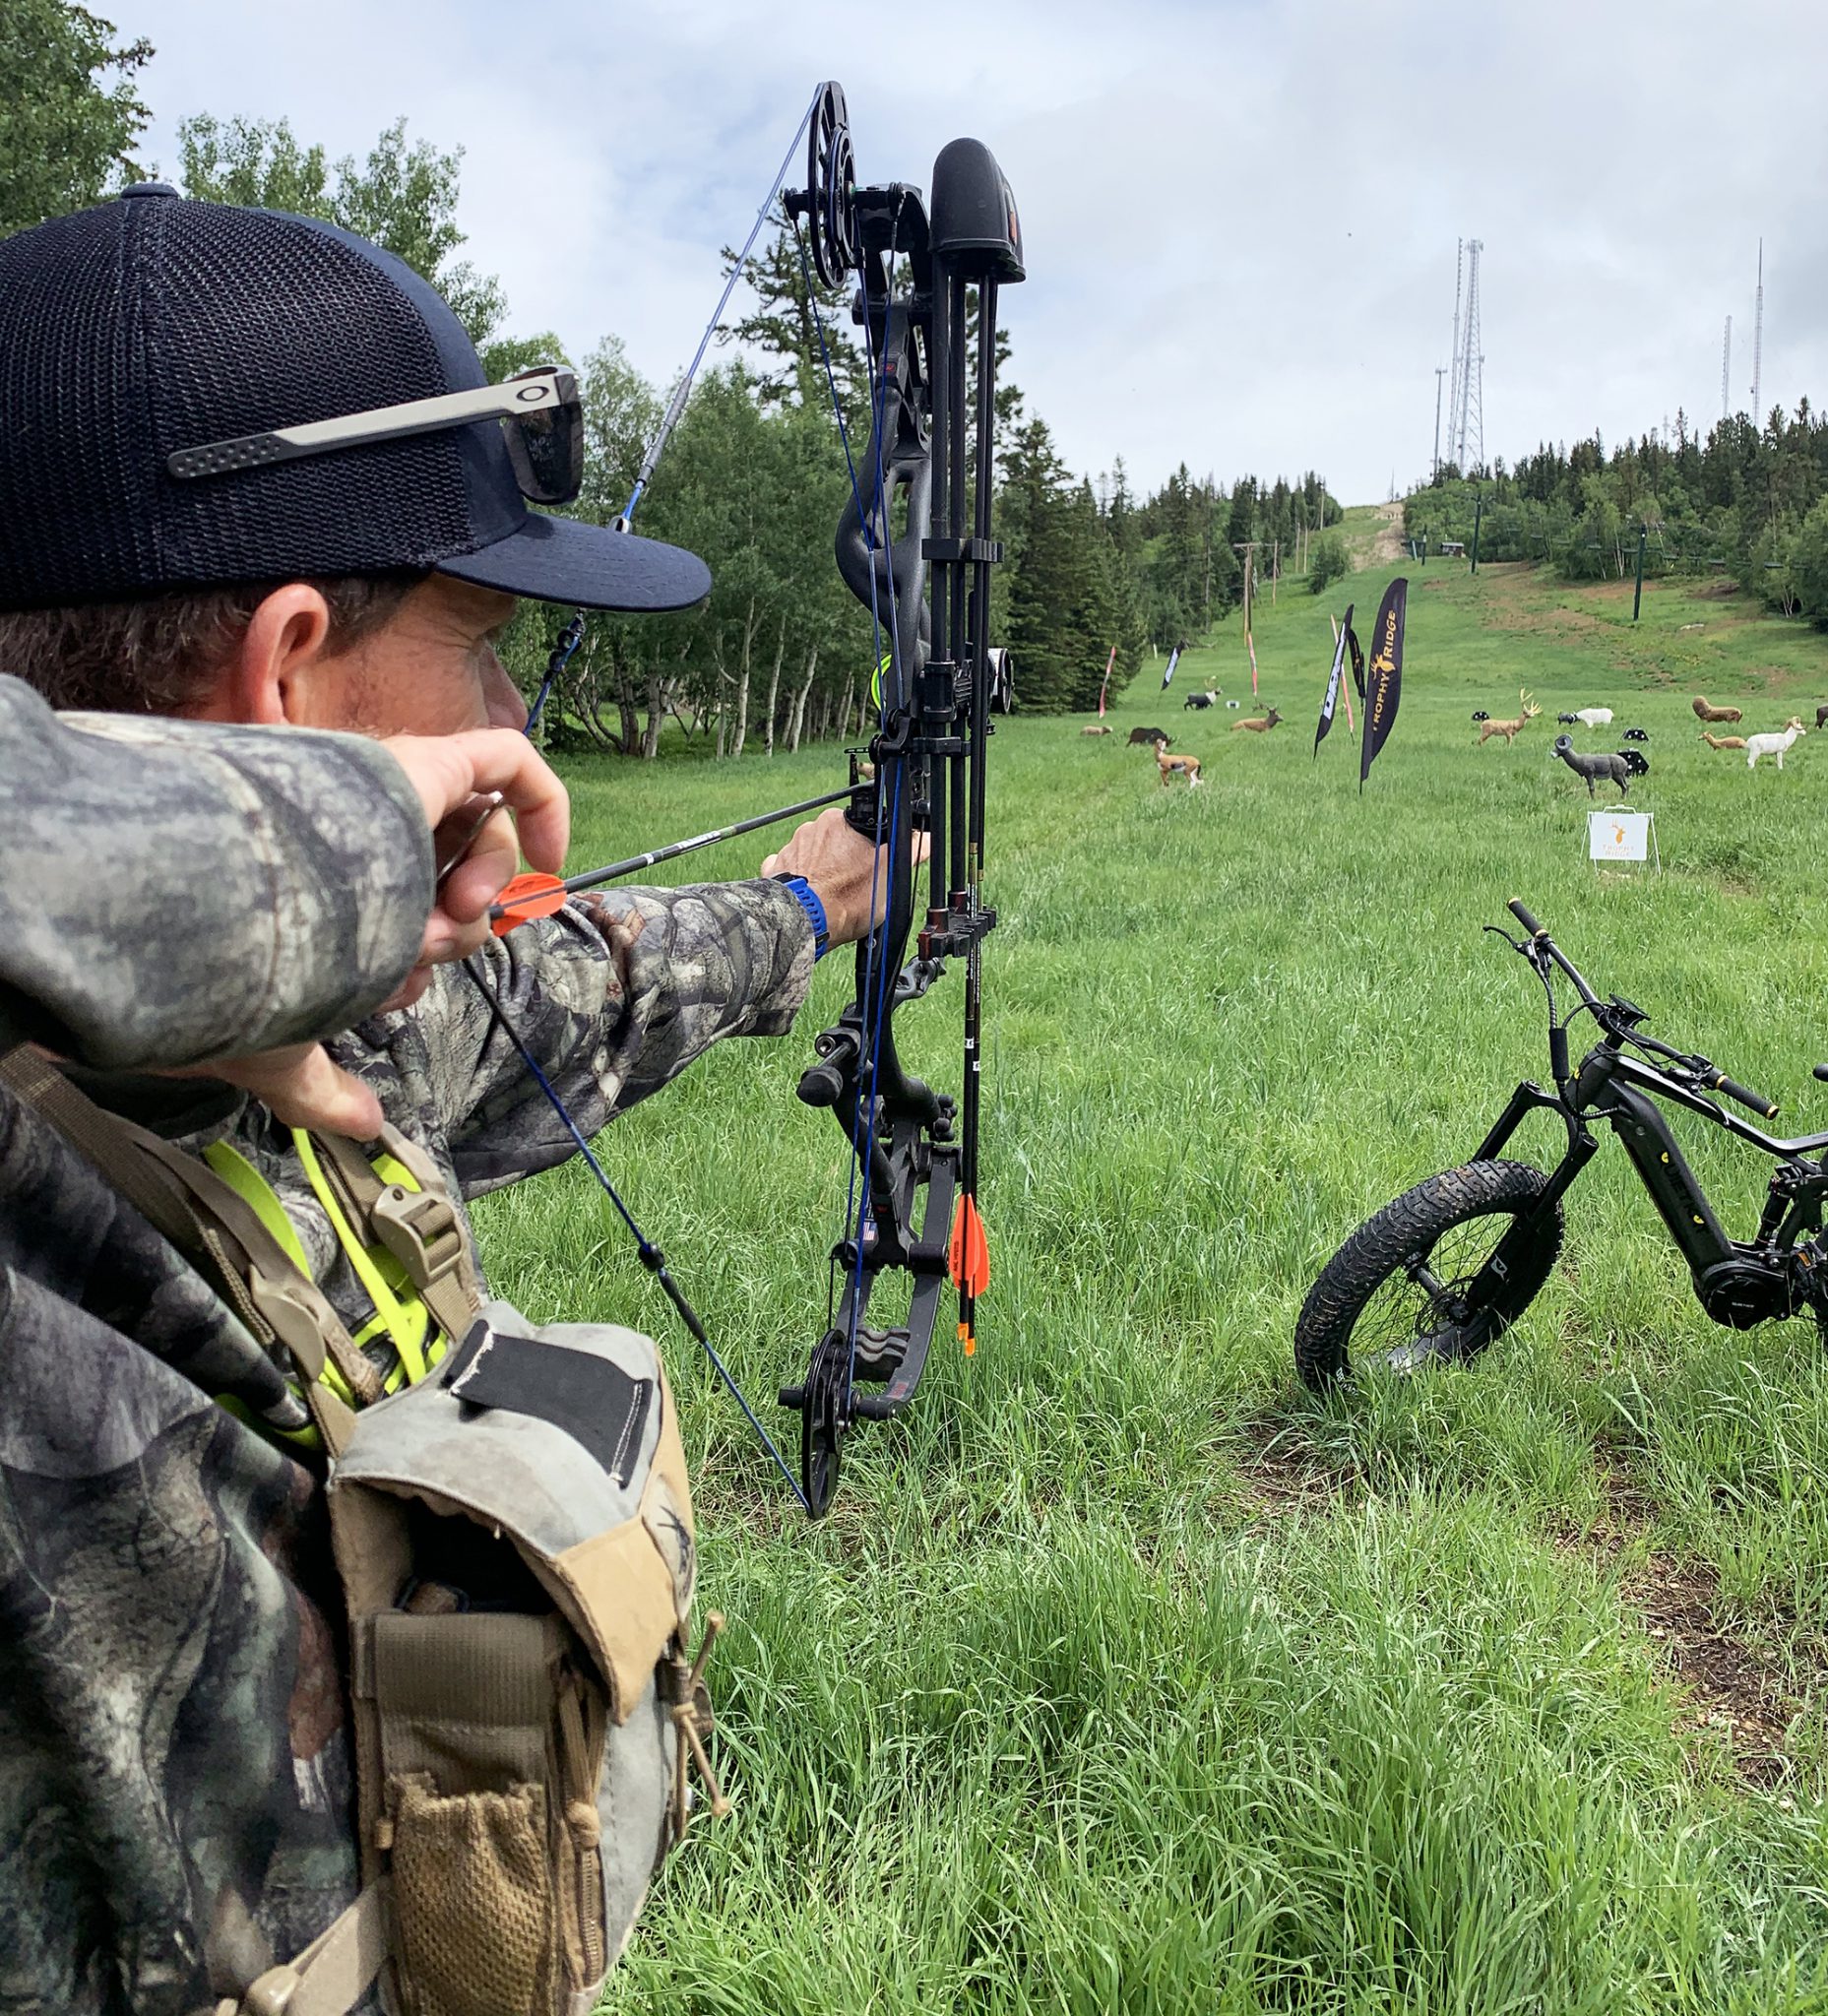
Finish each day from 50 yards. Remember, nothing changes as you move farther back from the target. Yes, your pin will dance a little more, but who cares? You’re not holding on a dot anyway. I recommend two dozen perfectly executed shots from 50 yards, but feel free to shoot more if you feel like you’re in a groove.
Days 19 – 20: Take Aim
It’s time to put the blank-face target away. By now, that target should be tattered and worn. For the next three days, you’ll be shooting a 3D target. All the better if you can go to a range with multiple 3D targets set at various distances.
For these three days, don’t focus on trying to put an arrow in the 10- or 12-ring aiming zones on these targets. Your job is to let your pin float, keep aiming, and execute until the arrow breaks. If you’re successful, arrow after arrow will be in the target’s lungs. Shoot many arrows over these three days at various distances and angles, but nothing farther than 50 yards.
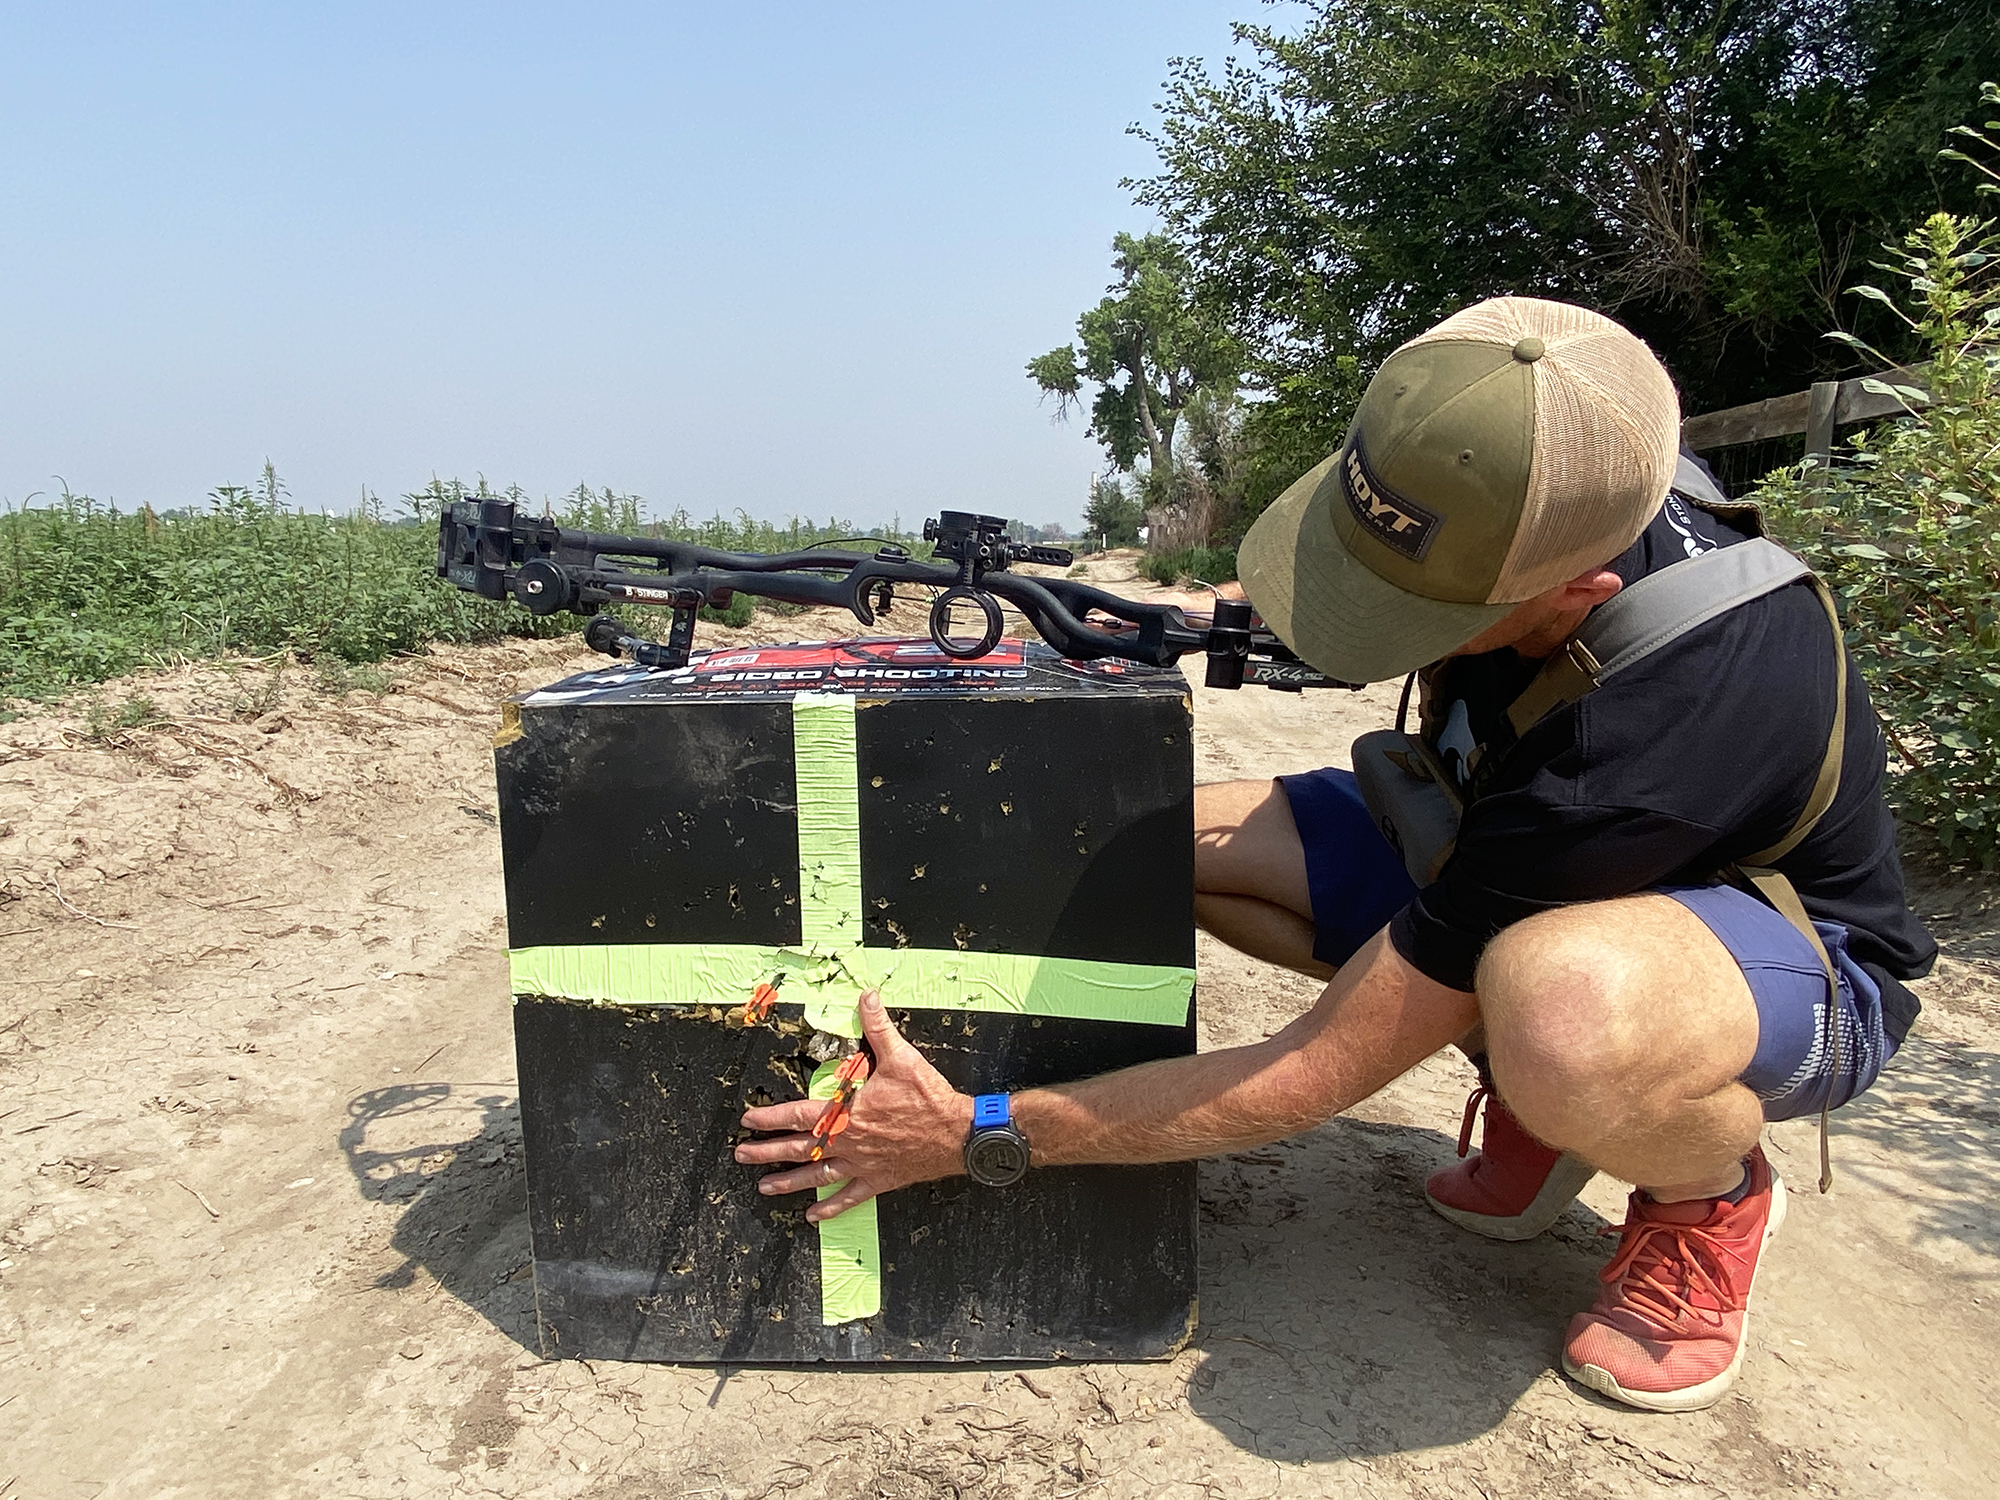
When you end each shooting session, shoot a few arrows (how many are up to you) at distances of 60 and 70 yards. This time, use colored duct tape and put a cross on the target. Fight for the center of the cross, but don’t try to hold dead still. Having the tape will help you diagnose any left/right and up/down issues so you can sight-in flawlessly.
Day 21: New Habit Established
Shoot some arrows from various distances at your 3D target, and then focus on shooting from 60, 70, and 80 yards on the duct-tape-face target. It’s also okay to shoot more than one arrow in one set. Shafts are hard to see from a distance, so you shouldn’t be able to focus on a bright-colored nock. Don’t move back from 60 to 70 or 70 to 80 unless the execution at each stage is flawless. It’s essential, especially when shooting long distances, that you don’t try to drop your bow arm — you don’t need to peek and see where the arrow hits. This is another reason a surprise shot is so critical. When a surprise shot breaks, the release-hand elbow breaks back and down, and the bow stays upright for a brief moment, then falls away. If you achieve a surprise release, don’t peek.
You did it. You broke a habit and developed a newer, better one. The key now is staying with the program. Develop a daily shooting routine, much like you would a running or lifting routine, and stick with it. If you do, you’ll be in for the best bowhunting season of your life.
Read Next: Bowhunting Gear: How to Diagnose and Fix Your Setup in the Offseason



Comments