“Pressure cooker explosion kills family pet, nearly takes off granny’s head!” Horror stories similar to this have led to “canning scares” across the nation for years, even though pressure cookers, especially electric-powered models, have gotten a lot safer. If lingering fears from the past still simmer in your brain, give water bath canning a try — no pressure cooker needed. The entire process is simple, cheap, and ideal for the new survival gardener or anyone who just wants to get into preserving their food with a tried and true method.
Water bath canning is so simple because only high acidic food gets canned this way and that high acid content prevents botulism from forming (always a concern when home canning). The high heat from the boiling water used in the process kills microorganisms that lead to mold and spoilage.
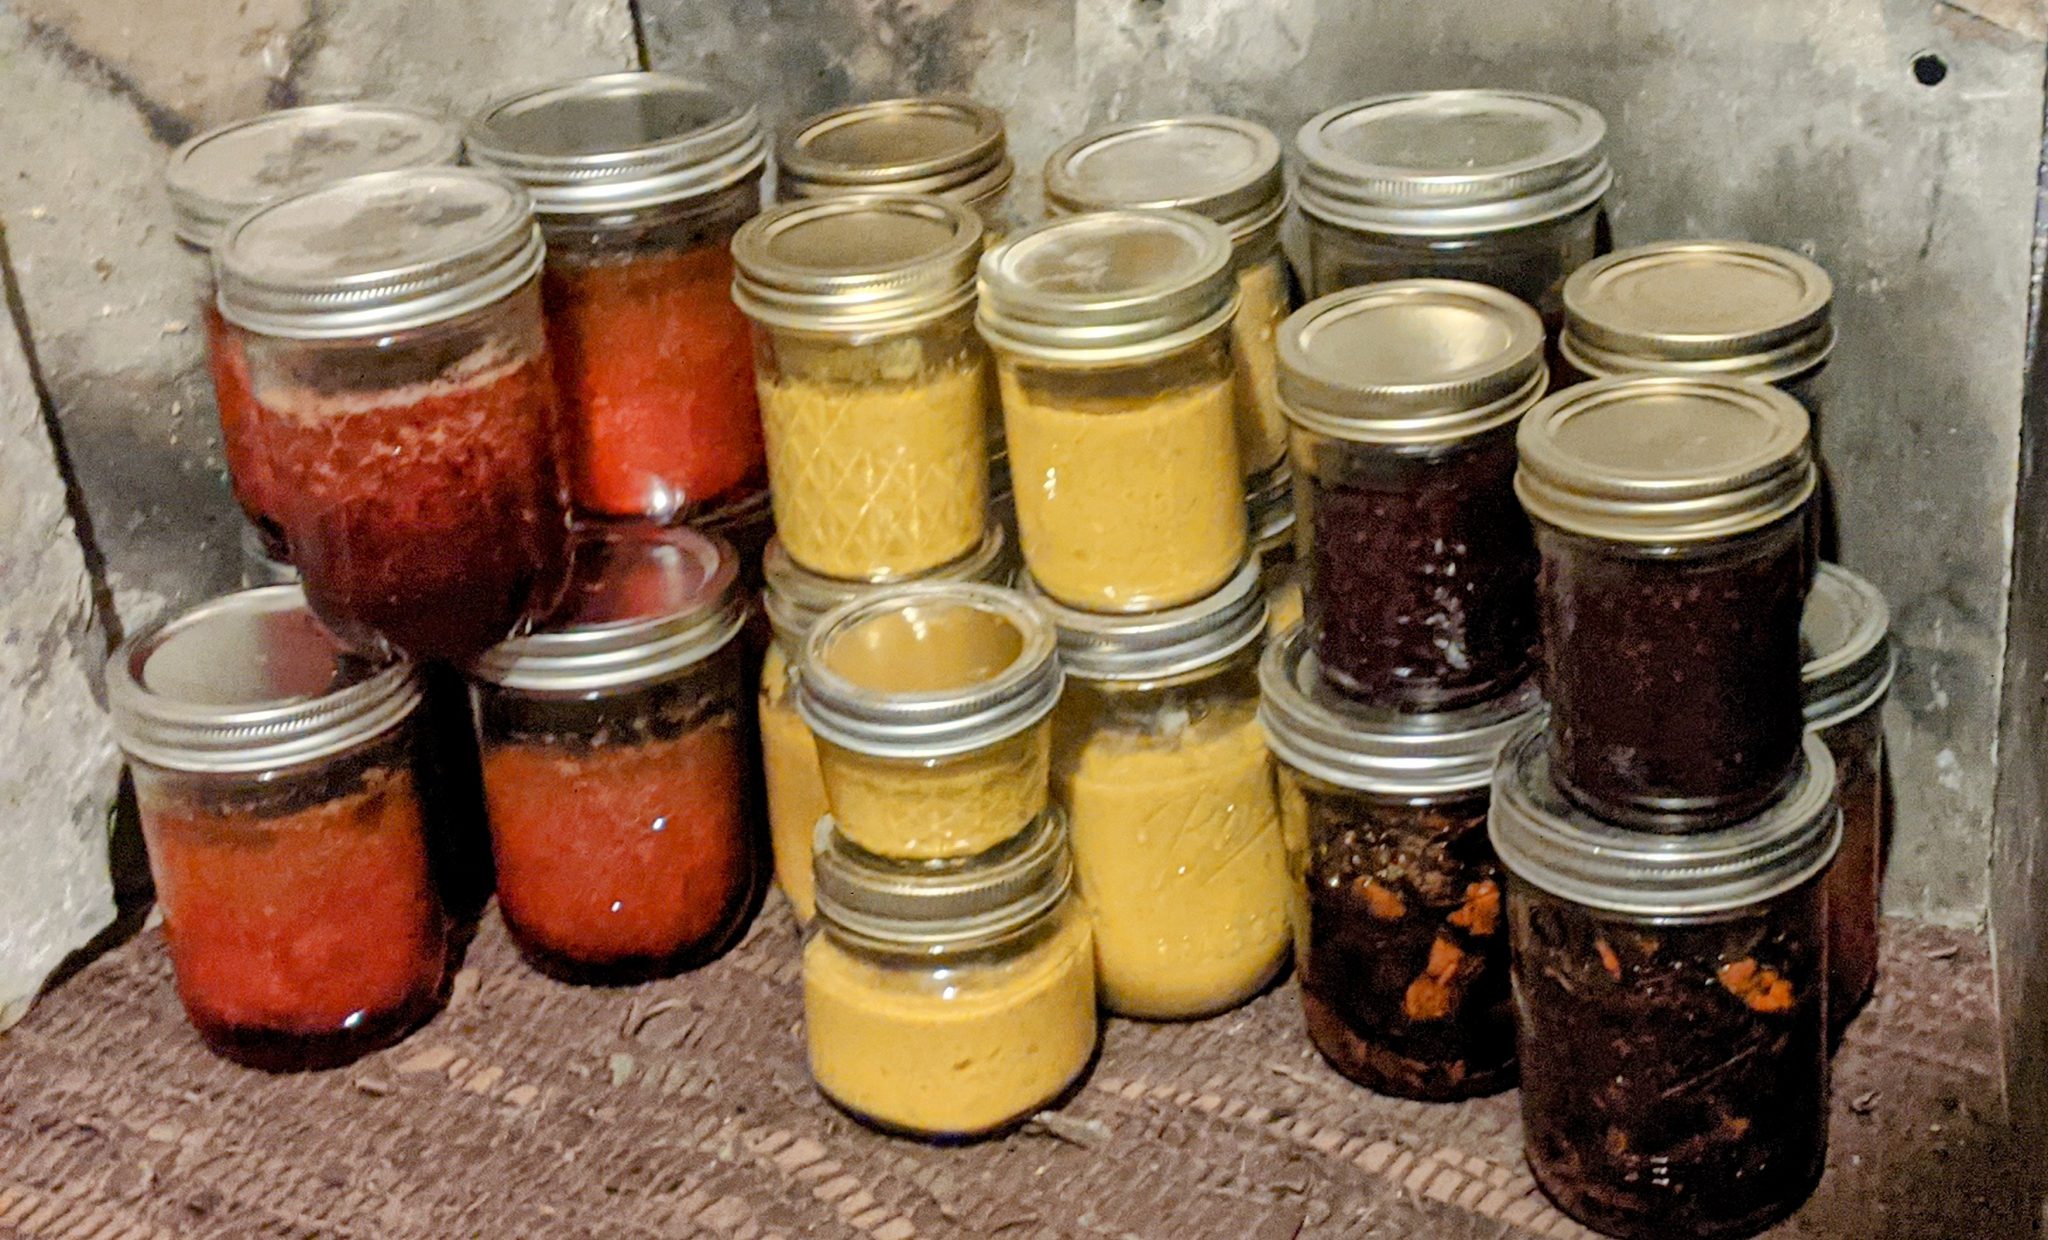
There are lots of acidic foods that are good candidates for water bath canning, like fruits for canning jams, jellies, juices, pie fillings, and butters; tomatoes for stewing, sauces, pastes, and juices; and anything where lemon juice or vinegar are key ingredients, such as pickles, relishes, and mustards. A pH of 4.6 or lower is needed, so if you’re unsure, look up the average pH level of the food in question before water bath canning.
Canning Gear You’ll Need
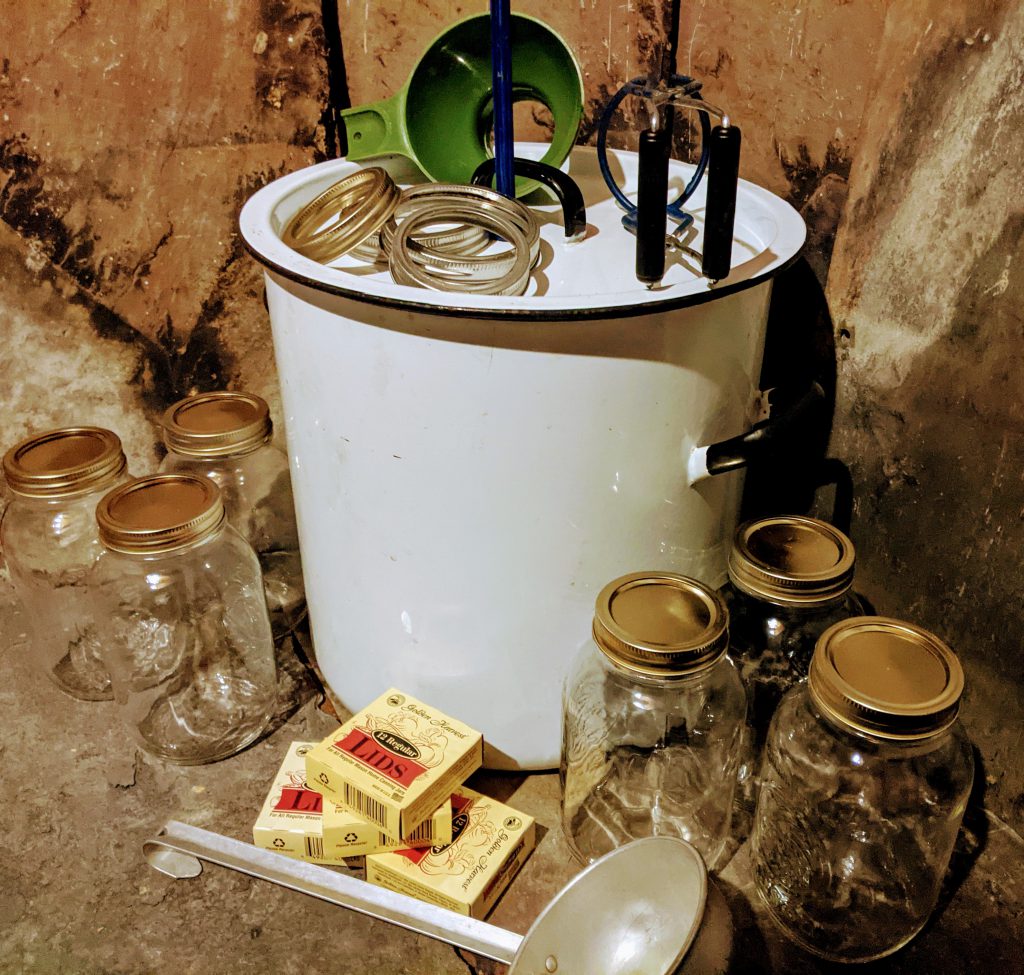
So you can get the job done without spending a lot of cash on frivolous extras, start with these basic supplies: a jar lifter, a lid lifter, a ladle, a funnel, a 21-quart canning pot or stockpot, a 2- to 3-quart saucepan, a cookie tray, pot holders, cheesecloth or dishcloths, and mason jars with lids and rings.
You might even have most of those things in your kitchen already. You can also buy canning kits that include canning-specific tools.
Related: Superfoods: How to Make Bone Broth
How to Water Bath Can
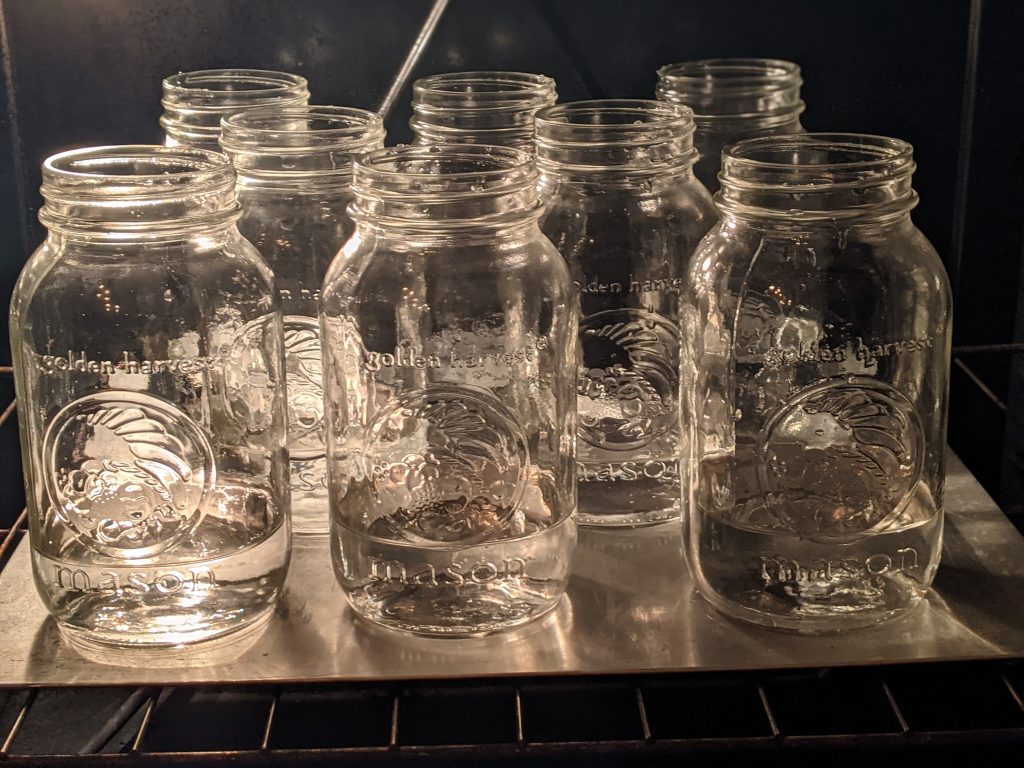
- Preheat the oven to 180 degrees. Wash all mason jars with soap and bleach. Rinse thoroughly and fill with two inches of hot tap water. Place each jar on a cookie sheet. If your jars are not new, rub your hand over the top feeling for chips. Toss jars that are not 100% smooth to the touch, as they won’t form a perfect seal.
- Once preheated, place the tray filled with mason jars into the oven.This step is vital to creating a good seal and preventing jars from breaking. Doing the food prep last provides just enough time for the jars to get hot. When little bubbles form on the sides, the jars are ready.
- Put the lids for your jars in a 2- to 3-quart saucepan, making sure the rubber seal on the lids is facing up and that they are not overlapping or stacked. Avoid touching the rubber seal with your hands or wear gloves. Remember, a lid used for preservation should always be new. Rings can be reused, but be sure they are not dented or rusty.
- Layer the canning rings on top of the lids. Fill the saucepan with water until the rings are covered by about 1/2 inch of water. Place the pan on the stove and bring it to a rolling boil. Once it boils, turn the heat to low.
Related: Chuck Wagon – The History of America’s First Food Truck
- Fill a large canning pot or stockpot 1/3 of the way with warm tap water, move to the stove, and place on high heat. Once the water boils, turn the heat to medium. At this point, you can add an optional teaspoon of table salt to the water, which helps to prevent white soot from appearing on the outside of the jars post canning.
- Take one mason jar out of the oven using your jar lifter so you don’t burn yourself. Dump the hot water and place the hot jar near the prepared mixture being preserved.
- Place the funnel into the jar and ladle in your acidic food, leaving about 2 inches of space from the rim. This space allows for expanding and ensures a proper seal.
- Remove the funnel and immediately wipe off the rim of the jar and the 2-inch area, including the inside and outside of the glass with a cheesecloth. This is key, as the rubber seal will not take if even one speck of food is on there. There can’t be any lint left behind, which is why you should use a cheesecloth instead of a towel.
Related: Survival Garden 103 – How To Prep Your Soil Before the Season Starts
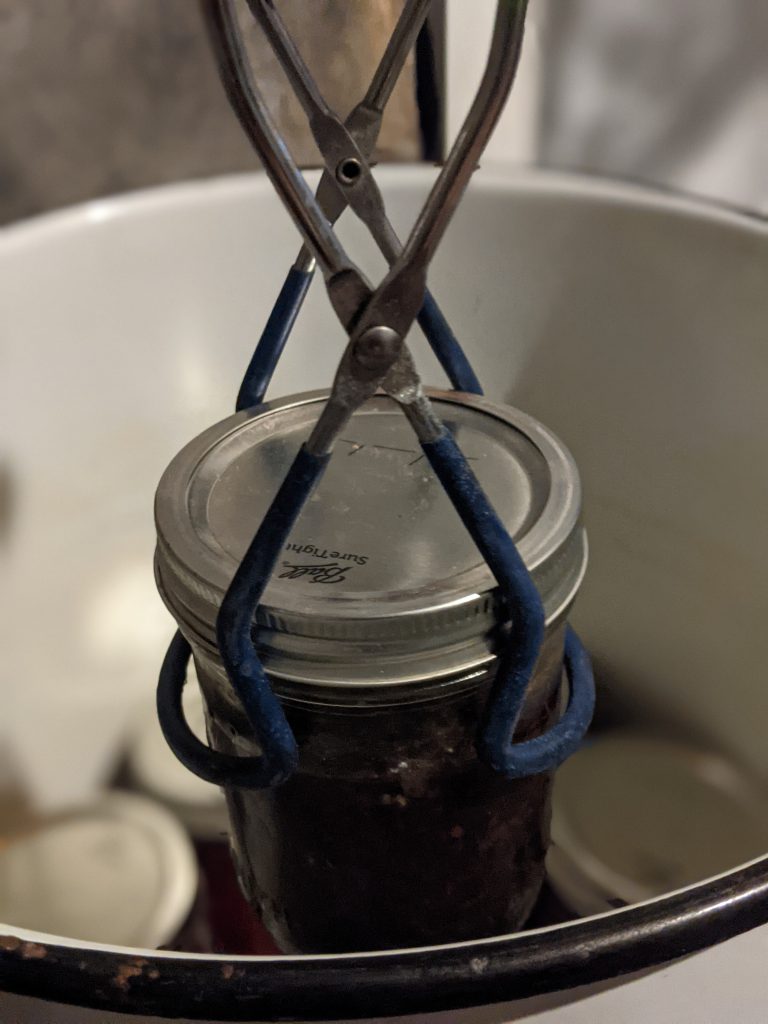
- Use the magnetic lid lifter and snatch a hot lid from the saucepan. Place the lid on the jar, being sure to only touch the outside edge of the lid only. Snatch a ring from the saucepan and thread it loosely onto the jar. Do not tighten fully.
- Use the jar lifter to pick up the mason jar, and gently place it in the canning pot, lowering it to the bottom slowly. Do not drop it to the bottom or let the jar tip over.
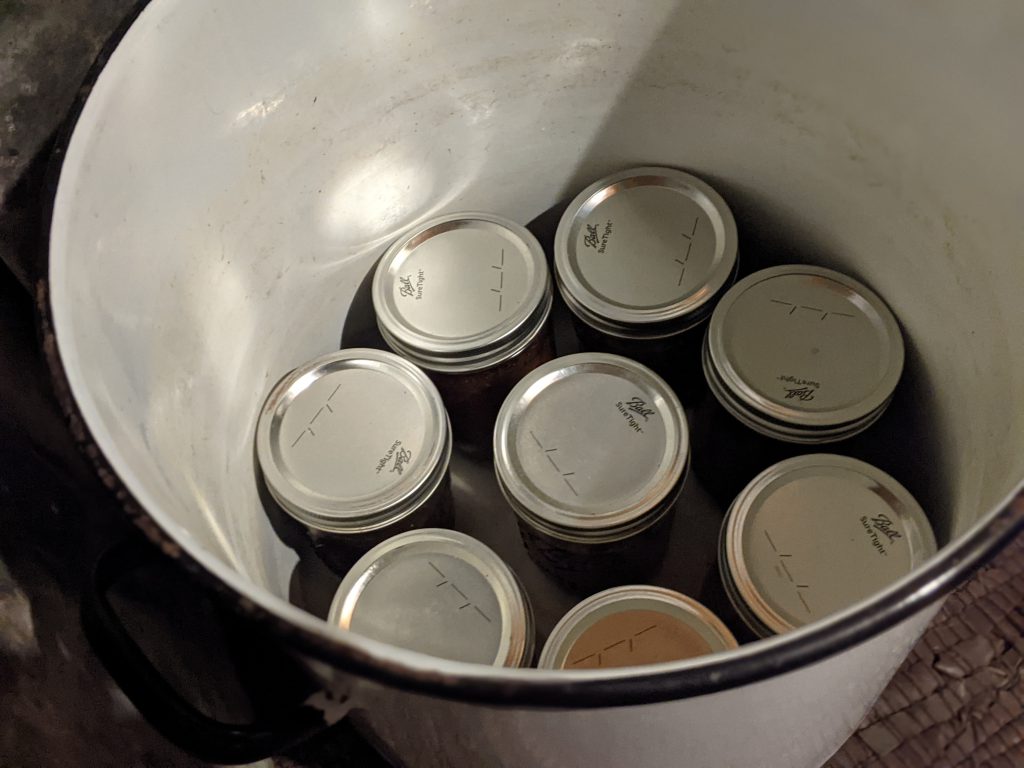
- Repeat until the pot doesn’t have room for another jar. The water should be about two inches above the jars; add more if necessary.
- Turn the heat under the canning pot back up to high. Let the jars boil for 30 minutes, or as long as your recipe indicates. When time is up, use the jar lifter to pick each jar out of the boiling water and place them on a towel or a cooling rack. Allow the jars to fully cool before tightening down the rings to ensure the best seal possible.
Related: Survival Garden 101 – Why You Need To Plan Before Planting
Acidic foods canned in this way are generally shelf-stable, without refrigeration, for one to two years. Always be sure to perform a five-sense safety check when eating home-canned foods:
- Look for lids that are loose or protruding outward. Check for mold growing on the contents and for food discoloration.
- Feel for loose, bulging or clicking lids. A loose ring is fine, just not the seal of the lid. Listen for a clicking sound when pushing on the center of the lid. It should NEVER click when pushing on it. When removing the lid, you should heard a distinct sound of air being released.
- Smell everything before tasting. If it smells off, toss it. The nose doesn’t lie.
- Do a taste test to be certain. If in doubt, don’t risk it. Just ditch it.
Read Next: Survival Garden 108: Preserving Your Harvest




Comments